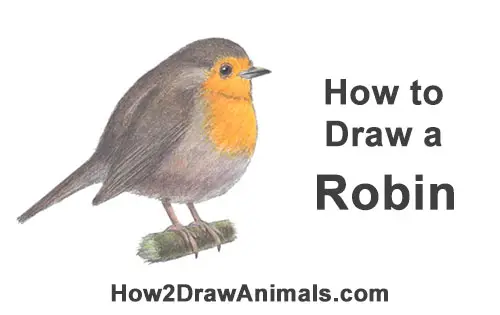
Please PAUSE the "How to Draw a Robin (European)" video after each step to draw at your own pace.
Time-Lapse (Speed Drawing) video:
Written step-by-step video tutorial:
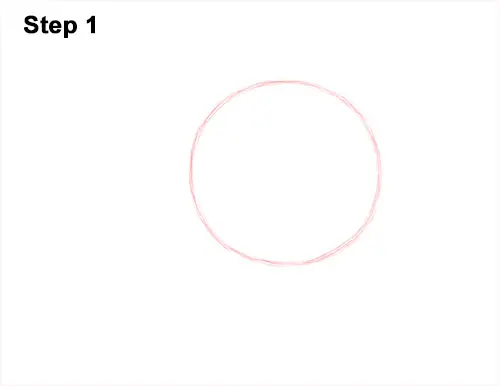
Step 1: Draw a big circle as a guide for the main part of the European robin's body. First make four small marks to indicate its height and width. Then connect the marks using curved lines. Sketch lightly so it's easy to erase if you make a mistake. But the circle doesn't have to be perfect. It's just a guide. If you're struggling drawing the circle, trace the outer rim of a glass, a lid or any other object with a circular edge.
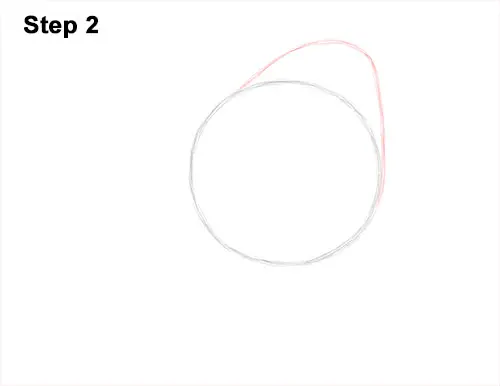
Step 2: Draw an arc on the top, right side of the body as a guide for the robin's head. Pay attention to the size of this hill-like curve in relation to the rest of the bird's body.
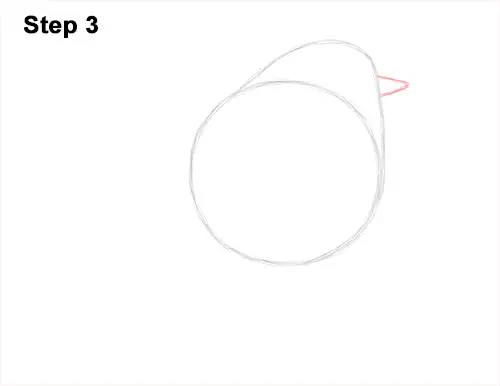
Step 3: To the right of the head, draw a small angled line similar to a greater-than sign as a guide for the robin's beak.
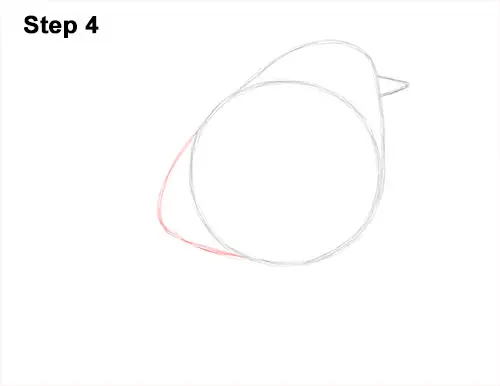
Step 4: Draw another curved line on the bottom, left side as a guide for the back portion of the robin's body.
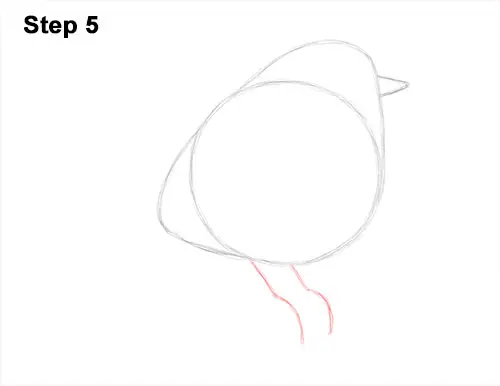
Step 5: Under the body, draw two sloping lines as guides for the robin's feet. Curve the bottom half of the lines a bit to show where the toes will be.


