Page 1 of 4
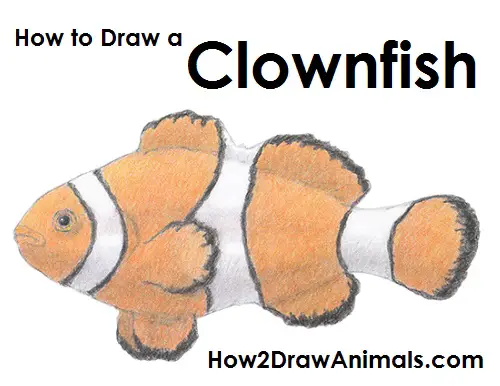
Please PAUSE the "How to Draw a Clownfish" video after each step to draw at your own pace.
For the first few steps, don't press down too hard with your pencil. Use light, smooth strokes to begin.
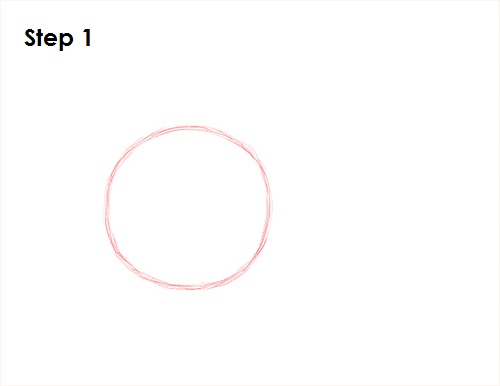
Step 1: Draw a circle as a guide for the clownfish's body. The circle doesn't have to be perfect. It's just a guide. Leave enough room on the sides for the tail and the head.
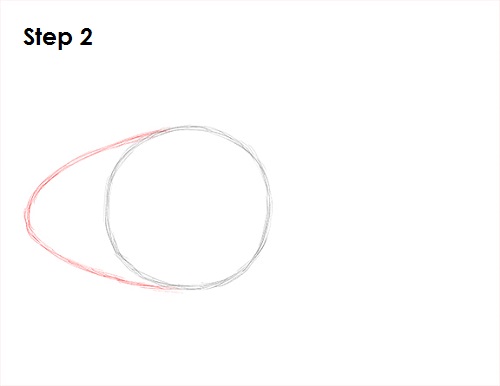
Step 2: Draw an arc on the left side of the circle as a guide for the clownfish's head. The length of the arc should be about half the width of the circle.
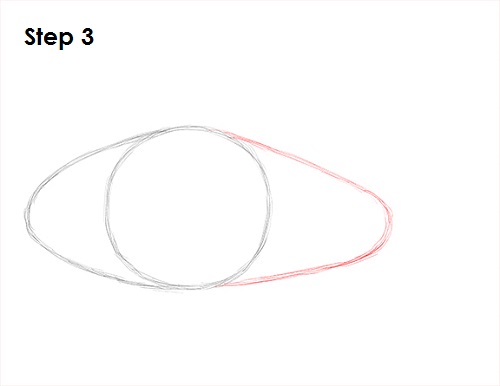
Step 3: Draw another arc on the right side of the circle as a guide for the back portion of the clownfish's body. This arc should be longer and narrower than the first one.
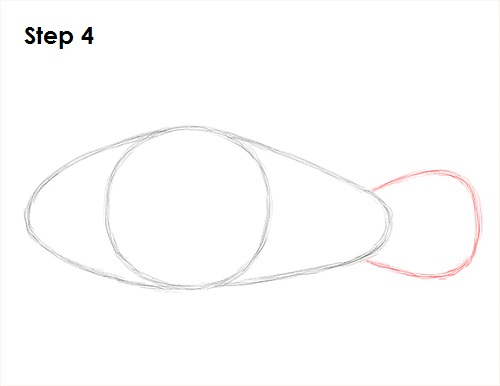
Step 4: Draw another arc-like shape on the right side as a guide for the clownfish's tail. This arc should be short and wide.
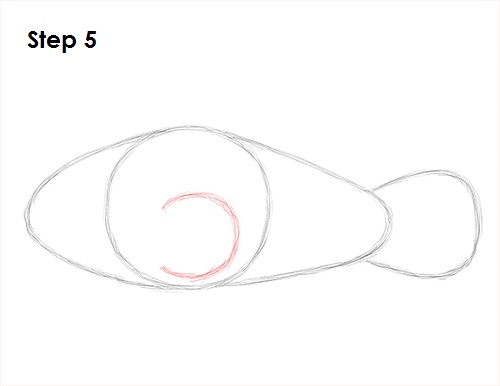
Step 5: Draw a curved line similar to a backward letter C inside the first circle as a guide for the clownfish's pectoral fin.


