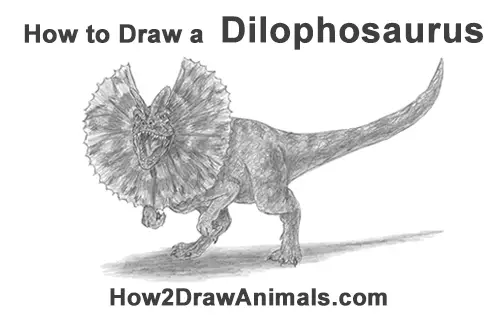
Please PAUSE the "How to Draw a Dilophosaurus" video after each step to draw at your own pace.
Time-Lapse (Speed Drawing) video:
Written step-by-step video tutorial:
For the first few steps, don't press down too hard with your pencil. Use light, smooth strokes to begin.
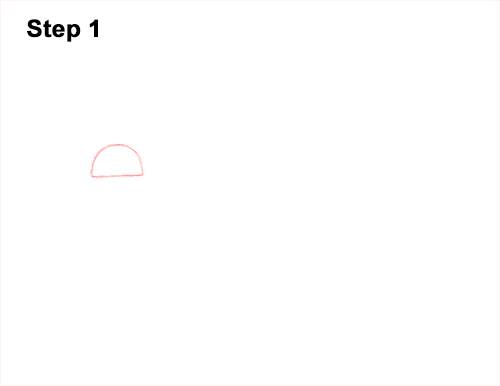
Step 1: Draw a half-circle on the left side as a guide for the top part of the Dilophosaurus' head. First draw a wide arc for the top part of the half-circle, then add a straight line under it for the bottom part. The half-circle doesn't have to be perfect. It's just a guide. Leave enough room on the sides for the rest of the dinosaur's body.
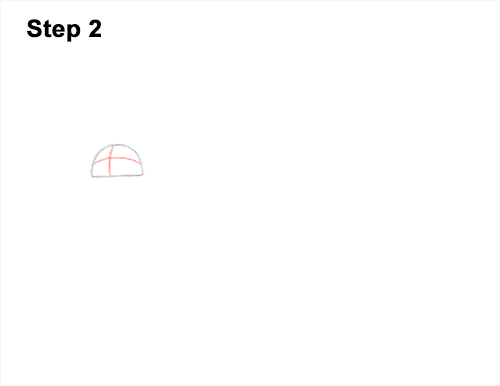
Step 2: Draw two intersecting lines inside the Dilophosaurus' head to help you place the facial features later. Curve the lines a bit so that they contour to the shape of the half-circle.
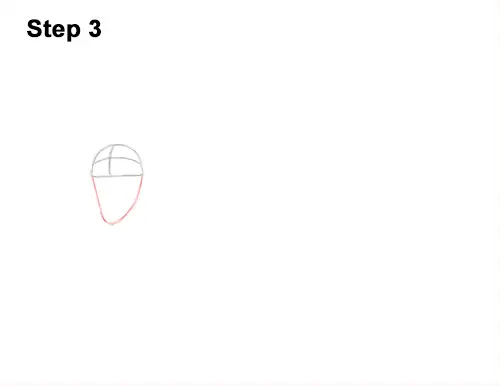
Step 3: Draw a long arc similar to the letter U under the head as a guide for the Dilophosaurus' lower jaw. The height of the jaw should be a bit longer than the height of the half-circle.
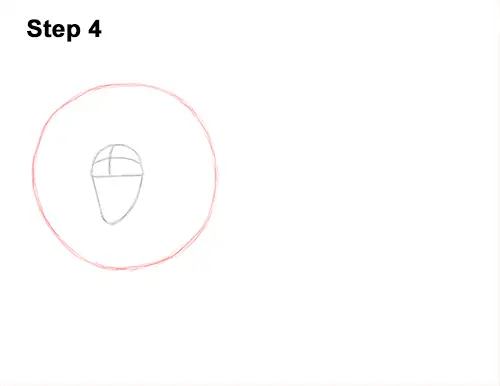
Step 4: Draw a big circle around the head as a guide for the Dilophosaurus' open frill. First draw four marks around the head for the height and width of the circle. The marks should be about equal distance to the head. Now connect the mark using curved lines to complete the shape of the circle. Sketch the lines lightly at first so that they're easy to erase if you make a mistake. When you get the shape right, darken them. The bigger the circle is, the bigger the dinosaur's frill will be. It doesn't have to be perfect either. It's just a guide. If you do want a perfect circle, trace the outer rim of a glass, a lid or anything else that's circular.
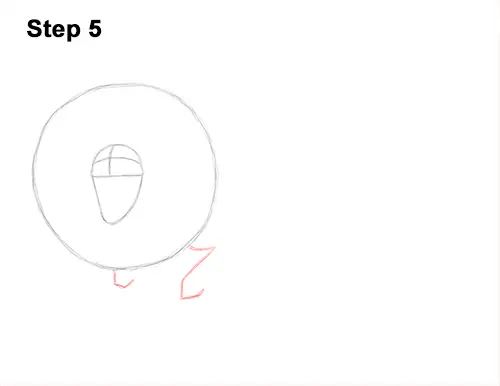
Step 5: Draw an angled line that looks similar to the number 7 on the lower right side of the big circle as a guide for the dinosaur's first arm. Pay attention to the size of this line in relation to the frill. Add an extra line at the bottom that makes it look like the letter Z. Draw a smaller angled line to the left as a guide for the Dilophosaurus' other front arm.


