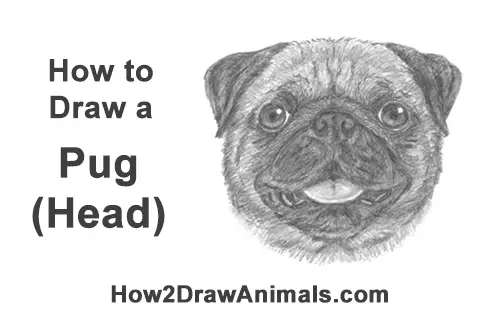
Please PAUSE the "How to Draw a Pug (Head Detail)" video after each step to draw at your own pace.
Time-Lapse (Speed Drawing) video:
Written step-by-step video tutorial:
For the first few steps, don't press down too hard with your pencil. Use light, smooth strokes to begin.
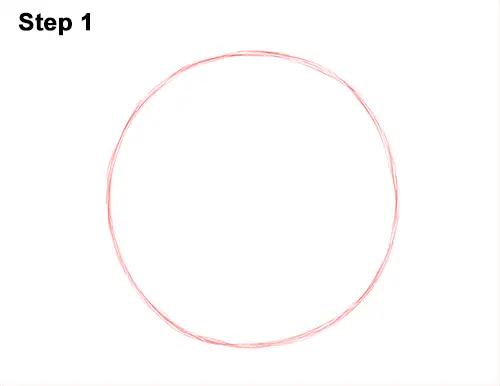
Step 1: Draw a big circle in the middle of the paper as a guide for the pug's head. To draw the circle, first make four small marks to indicate the height and width. Then connect the marks using curved lines. The farther apart the marks are, the bigger the circle will be. Sketch lightly at first so that it's easy to erase if you make mistake. If you're having a hard time drawing the circle, trace the outer rim of a bowl, a lid or any other object with a circular edge.
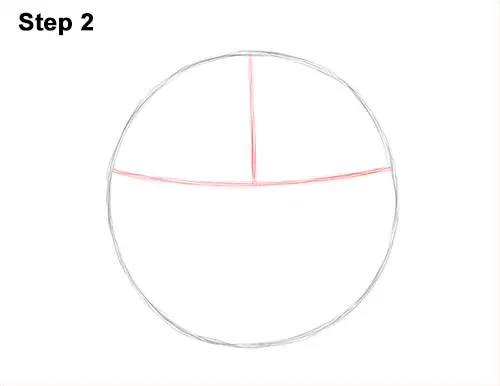
Step 2: Estimate the middle of the circle, then make a small mark slightly above the middle. Use that mark as a guide to draw a long, curved construction line to help you place the pug's facial features later. At the top, draw a shorter vertical line as another construction guide.
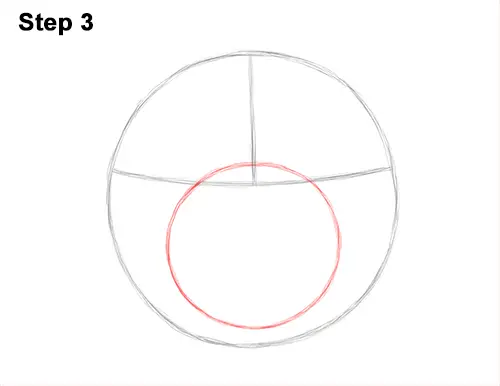
Step 3: Draw a smaller circle on the lower half of the head as a guide for the pug's muzzle. Use the same technique as before. Use four marks for the height and width, and curved lines to connect the marks. The marks for the circle's length should be slightly above the horizontal construction line and the lower edge of the big circle. Pay attention to this circle's size in relation to the dog's head. Don't draw it too small.
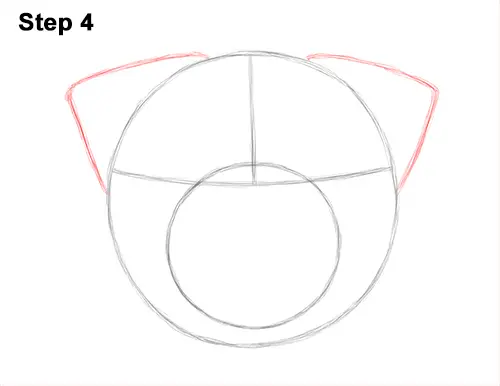
Step 4: On top of the pug's head, on either side, draw the guides for the ears as angled lines. These guides should be similar to triangles minus the bottom edge. The bottom tips of these guides should extend as far down as the horizontal construction line.
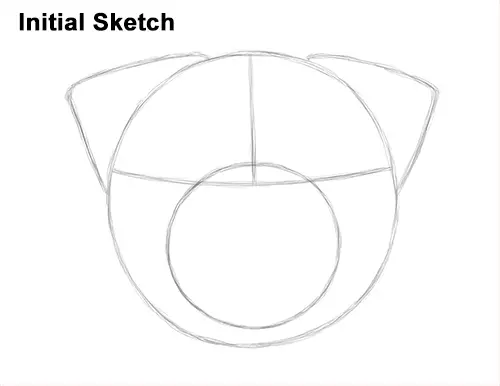
That's it for the guides! From this point on, press harder with your pencil for a more defined drawing.


