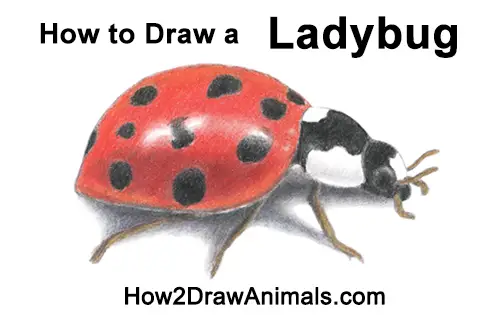
Please PAUSE the "How to Draw a Ladybug" video after each step to draw at your own pace.
For the first few steps, don't press down too hard with your pencil. Use light smooth strokes to begin.
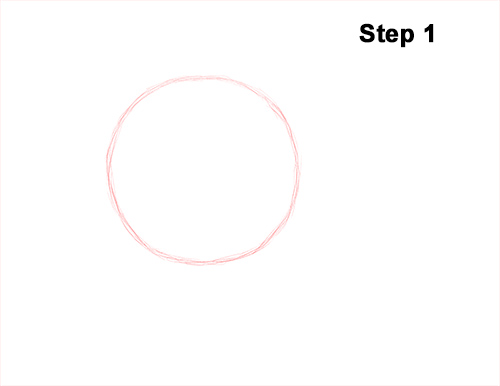
Step 1: Draw a circle as a guide for the main part of the ladybug's body. The circle doesn't have to be perfect. It's just a guide. Leave enough room on the sides for the rest of the body.
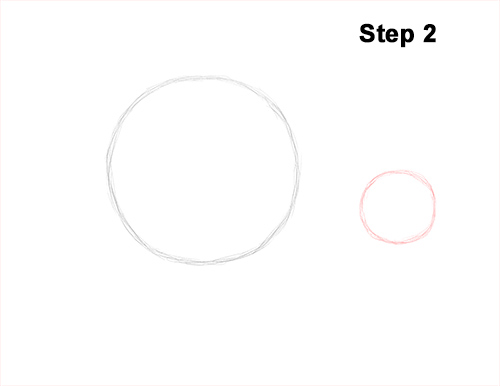
Step 2: Draw a smaller circle on the bottom right side of the first one as a guide for the ladybug's body. Don't draw this circle too far apart from the first one, otherwise your ladybug might end up too long.
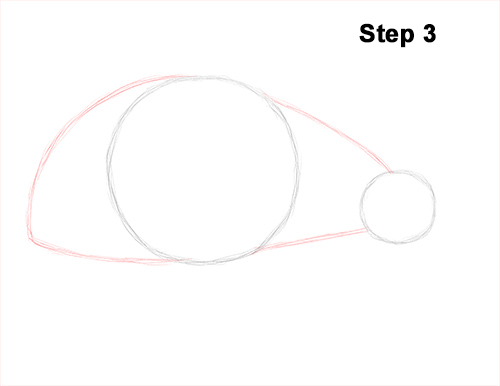
Step 3: Add a few more lines to finish the guide for the ladybug's body. Draw two lines to connect the big and small circles at the top and bottom. Add a curved line on the left side of the big circle for the back portion of the body.
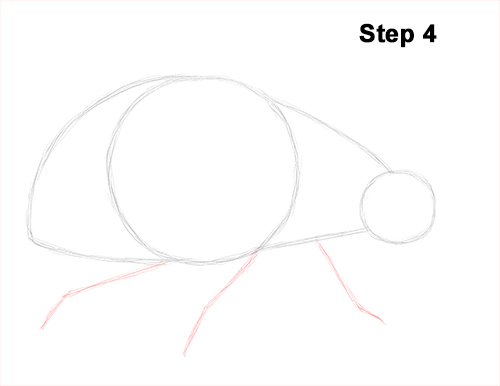
Step 4: Draw three long lines under the body as guides for the legs. Bend the lines a little as you draw them to indicate where the joints will be later. Bend the lines a little as you draw them to indicate where the joints will be later.
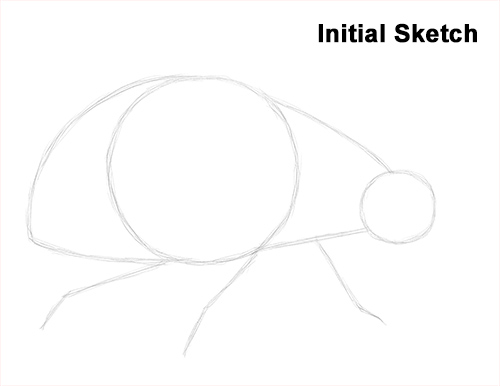
That's it for the initial sketch! From this point on, press harder with your pencil to get a more defined sketch.


