Page 1 of 4
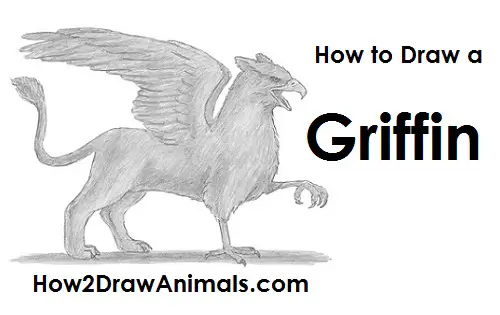
Please PAUSE the "How to Draw a Griffin" video after each step to draw at your own pace.
For the first few steps, don't press down too hard with your pencil. Use light, smooth strokes to begin.
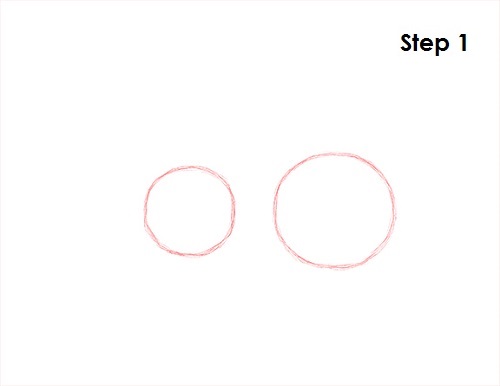
Step 1:
Draw two circles as guides for the griffin's body. The circles don't have to be perfect. They're just guides. The circle on the left should be smaller than the first one. Don't place them too far apart. You can make the circles bigger for a bigger griffin. Griffins are mythical creatures, so you can make yours different if you'd like.
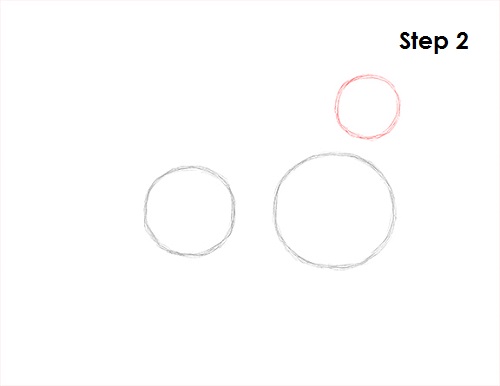
Step 2:
Draw another circle on the top right side as a guide for the griffin's head. This circle should be even smaller.
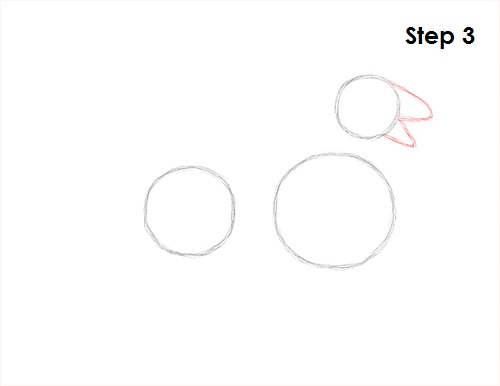
Step 3:
Draw two small arcs on the right side of the face for the griffin's open beak. The arc on the bottom should be a tiny bit smaller and thinner than the one on top.
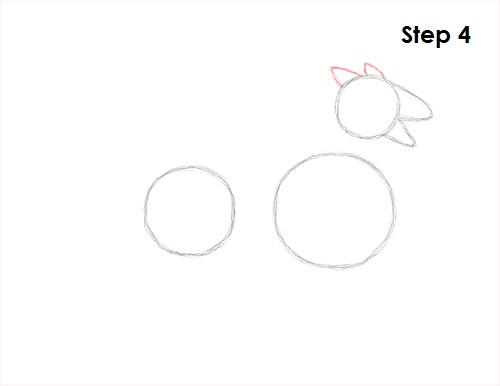
Step 4:
Draw two smaller arcs on top of the griffin's head for the ear tufts.
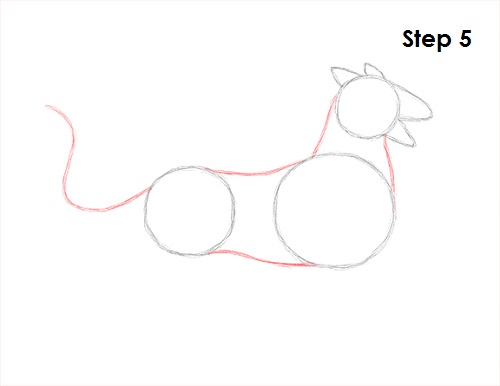
Step 5:
Draw a series of lines that connect the major shapes to form the body and tail. Two small lines make up the neck and two more lines complete the torso. Make the guide line for the griffin's tail long and wavy.


