Page 3 of 4
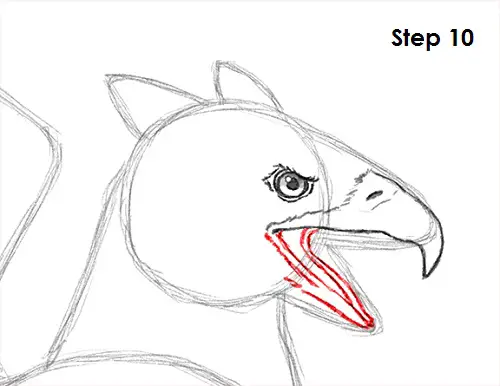
Step 10:
Use the arc on the bottom as a guide to draw the lower part of the griffin's beak. Follow the basic path of the arc as you darken the line and make the shape thinner. Add a few wavy lines within the shape for the inside of the mouth and a few short strokes on the outside for the feathers.
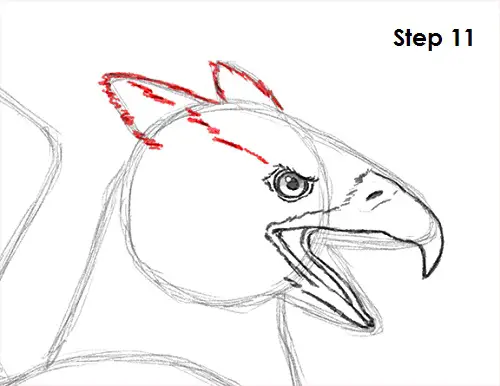
Step 11:
Use the arcs on the griffin's head as guides to draw the ear tufts. Use quick, short strokes as you follow the path of the guides for a feathery texture. Add a few small lines leading to the eye.
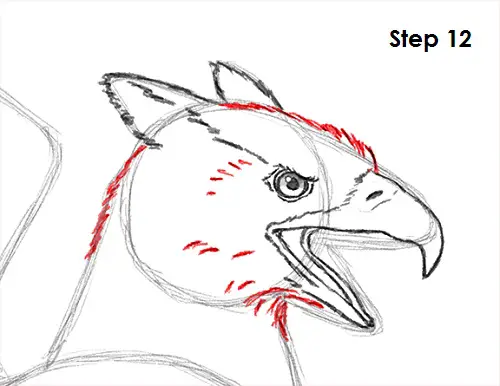
Step 12:
Use the remaining shapes as guides to draw the rest of the griffin's head. Use quick, short strokes for the feathers as you follow the path of the guides. Add a few lines within the head for extra detail.
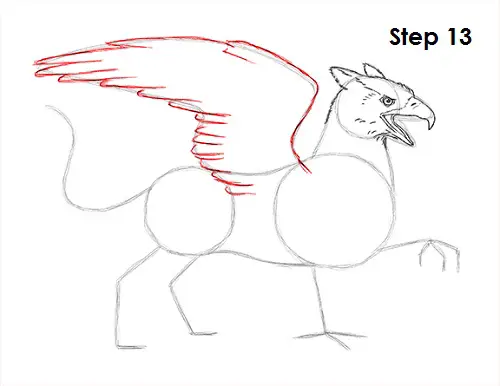
Step 13:
Use the curved lines on top of the griffin's body as guides to draw the wings. Follow the basic path of the guide as you darken the lines and add a couple of thin arcs along the way for the feathers. Add a lot more long, thin arcs for the feathers along the left side of the wing. Follow the path of the guide and draw the arcs smaller the closer you get to the bottom.
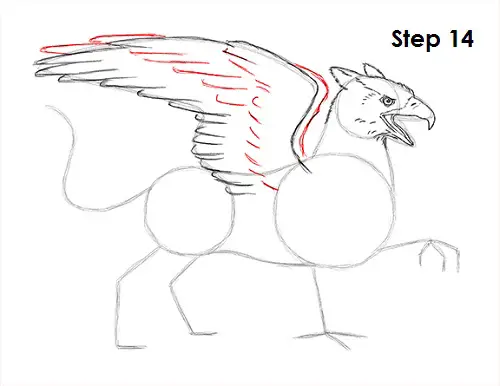
Step 14:
Draw a few more curved lines within the shape of the griffin's wing for extra detail. Don't draw every individual feather. Just a few curved lines to represent the basic texture of the wing. Add the visible section of the wing on the other side peeking from the back.


