Page 1 of 4
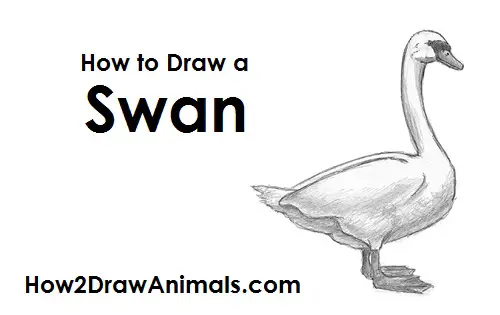
Please PAUSE the "How to Draw a Swan" video after each step to draw at your own pace.
For the first few steps, don't press down too hard with your pencil. Use light, smooth strokes to begin.
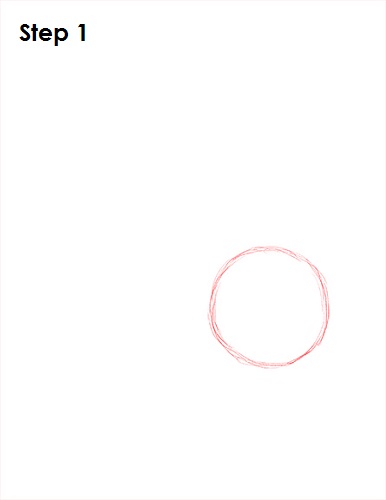
Step 1: Draw a circle as a guide for the front part of the swan's body. The circle doesn't have to be perfect. It's just a guide.
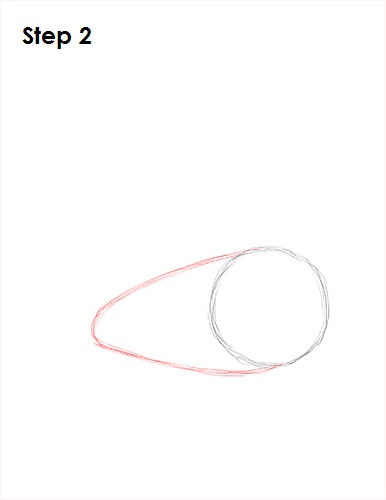
Step 2: Draw a long arc on the left side of the circle to finish up the guide for the swan's body. The end result should be a shape similar to a long egg.
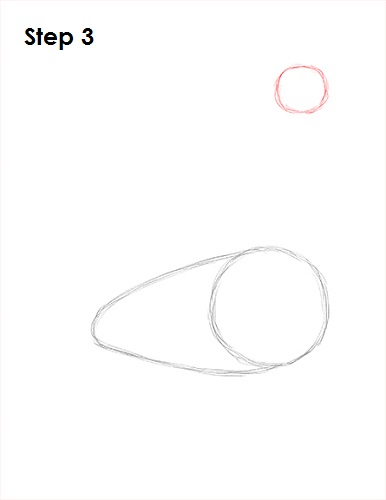
Step 3: Draw a small circle high above the body on the right side as a guide for the swan's head. Swans have long necks, so don't place the head too close to the body. The size of the swan's head should be about a quarter the size of the first circle.
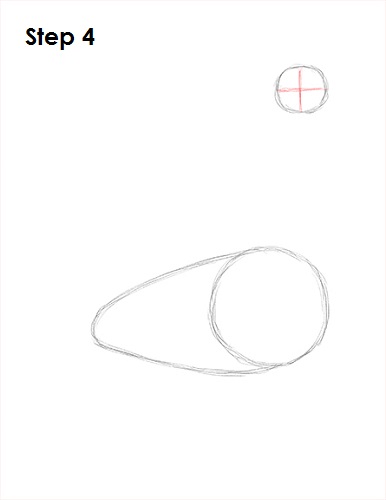
Step 4: Inside the circle, draw two intersecting lines. These lines will help you place the facial features later.
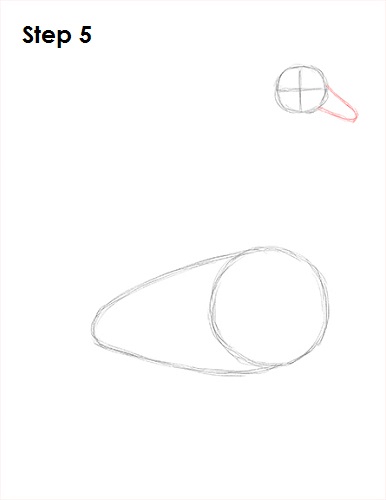
Step 5: Draw a small, thin arc on the right side of the head as a guide for the swan's beak.


