Page 1 of 4
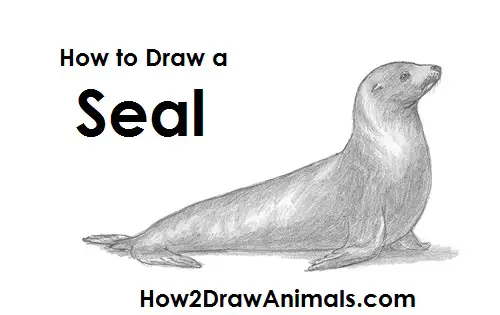
Please PAUSE the "How to Draw a Seal" video after each step to draw at your own pace.
For the first few steps, don't press down too hard with your pencil. Use light, smooth strokes to begin.
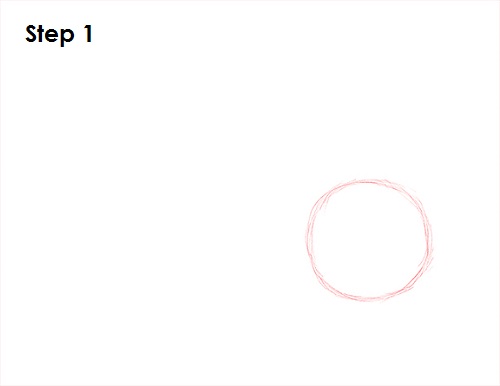
Step 1: Draw a circle as a guide for the front part of the seal's body. It doesn't have to be perfect. It's just a guide.
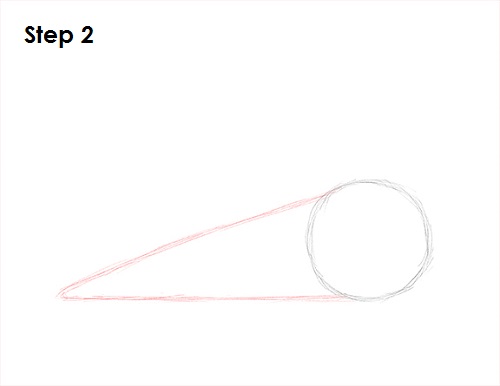
Step 2: Draw a pointy triangle-like shape on the left as a guide for the back portion of the seal's body. Just draw two lines that start at the top and bottom of the circle and come to a point on the left. The bottom line should be pretty flat.
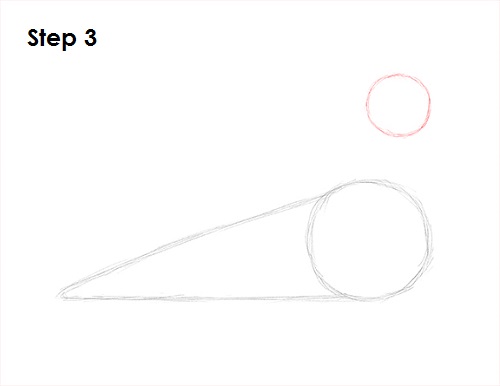
Step 3: Draw another circle on the upper right side as a guide for the seal's head. Don't place the circle too high up or your seal will end up with a neck that's too long.
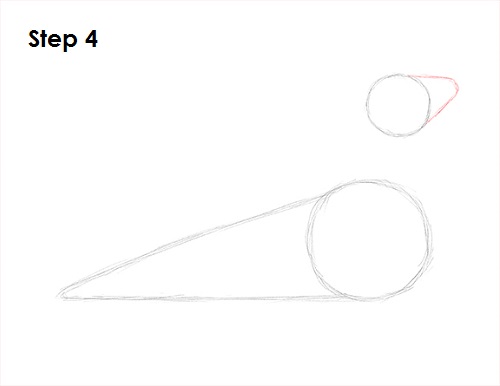
Step 4: Draw a U-shaped arc on the upper right side of the head as a guide for the seal's muzzle.
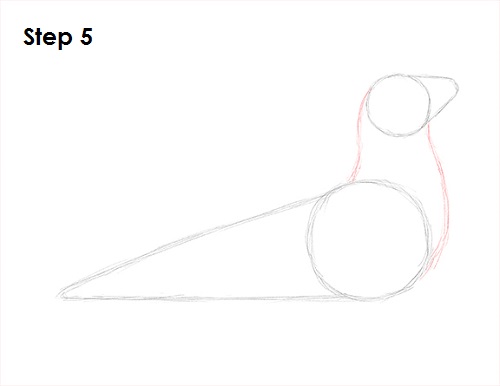
Step 5: Draw two lines that connect the seal's head and body to create the neck. The lines should dip in near the middle for a wavy look.


