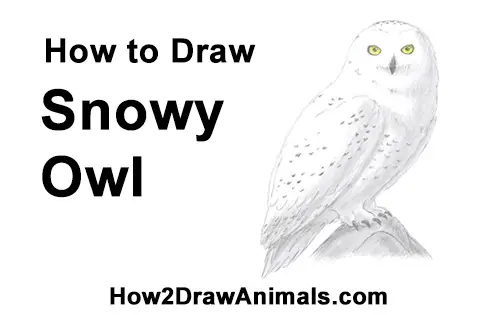
Please PAUSE the "How to Draw a Snowy Owl" video after each step to draw at your own pace.
For the first few steps, don't press down too hard with your pencil. Use light, smooth strokes to begin.
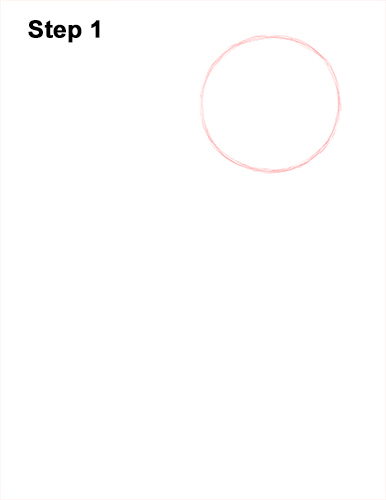
Step 1: Draw a circle as a guide for the snowy owl's head. The circle doesn't have to be perfect. It's just a guide. Leave enough room on the bottom for the body.
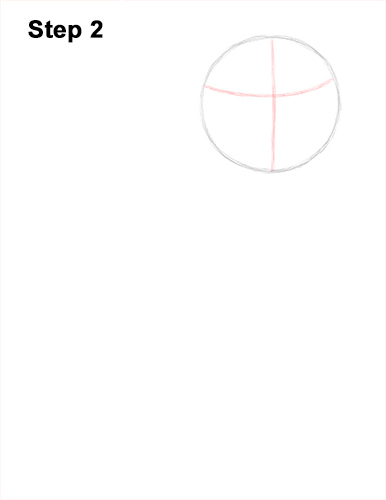
Step 2: Draw two intersecting lines inside the circle. These lines will help you place the snowy owl's facial features later on.
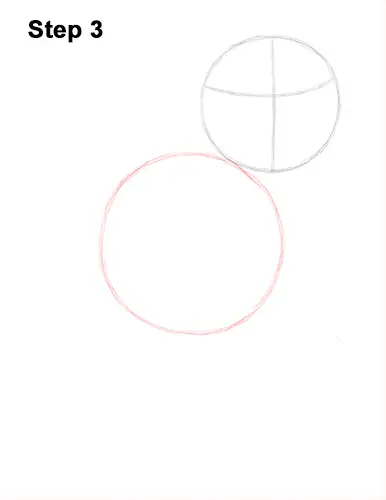
Step 3: Draw another circle on the bottom left side of the head as a guide for the top part of the snowy owl's body. This circle should be bigger than the head, and the edges of the circles should just barely touch.
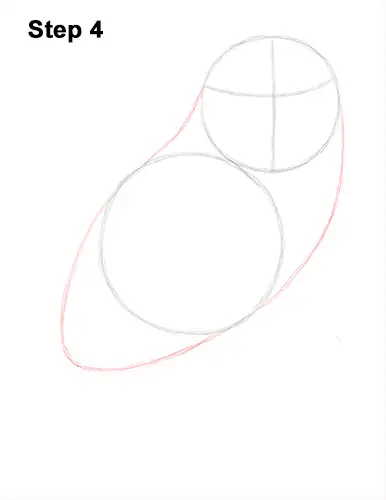
Step 4: Add a few more lines to finish the guide for the snowy owl's body. Draw a couple of lines to connect the head to the body at the top and a curved line at the bottom.
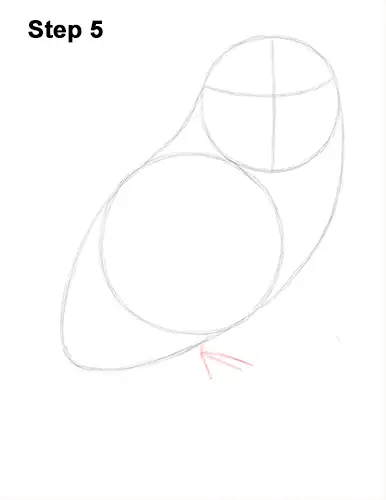
Step 5: Draw a few small lines under the body as a guide for the snowy owl's feet.


