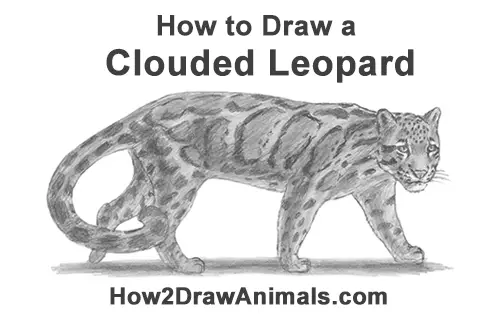
Please PAUSE the "How to Draw a Clouded Leopard" video after each step to draw at your own pace.
Time-Lapse (Speed Drawing) video:
Written step-by-step video tutorial:
For the first few steps, don't press down too hard with your pencil. Use light, smooth strokes to begin.
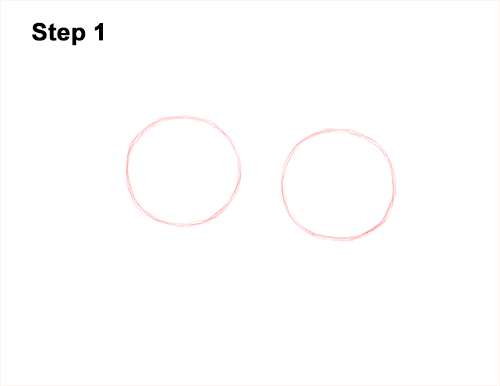
Step 1: Draw two circles as guides for the clouded leopard's body. First draw some marks for the height and width of the circle, then connect the marks using curved lines. The circles don't have to be perfect. They're just guides. If you do want a perfect circle, trace the outer rim of a glass, a coin or anything else circular.
The circles should be about the same size. The one on the left should be placed a tiny bit higher than the one on the right. Don't draw the circles too far apart, otherwise your clouded leopard will be too long. Leave enough room on the sides and bottom for the head, tail and legs.
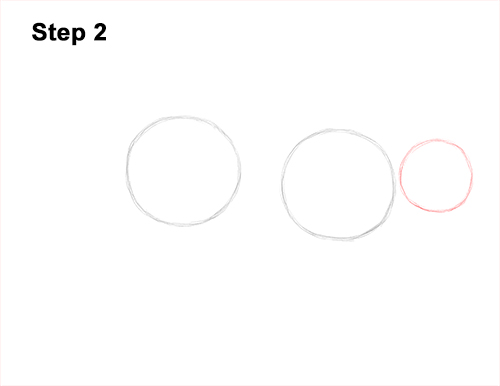
Step 2: Draw another circle on the right side as a guide for the clouded leopard's head. This circle should be about one- third the size of the first ones. The edges of this circle and the first one should almost touch.
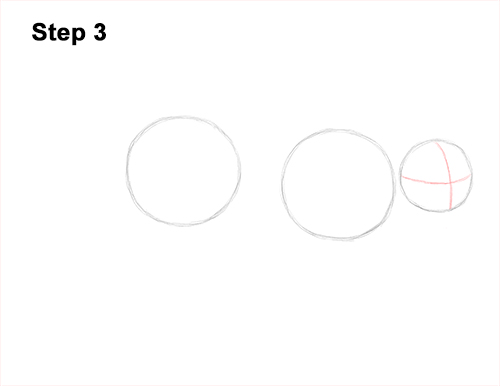
Step 3: Draw two intersecting lines inside the clouded leopard's head to help you place the facial features later on. Curve the lines to contour to the head. The vertical line should be close to the right side of the head.
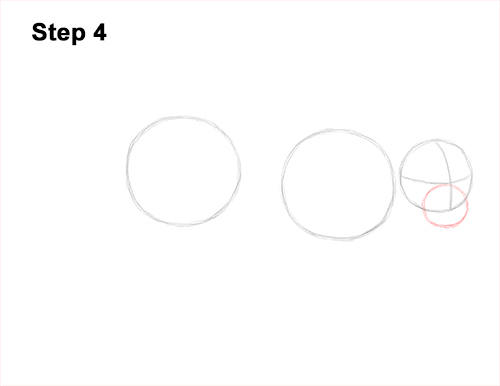
Step 4: Draw a smaller circle on the bottom part of the head as a guide for the clouded leopard's muzzle. The bottom part of this circle should extend outside the head. Pay attention to the size and placement of it.
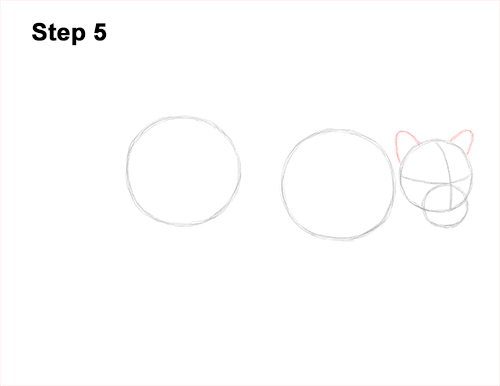
Step 5: Draw two small arcs on top of the head as guides for the clouded leopard's ears.


