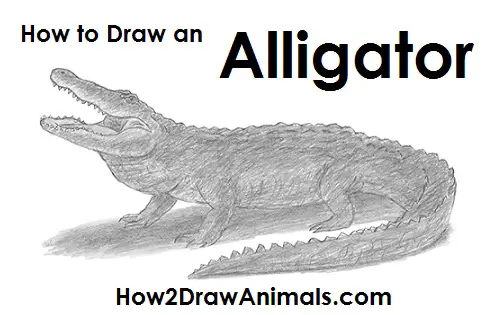
Please PAUSE the "How to Draw an Alligator" video after each step to draw at your own pace.
For the first few steps, don't press down too hard with your pencil. Use light, smooth strokes to begin.
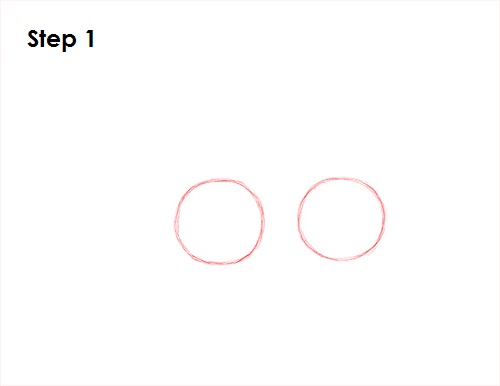
Step 1: Draw two circles as guides for the alligator's body. The circles don't have to be perfect. They're just guides. Pay attention to the placement of the circles. Too close and the alligator will be short. Too far apart and it will be too long. The circles should be roughly the same size. Leave enough room on either side for the alligator's head and tail.
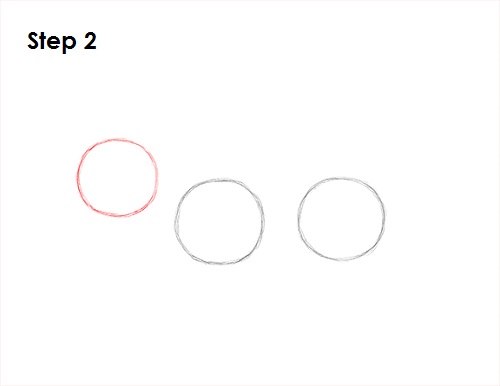
Step 2: Draw another circle on the upper left side as a guide for the alligator's head. This circle should be just a tiny bit smaller than the first two.
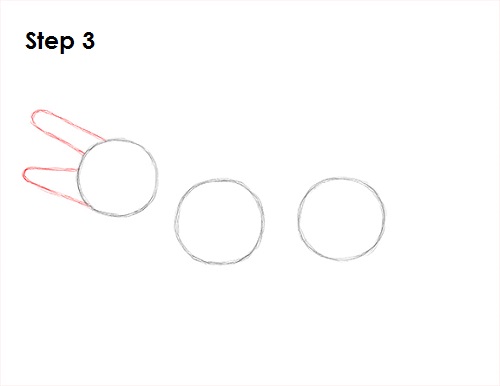
Step 3: Draw two long arcs on the left side of the head as guides for the alligator's open mouth. The arcs should be thin and have a diagonal orientation. The one at the bottom should be a little bigger. Alligators have a wider/broader snout than crocodiles. The difference is easier to see when looking down at the reptiles from above.
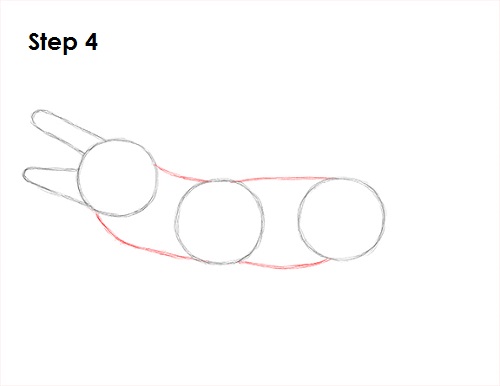
Step 4: Draw a series of curved lines that connect the major shapes to form the alligator's body. A couple of lines in front form the neck, and a pair in the back make up the torso.
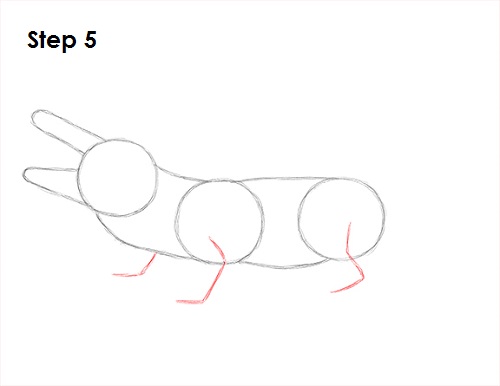
Step 5: Draw three angled lines under the alligator's body as a guide for the legs. Alligators are low to the ground, so draw the lines short. Bend them to indicate where the joints will be. The hind leg on the other side will be blocked by the body, so only draw the guide on this side.


