Page 1 of 3
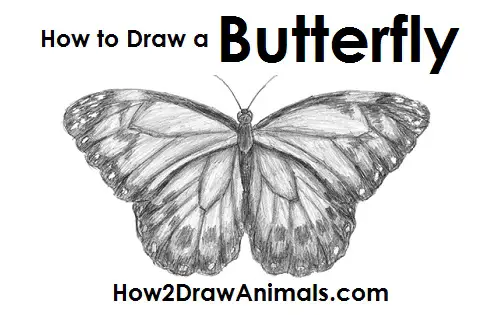
Please PAUSE the "How to Draw a Butterfly" video after each step to draw at your own pace.
For the first few steps, don't press down too hard with your pencil. Use light, smooth strokes to begin.
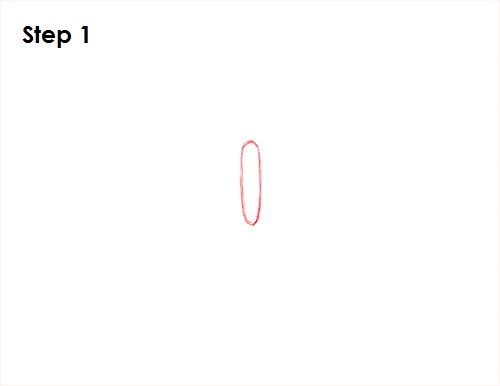
Step 1: Draw a long oval as a guide for the butterfly's body. The oval doesn't have to be perfect. It's just a guide.
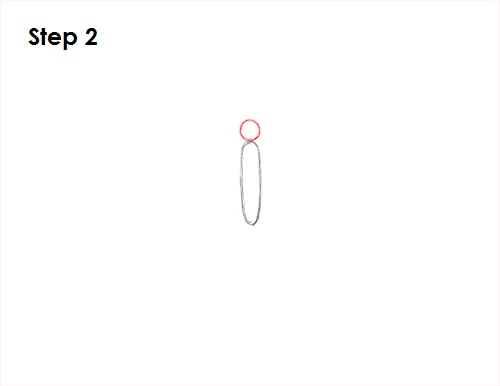
Step 2: Draw a small circle on top of the oval as a guide for the butterfly's head.
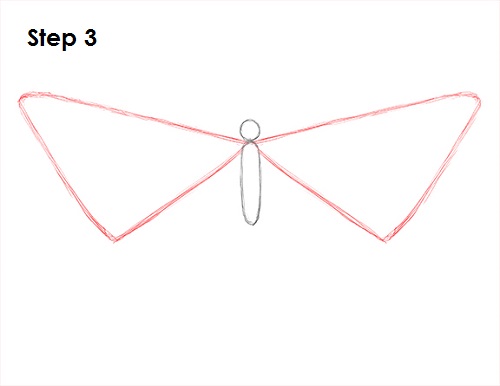
Step 3: Draw a triangle on either side of the body as a guide for the top portion of the butterfly's wings or the forewings. Try to draw both sides similarly so your drawing has symmetry. To form the butterfly's forewings, first draw the top lines, then the sides, then the bottom lines to create triangles. You can also start with the top lines, then do the bottom lines and end with the side. Whichever is easier for you.
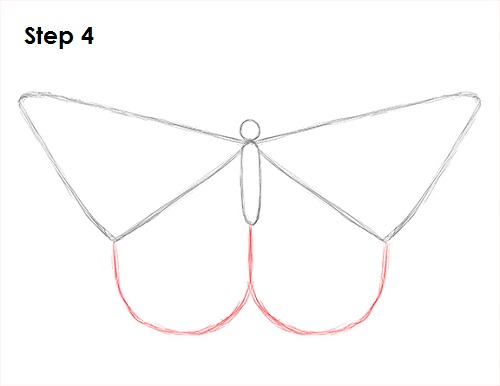
Step 4: Draw the bottom portion of the butterfly's wings or hindwings right below the top. The shape is similar to the letter U. Start at the corner of the forewing and end at the bottom of the butterfly's body. Draw draw each side the same.
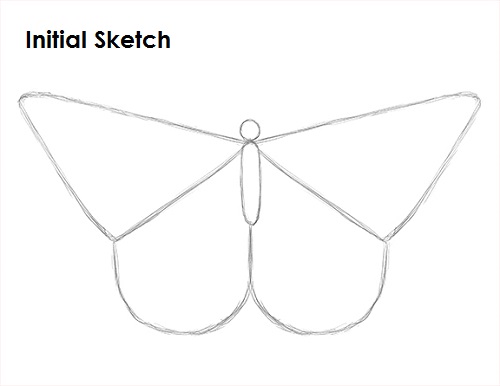
That's it for the initial sketch! From this point on, press harder with your pencil to get a more defined sketch.


