Page 1 of 4
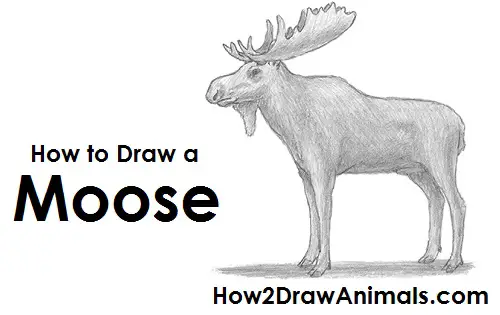
Please PAUSE the "How to Draw a Moose" video after each step to draw at your own pace.
For the first few steps, don't press down too hard with your pencil. Use light, smooth strokes to begin.
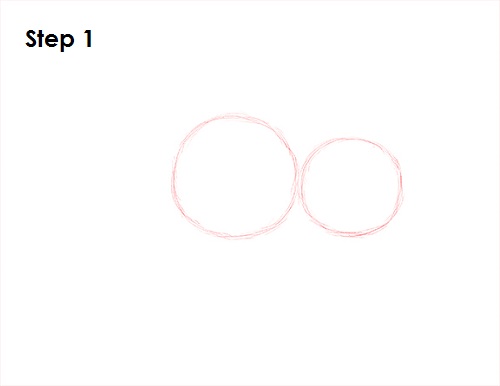
Step 1: Draw two circles as guides for the moose's body. The circles don't have to be perfect. They're just guides. The circle on the right should be smaller. The edges of the circles should touch slightly.
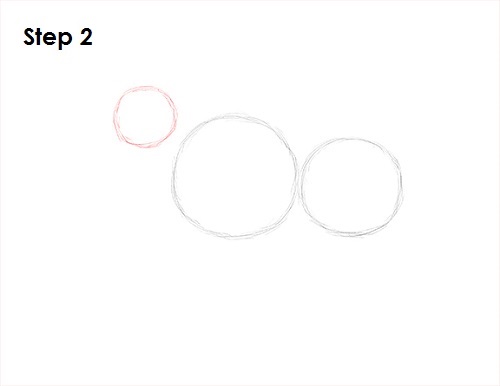
Step 2: Draw a smaller circle (about one-fourth the size of the first circle) on the upper left side as a guide for the moose's head. Don't place the circle up too high or the neck will end up being too long.
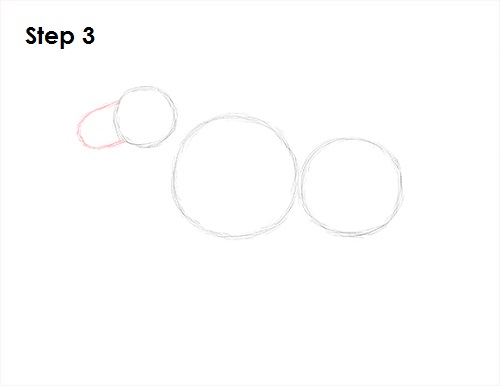
Step 3: Draw a U-shaped arc on the left side of the moose's head as a guide for the muzzle.
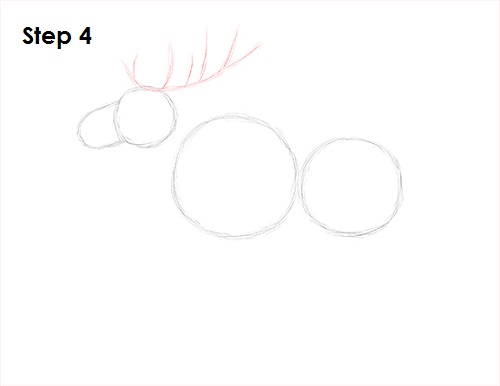
Step 4: Draw a series of curved lines on top of the moose's head as guides for the antlers. The longer the line is, the bigger the antlers will be. Draw more curved lines on top of the base line for the branches of the antlers. The lines should vary in size. The more lines you add, the more branches the antlers will have.
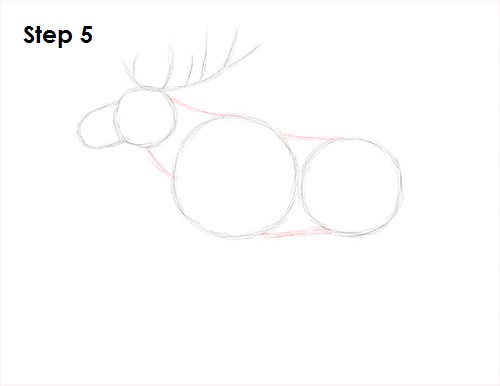
Step 5: Draw a series of lines that connect the major shapes to form the moose's body.


