Page 3 of 4
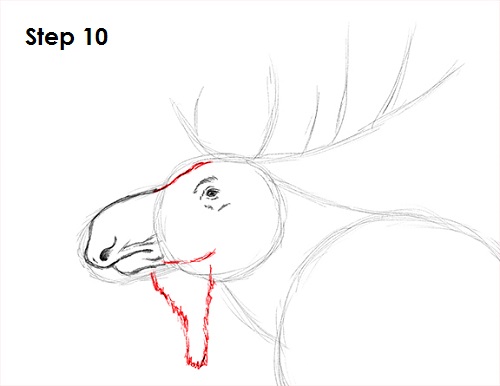
Step 10: Draw the moose's head using the circle as a guide. Darken the top part for the forehead and add some lines at the bottom for fur. Using quick, short strokes, draw a shape under the jaw for the moose's dewlap.
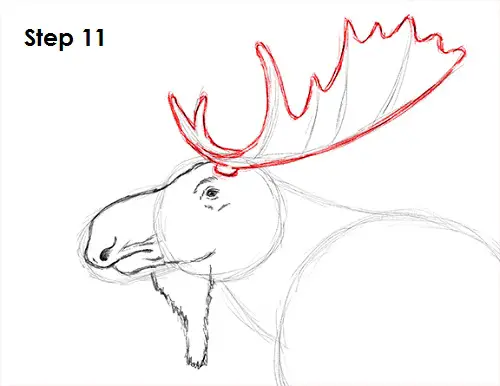
Step 11: Use the lines on the head as guides to draw the moose's antlers. Darken the bottom of the antlers and draw a curved line above the eye for the base. Follow the path of the smaller lines as you thicken up the shapes to create the branches. Drawing the antlers can be tricky, so pause the video as you follow along. You can make the branches longer as you follow the path of the guides to draw bigger antlers. Moose have palmate antlers, so connect the braches up top using curved lines instead of connecting the lines all the way down to the base. It's a good idea to use reference when drawing the antlers for greater accuracy.
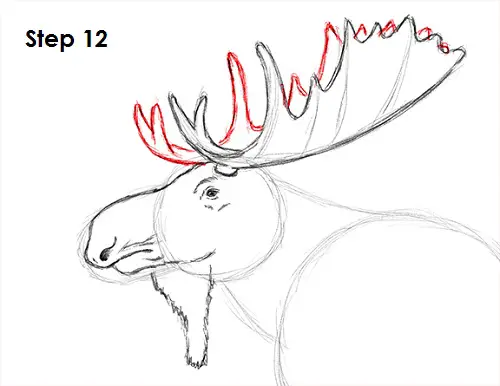
Step 12: Draw the antler on the other side by using the first one as a guide. Most of the shape is hidden by the antler in the front, so only draw the visible ends peeking from behind.
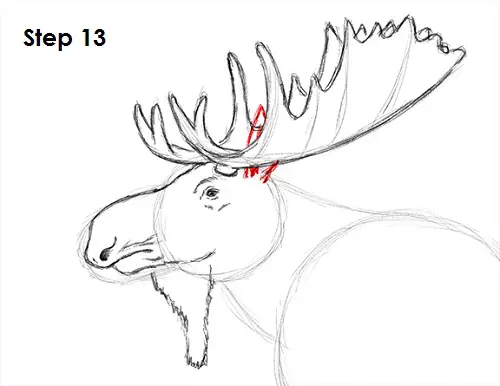
Step 13: Draw the moose's ear in between the antlers using a few curved lines.
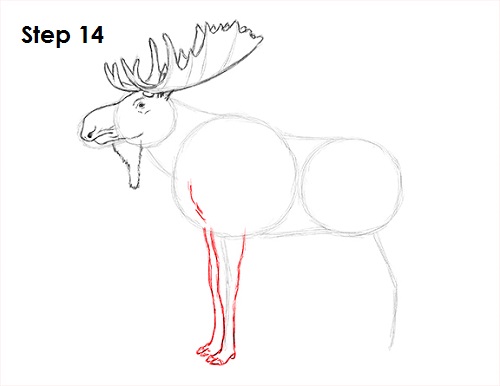
Step 14: Using the line as a guide, draw the moose's front legs. Lightly sketch the shape of the leg as you follow the path of the line. When you get the structure right, darken the lines. Moose's legs are long and skinny. The legs should be thicker on top and thinner at the bottom. Draw the split hoof at the bottom. Draw the leg on the other side using the same technique. Use the first leg as a template to draw the leg on the other side.


