Page 1 of 4
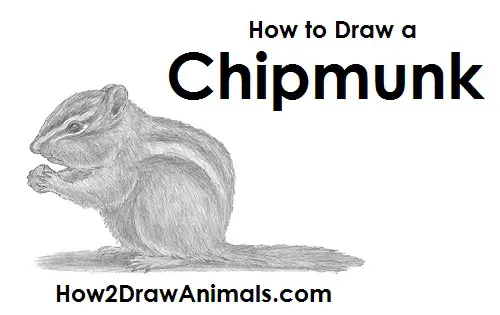
Please PAUSE the "How to Draw a Chipmunk" video after each step to draw at your own pace.
For the first few steps, don't press down too hard with your pencil. Use light, smooth strokes to begin.
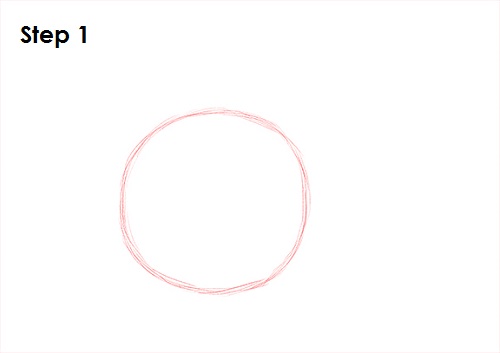
Step 1: Draw a big circle as a guide for the chipmunk's body. The circle doesn't have to be perfect. It's just a guide. Leave enough room on the sides for the chipmunk's head and tail.
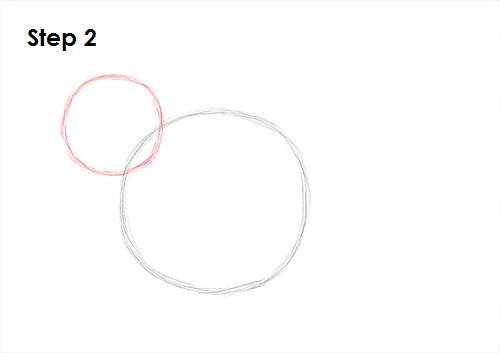
Step 2: Draw a smaller circle on the left side as a guide for the chipmunk's head. This circle should be about one-fourth the size of the first one. The edges of the circles should overlap a bit.
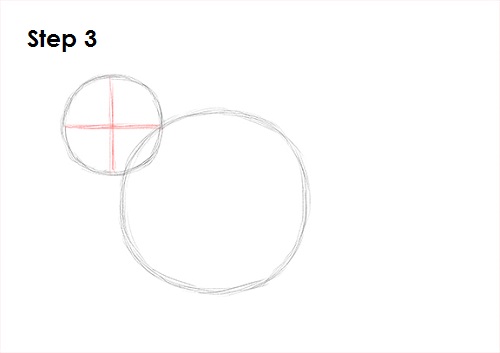
Step 3: Inside the circle, draw two intersecting lines. These lines will help you draw the chipmunk's facial features later on.
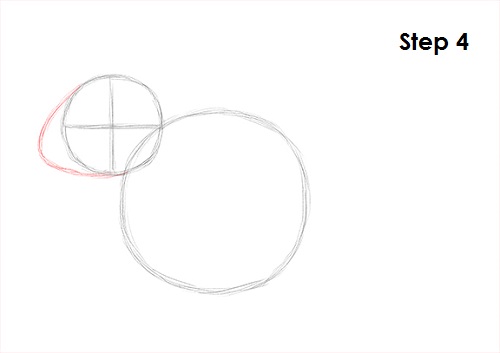
Step 4: Draw an arc on the left side of the head as a guide for the chipmunk's muzzle.
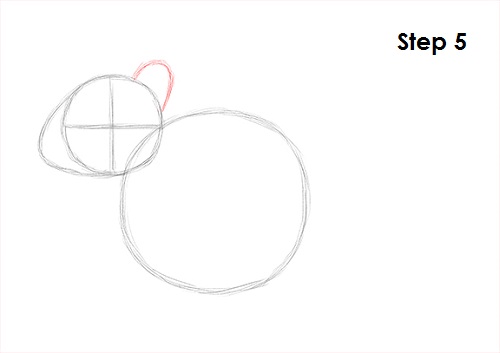
Step 5: Draw a smaller arc on top of the head as a guide for the chipmunk's ears.


