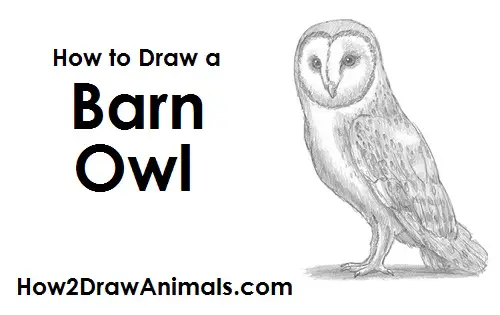
In this free art lesson, you'll learn how to draw a Barn Owl step-by-step.
Stay tuned for more free drawing lessons by:
Liking us on Facebook>>
Subscribing on YouTube.com>>
Following us on Instagram>>
All of the tutorials on How2DrawAnimals.com are good drawing tutorials for beginners and experienced artists alike. The online tutorials are easy to follow; they teach you the how to draw basics while showing you how to draw animals step by step. Each animal has a video drawing tutorial option, as well as step-by-step photos and written text to follow.
RELATED TUTORIALS
 |
 |
 |
To draw this Barn Owl step by step, follow along with the video tutorial below and pause the video after each step to draw at your own pace. You may find it easier to follow the step-by-step drawings below the video. The new lines in each step are shown in red, so you'll know exactly what to draw next. You may want to open the video in a new tab and use both drawing methods. Take your time and draw at your own pace.
Below you can watch a NEW step-by-step video tutorial with NARRATED steps:
The following is a video tutorial where the steps are WRITTEN out within the video:
For the first few steps, don't press down too hard with your pencil. Use light, smooth strokes to begin so that it's easy to erase if you make a mistake.
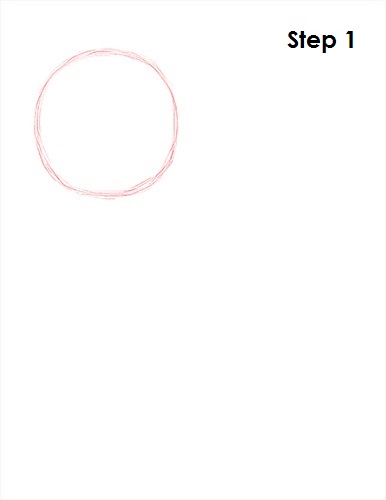
Step 1: Draw a circle on the top half of the page as a guide for the barn owl's head. It doesn't have to be perfect. It's just a guide.
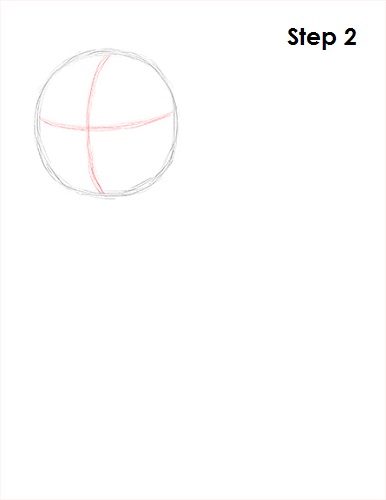
Step 2: Inside the head, draw two intersecting lines that will help you to place the barn owl's facial features later. Bend the lines to contour to the shape of the circle.
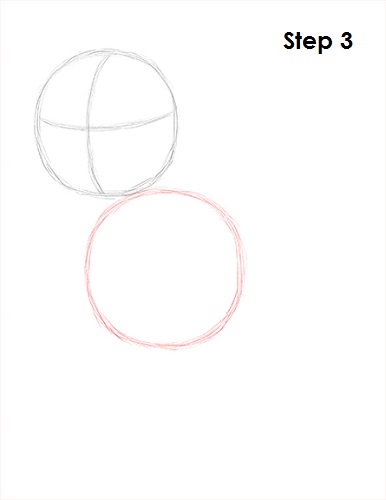
Step 3: On the lower right side of the head, draw another circle as a guide for the top part of the barn owl's body. This circle should be a tiny bit bigger than the first one. And again, don't worry about drawing it perfectly. Notice the placement of the circles. The bottom one is not directly underneath, and their edges are slightly grazing.
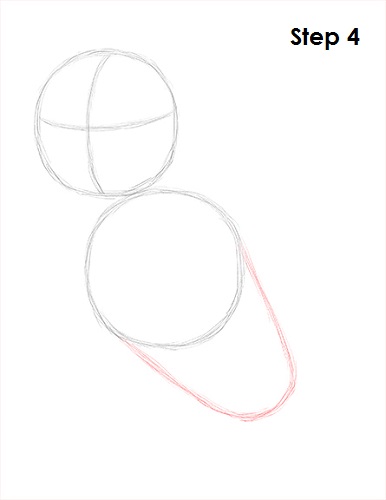
Step 4: Draw a long arc similar to the letter U on the lower right side of the second circle as a guide for the lower half of the barn owl's body.
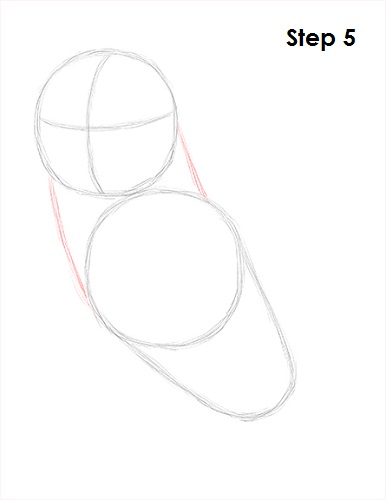
Step 5: Draw two lines that connect the barn owl's head and body and form the neck.


