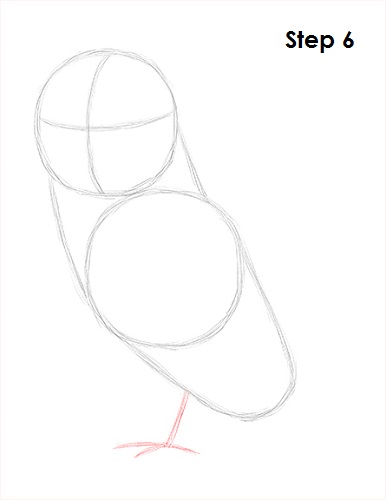
Step 6: Draw four short, straight lines under the barn owl's body as guides for the feet.
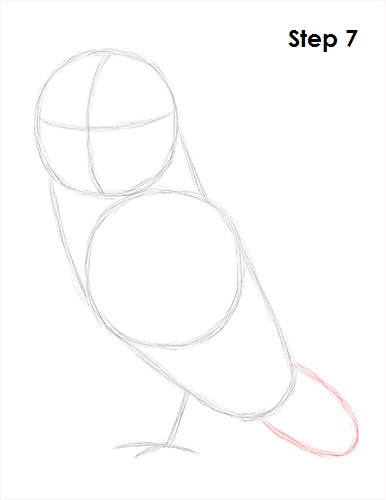
Step 7: Draw a smaller U-shaped arc on the lower right side of the barn owl's body as a guide for the tip of the wings.
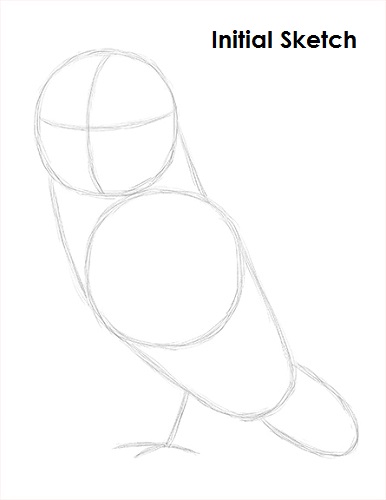
That's it for the initial sketch! From this point on, press harder with your pencil to get a more defined sketch.
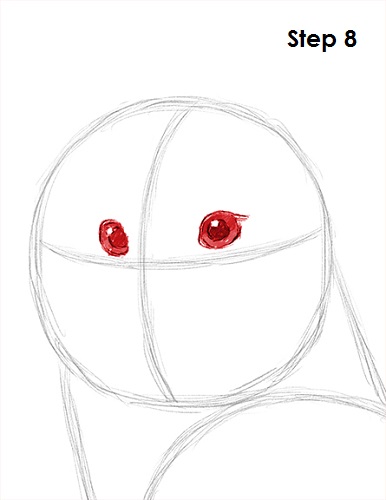
Step 8: Draw the eyes inside the head using the lines as guides for placement. The shapes of the barn owl's eyes are similar to ovals with pointed ends. The eye on the left should be smaller because of perspective. Draw a small circle inside each eye to represent glare. Darken the edges of the eyes for the actual eyeball. Draw a slightly bigger circle inside each eye and shade it in for the pupils. Add more value to the rest of the barn owl's eyes. Don't make them as dark as the pupils. Draw a few tiny lines surrounding the eyes for extra detail.
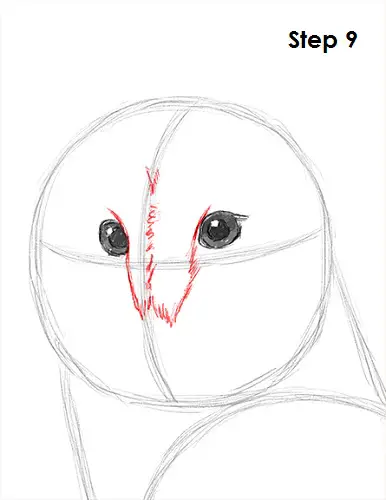
Step 9: Draw the barn owl's feathers that cover the top part of the beak using the intersecting lines as guides. The feathers form a V-like shape that starts between the eyes and moves down toward the guide line. Use quick, short strokes to indicate the fluffy feathers. Angle the two lines up so they meet in the middle, then follow the guide line as you draw the feathers that form the middle ridge.


