Page 1 of 4
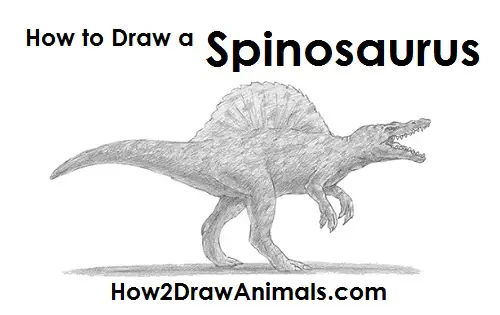
Please PAUSE the "How to Draw a Spinosaurus" video after each step to draw at your own pace.
For the first few steps, don't press down too hard with your pencil. Use light, smooth strokes to begin.
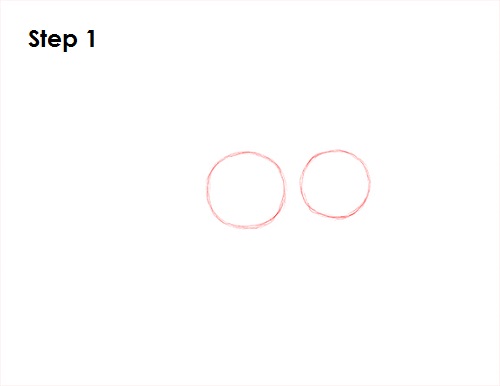
Step 1: Draw two circles as guides for the spinosaurus' body. The circles don't have to be perfect. They're just guides. The circle on the left side should be a bit bigger than the one on the right and fairly close to it.

Step 2: Draw a circle that's about one-third the size of the first circle on the right side as a guide for the spinosaurus' head.
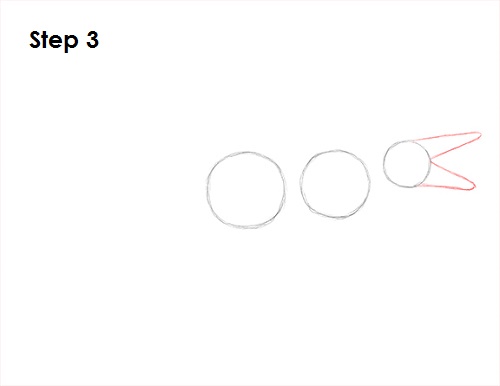
Step 3: Draw two triangle-like arcs on the right side of the head as guides for the spinosaurus' open mouth. The longer these arcs are, the longer the muzzle will be. The farther apart they are, the wider the mouth's opening will be.
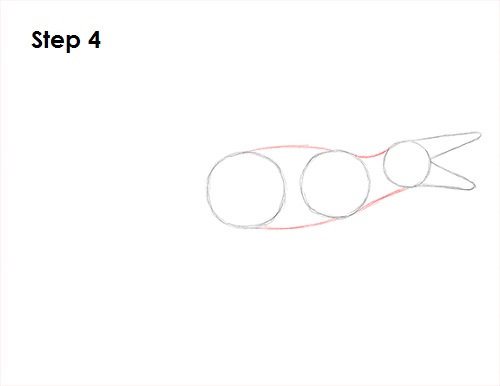
Step 4: Draw a series of curved lines that connect the major shapes to form the spinosaurus' body.
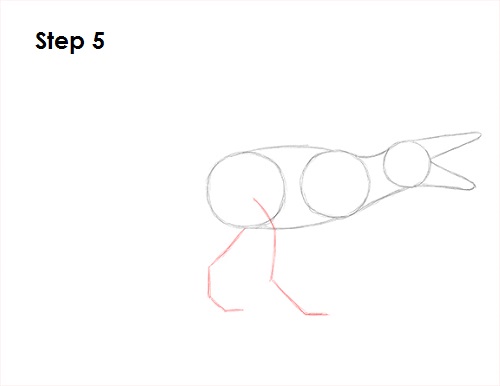
Step 5: Under the circle on the left, draw a couple of lines as guides for the spinosaurus' legs. Bend the lines to indicate where the joints will be.


