Page 1 of 4
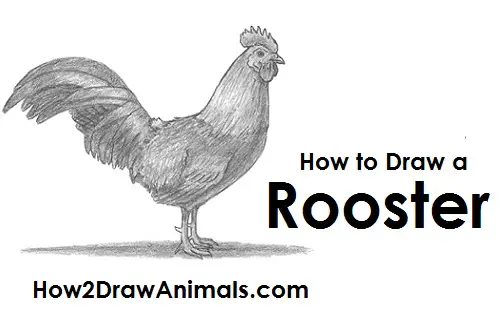
Please PAUSE the "How to Draw a Rooster" video after each step to draw at your own pace.
For the first few steps, don't press down too hard with your pencil. Use light, smooth strokes to begin.
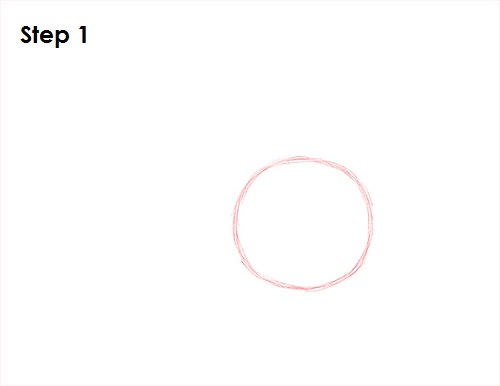
Step 1: Draw a circle as a guide for the front part of the rooster's body. The circle doesn't have to be perfect. It's just a guide. Leave enough room on the top right and the left to draw the rooster's head and long tail.
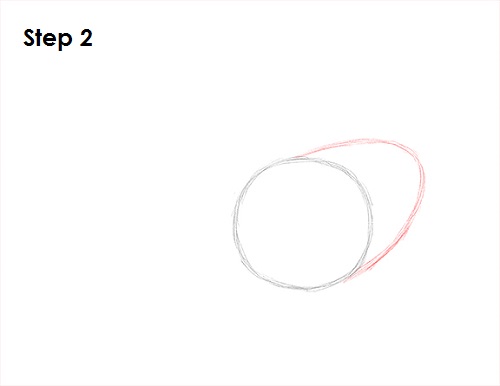
Step 2: Draw an arc on the upper right side of the circle to finish up the guide for the rooster's body. The end result should be a shape similar to an egg. In this case, the egg comes before the chicken!
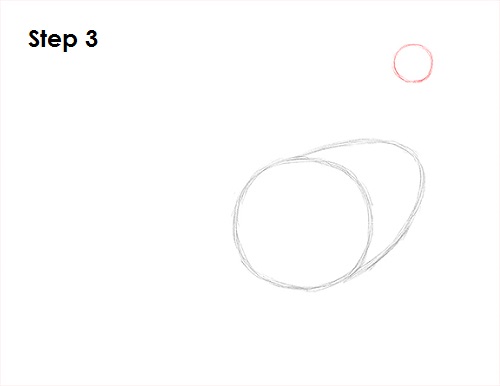
Step 3: Draw another circle above the body on the right side as a guide for the head. Roosters have small heads, so draw a small circle. Don't place the circle too high or your rooster will end up with a long neck.
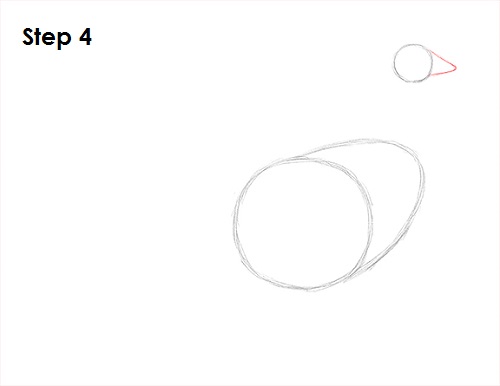
Step 4: Draw a triangle-like shape on the right side of the rooster's head as a guide for the beak.
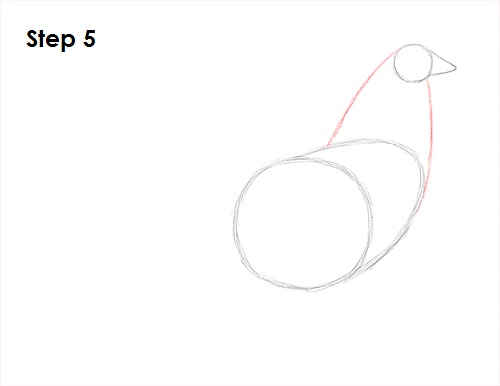
Step 5: Draw a couple of lines that connect the rooster's head and body to form the neck.


