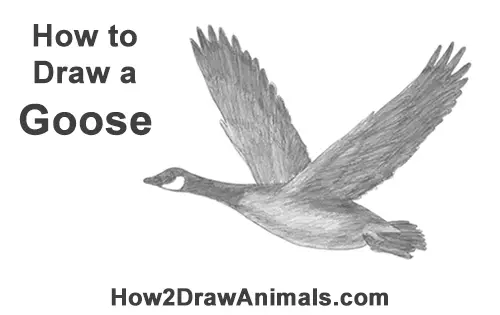
Please PAUSE the "How to Draw a Canada Goose" video after each step to draw at your own pace.
Time-Lapse (Speed Drawing) video:
Written step-by-step video tutorial:
For the first few steps, don't press down too hard with your pencil. Use light, smooth strokes to begin.
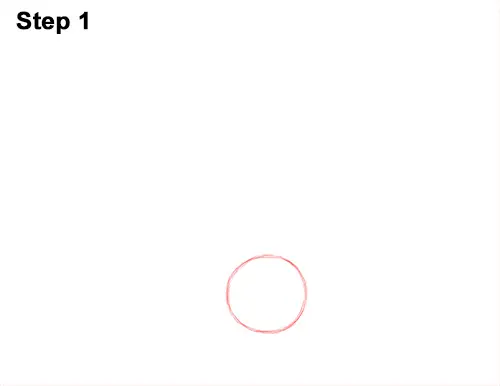
Step 1: Draw a small circle near the bottom of the paper as a guide for the Canada goose's body. First make four small marks to indicate the circle's height and width. Then connect the marks using curved lines. If you're struggling drawing the circle, trace the outer rim of a coin, a lid or any other object with a circular edge. For a more detailed guide on the different ways to draw a circle check out this tutorial: Four simple ways to draw a circle.
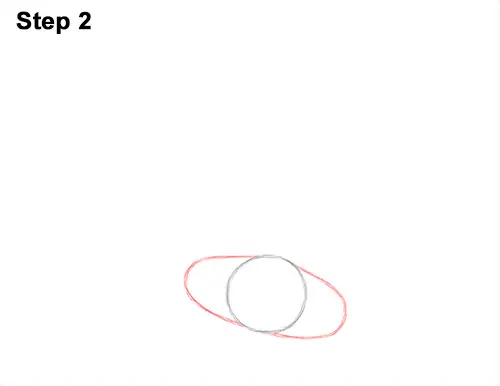
Step 2: Draw the second guide for the body by first making a small mark to the left of the circle. Then connect the mark to the circle using curved lines to form an arc. Draw a similar arc on the right side of the circle to finish the guide for the Canada goose's body. The arc on the right should be lower than the arc on the left. Pay attention to their size in relation to the circle.
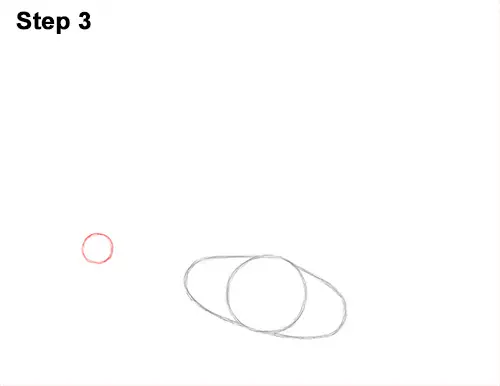
Step 3: To the left of the body, draw a small circle as a guide for the Canada goose's head. This circle should be very small compared to the body. Pay attention to how far away it is from the body.
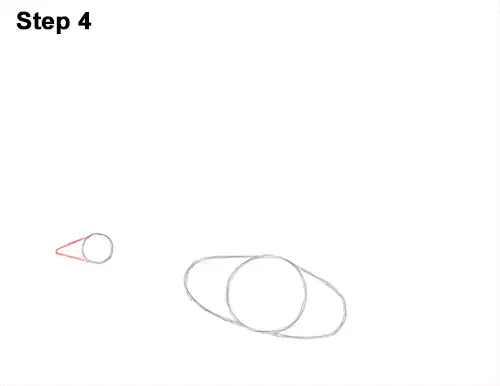
Step 4: To the left of the head, draw an angled line similar to a less-than sign (<) as a guide for the goose's beak.
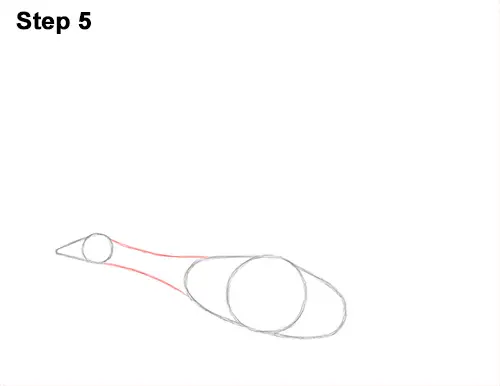
Step 5: Draw two long lines that connect the head to the body to create the guide for the Canada goose's neck. Curve the lines a little so that the neck is a bit thinner near the middle.


