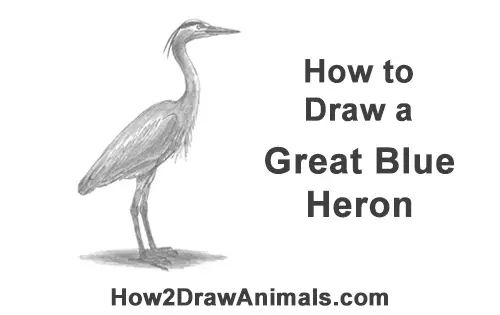
Please PAUSE the "How to Draw a Great Blue Heron" video after each step to draw at your own pace.
The Time-Lapse (Speed Drawing) video:
The Written step-by-step video tutorial:
For the first few steps, don't press down too hard with your pencil. Use light, smooth strokes to begin.

Step 1: Draw a small circle near the top of the paper as a guide for the great blue heron's head. If you're struggling to draw the circle, trace the outer rim of a coin, a button or any other object with a circular edge. For a more detailed guide on the different ways to draw a circle check out this tutorial: Four simple ways to draw a circle.
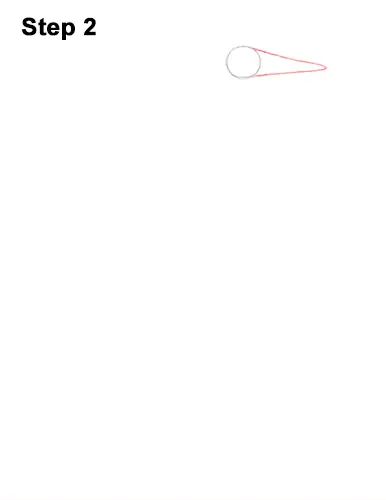
Step 2: To the right of the head, draw a long, triangular shape made up of two lines as a guide for the great blue heron's beak. Pay attention to how long this shape is in relation to the circle for the bird's head.
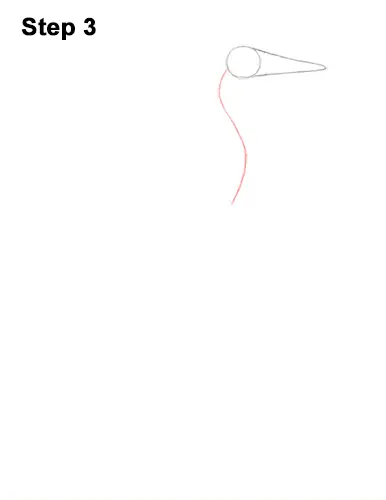
Step 3: Below the bird's head, draw a long, wavy, S-shaped line as a guide for the neck.
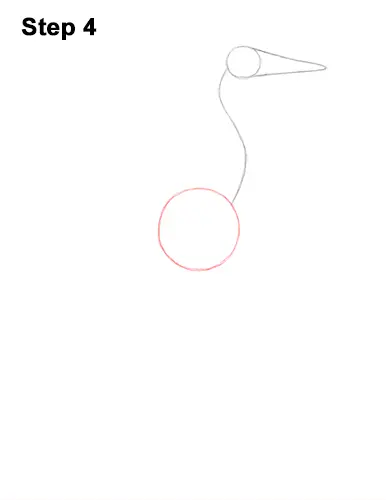
Step 4: At the end of the line, draw a big circle as a guide for the front part of the heron's body. To draw a bigger circle like this, first make four small marks to indicate its height and width. Then connect the marks using curved lines to create the shape of the circle.
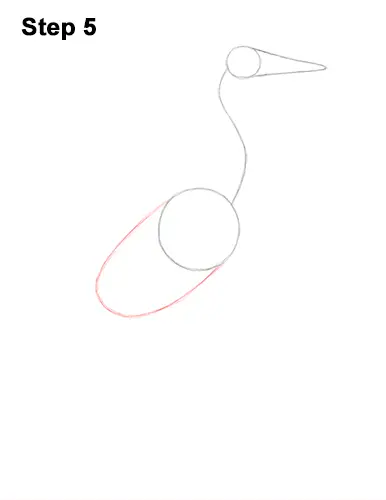
Step 5: Add the guide for the lower half of the great blue heron's body by first making a small mark on the lower, left side. Then using curved lines, connect the mark to the circle to form a big arc.


