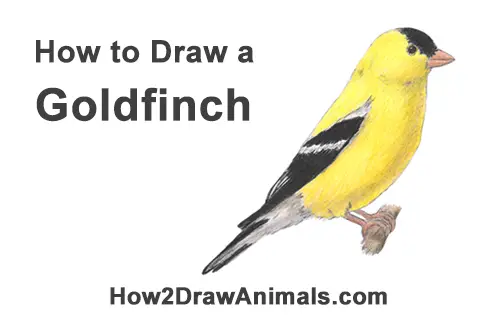
Please PAUSE the "How to Draw a Goldfinch" video after each step to draw at your own pace.
Time-Lapse (Speed Drawing) video:
Written step-by-step video tutorial:
For the first few steps, don't press down too hard with your pencil. Use light, smooth strokes to begin.
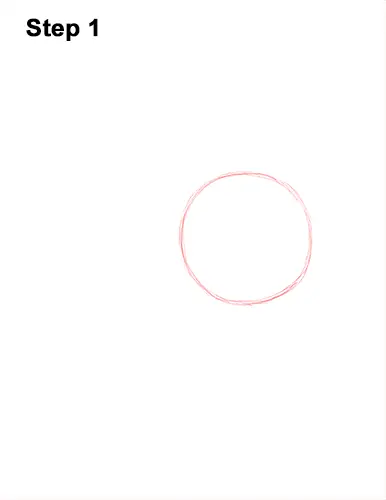
Step 1: Draw a circle as a guide for the goldfinch's body. First draw four marks for the height and width of the circle, then connect the marks using curved lines. The circle doesn't have to be perfect. It's just a guide. If you do want a perfect circle, trace the outer rim of a glass, a coin or anything else circular.
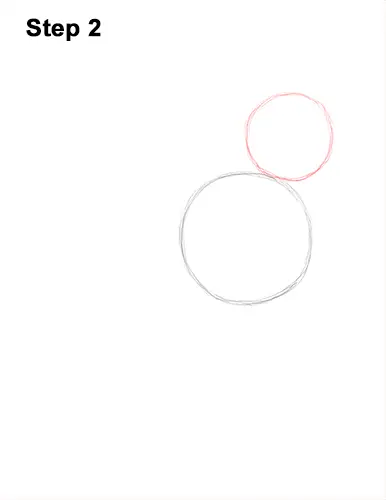
Step 2: Draw another circle on the top, right side as a guide for the goldfinch's head. This circle should be smaller than the first, and their edges should touch.
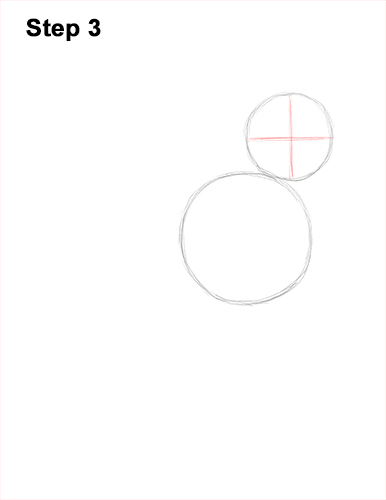
Step 3: Draw two intersecting lines inside the goldfinch's head. The tip of the triangle shape should almost line up with the horizontal construction line inside the head.
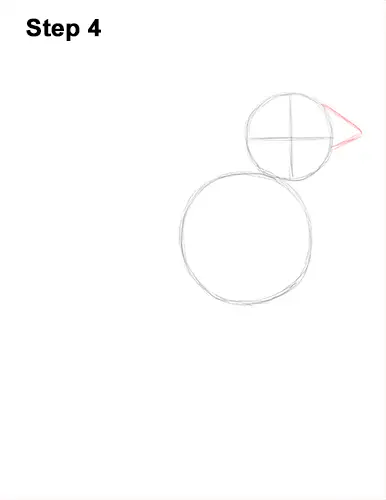
Step 4: Draw a triangle- like shape on the right side of the head as a guide for the beak. The tip of the triangle shape should almost align with the horizontal construction inside the head.
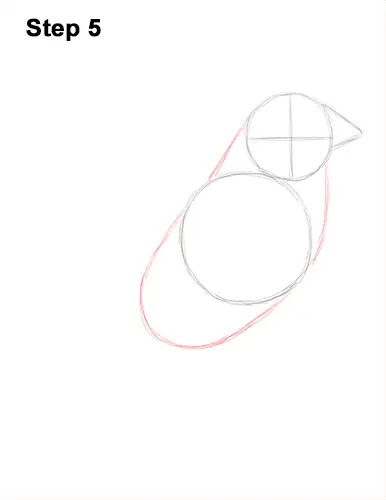
Step 5: Draw a few more lines to complete the guide for the goldfinch's body. Start with a couple of short, curved lines at the top for the neck. Then draw a big U-shaped arc on the lower, left side as a guide for the lower half of the body.


