Page 1 of 4
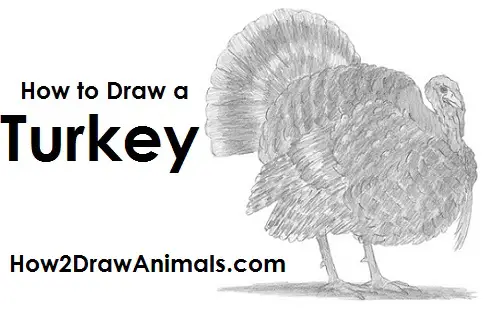
Please PAUSE the "How to Draw a Turkey" video after each step to draw at your own pace.
For the first few steps, don't press down too hard with your pencil. Use light, smooth strokes to begin.
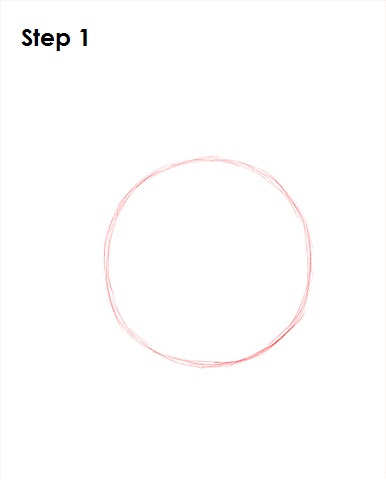
Step 1: Draw a big circle as a guide for the turkey's body. The circle doesn't have to be perfect. It's just a guide.
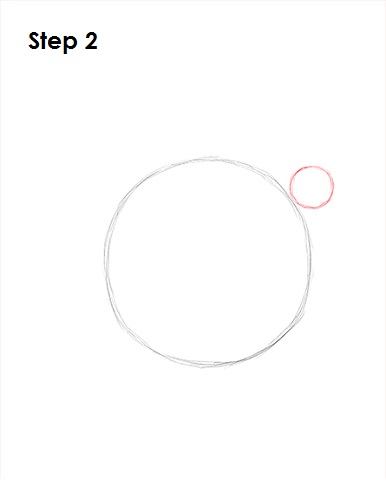
Step 2: Draw a smaller circle on the top right side of the body as a guide for the turkey's head. Turkeys' heads are quite small compared to their bodies, so make this circle very small.
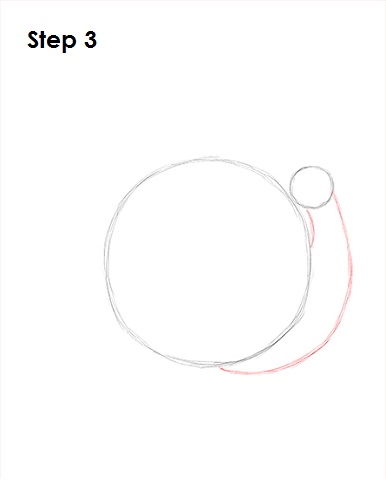
Step 3: Draw a long, curved line on the lower right side that connects the head to the body as a guide for the turkey's neck.
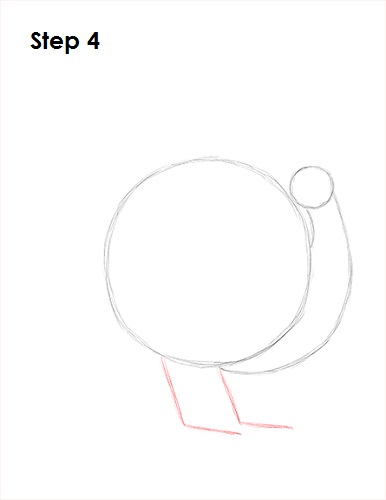
Step 4: Draw two L-shaped lines under the turkey's body as guides for the feet.
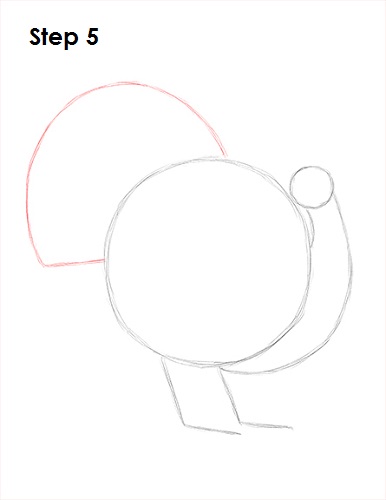
Step 5: Draw a line on the upper left side of the body as a guide for the turkey's tail feathers. The top of the line should curve, while the lower part should be flat and horizontal.


