Page 2 of 4
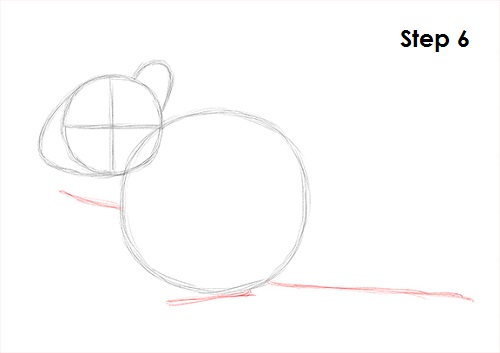
Step 6: Draw a couple of lines on the left and bottom of the body as guides for the chipmunk's limbs. Draw a longer line on the right side for the chipmunk's tail.
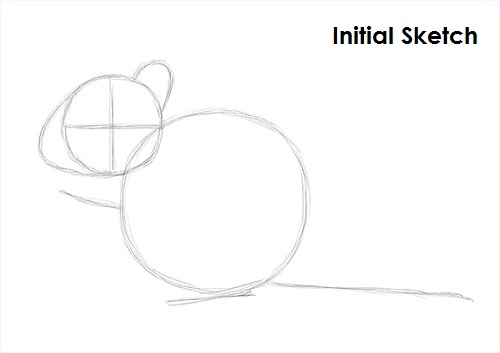
That's it for the initial sketch! From this point on, press harder with your pencil to get a more defined sketch.
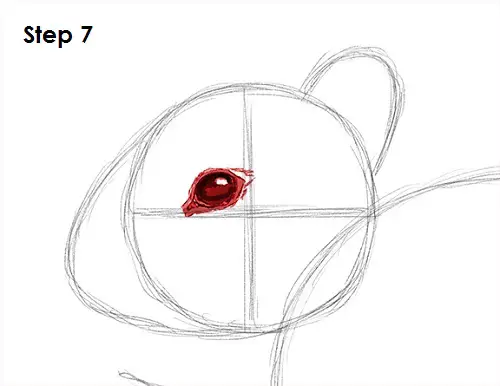
Step 7: Draw the chipmunk's eye in the head by first lightly sketching a circle. Use the lines as guides for placement. Darken the shape of the chipmunk's eye and make the sides pointier. Add a small arc on the left side of the eye to complete the eye shape. Shade in the entire eyeball except for a tiny circle to represent glare. Use a darker value on the top and bottom of the eyeball for a more spherical appearance. Draw a line that surrounds the eye for extra detail. Shade the space between the line and the eye using a light value. Add a few quick, short strokes on the right side for the fur around the eye.
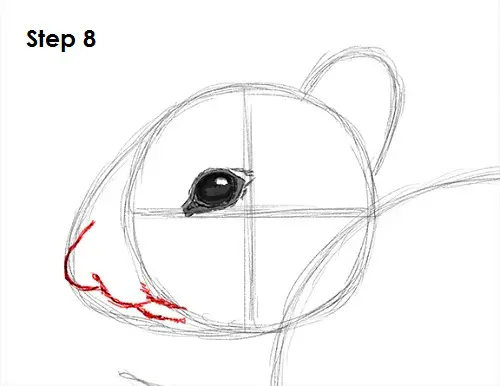
Step 8: Use the arc on the left side as a guide to draw the chipmunk's muzzle. Draw a smaller arc within the guide for the nose. Add a line under the nose for the upper lip. Draw a smaller line under that for the chipmunk's lower lip.
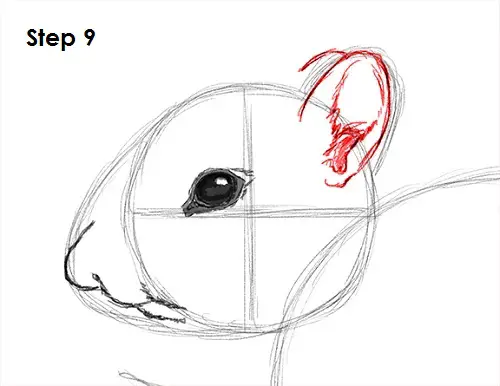
Step 9: Use the arc on the head as a guide to draw the chipmunk's ears. Darken the outer shape of the arc and add a few quick, short strokes in the shape for the fur. Add a few more lines inside to complete the inner structure. Draw a curved line on the left for the chipmunk's other ear.


