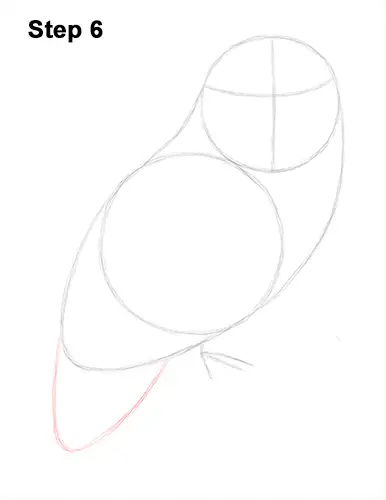
Step 6: Draw a short arc on the lower left side of the body as a guide for the snowy owl's tail.
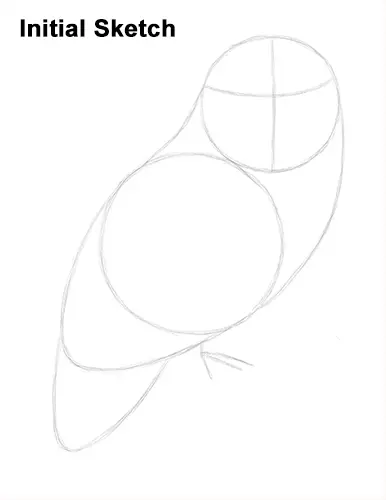
That's it for the initial sketch! From this point on, press harder with your pencil to get a more defined sketch.
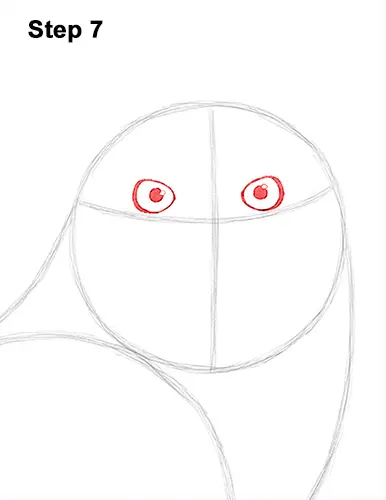
Step 7: Lightly sketch the snowy owl's eyes inside the head as small half-circles using the initial lines as guides for placement. Darken the outline of the eyes when you get the shapes right. Darken the sides of the eyes using a thicker line. This thicker, darker edge helps define the shape of the eyeball inside. Add a tiny circle inside each eye, off to the side, to represent glare. In the middle of each eye, draw a big dot for the pupils. Add some shading at the top of each eye using a value that's lighter than the pupils.
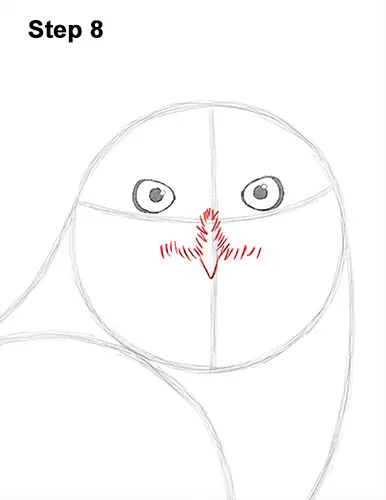
Step 8: Draw the snowy owl's beak under the eyes using an angled line similar to the letter V. Add a few lines above and to the sides of the beak for the feathers. Use quick, short strokes to give the lines a feathery texture.
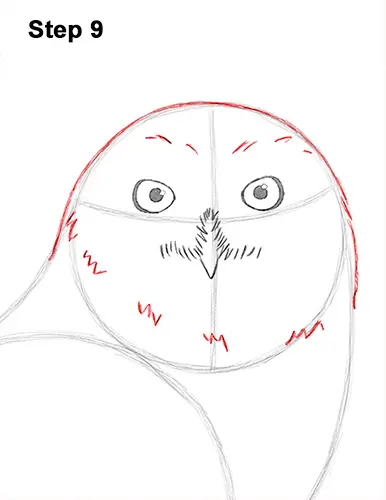
Step 9: Draw the rest of the snowy owl's head using the initial circle as a guide. Follow the basic path of the circle as you darken the lines to create the shape of the head. Add a few more quick, short strokes inside the head for a more feathery texture.


