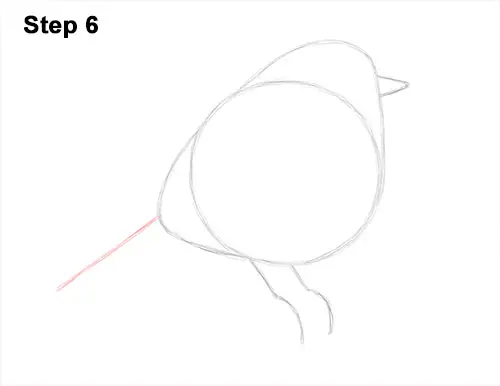
Step 6: On the bottom, left side of the body, draw a long, diagonal line as a guide for the European robin's tail.
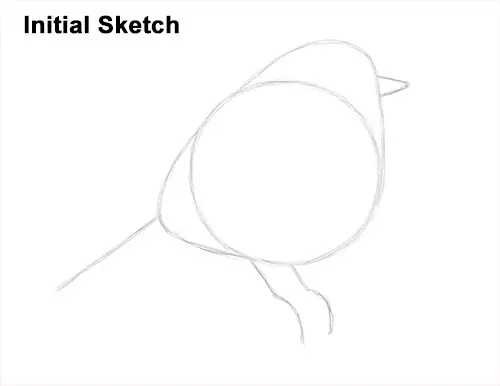
That's it for the guides! From this point on, press harder with your pencil for a more defined drawing.
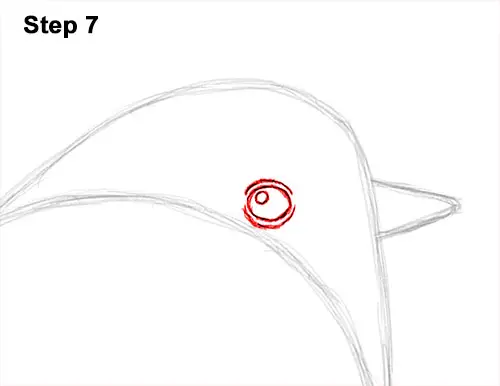
Step 7: Inside the bird's head, lightly sketch a small circle for the eye. Draw the eye near the outer edge of the body circle. Darken the eye when you get the placement right. Inside the eye, off to the side, draw a tiny circle to represent glare. Add a couple of curved lines around the robin's eye for extra detail.
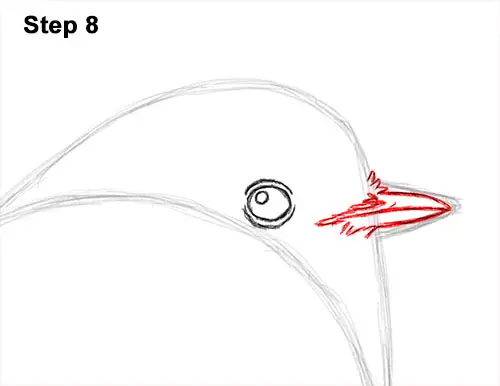
Step 8: Use the angled line on the right as a guide to draw the robin's beak. Follow the basic path of the guide but make the shape of the beak narrower. Draw a line across the beak that extends in toward the head for the mouth. Use a series of short strokes on the left side for the feathery base of the bird's beak. The strokes should be very close to the eye. Add a slit inside the beak for the nostril.
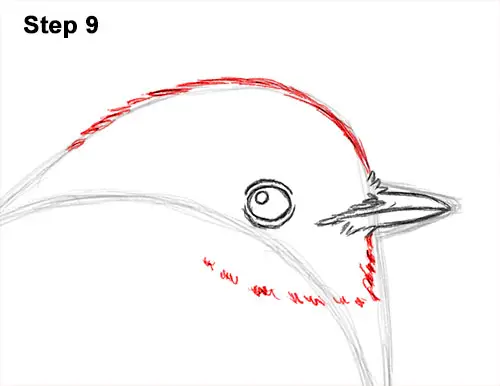
Step 9: Use the initial curved line as a guide to draw the rest of the robin's head. Use short strokes as you darken the path of the guide to create the feather-like texture on the head. Draw more strokes below the eye for the bottom part of the head. Don't draw too many strokes at the bottom; just a few scattered ones.


