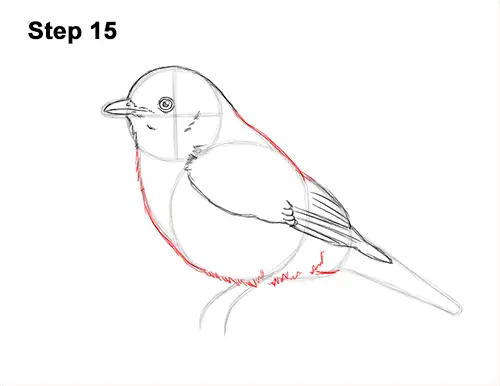
Step 15: Use the initial lines and shapes as guides to draw the bird's body. Darken the outer edges of the initial guides to create the shape of the body. Draw a series of short strokes on the bottom for the fluffy feathers found there. Darken the top part of the guides just above the bluebird's wing to finish the shape of the body.
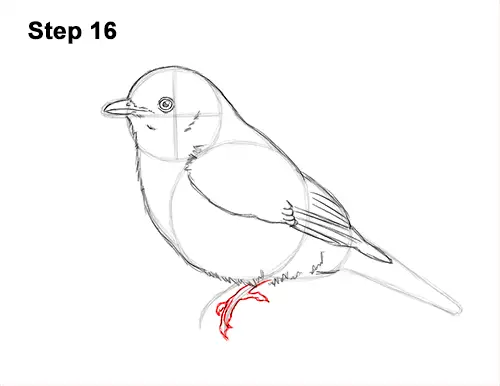
Step 16: Use the sloping line under the body, on the right side, as a guide to draw the first leg. Draw the shape of the bluebird's foot around the guide. At the bottom, the shape becomes the middle toe. Draw two pointy tips at the bottom for the nails on the middle toe and the exterior toe. At the top, draw a shape that curves to the right for the toe that points backward. On the left, draw the bird's interior toe.
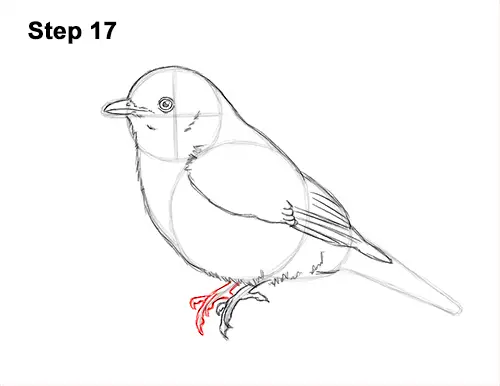
Step 17: Use the sloping line on the left as a guide to draw the other foot the same way. Draw the shape of the bluebird's foot and toes around the guide. Make the tips of the toes pointy for the nails. At the top, draw the backward-facing toe. Add the interior and exterior toes on the sides of the middle toe.
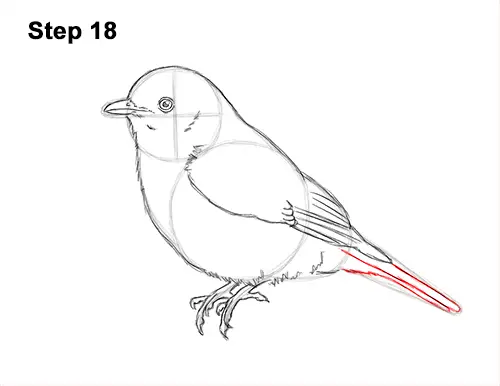
Step 18: Follow the path of the guide on the right to draw the bird's tail but make the shape a bit thinner. Inside the tail, draw a line for the detail on the bluebird's feathers.
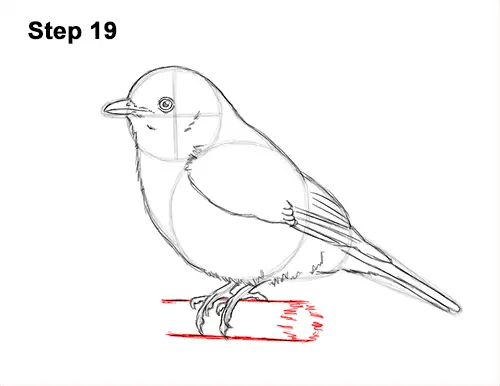
Step 19: Draw a couple of lines on the sides of the feet to create a branch for the bird to stand on. Don't overlap the feet as you draw the shape of the branch behind them. On the right side, draw a series of jagged lines for the side of the branch.


