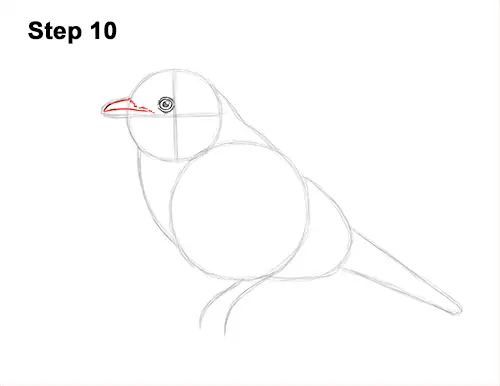
Step 10: Darken the top edge of the small arc to create the first part of the bluebird's beak. Draw a line across the arc that extends to the right and almost meets the eye for the mouth. At the top, draw a series of short strokes for the feathery base.
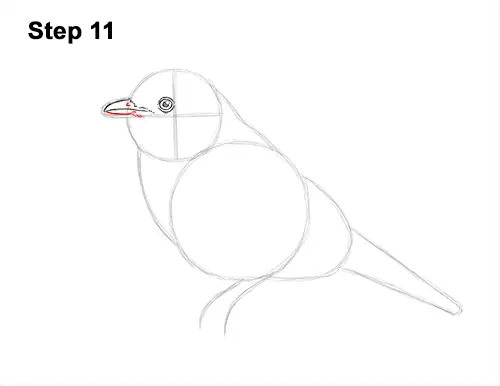
Step 11: Darken the bottom part of the initial arc to finish the shape of the bluebird's beak. On the right, draw a few strokes for feathers. Inside the top part of the bird's beak, draw a tiny slit for the nostril.
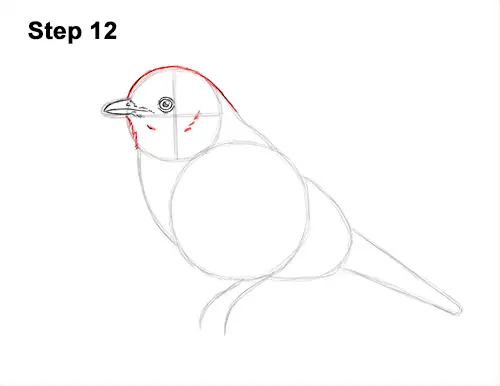
Step 12: Use the initial shapes as guides to draw the rest of the bluebird's head. Darken the outer edges of the initial guides to create the shape of the head. The area above the beak should be wider than the initial circle. The area below the beak should be thinner.
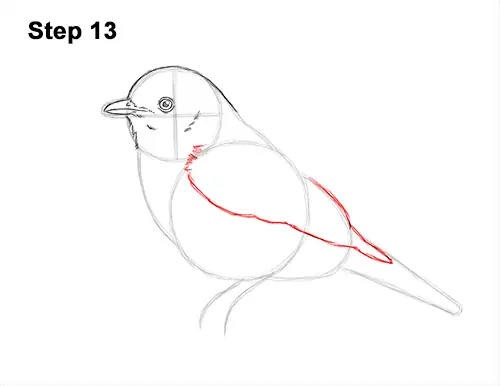
Step 13: Lightly sketch a long, sloping line across the entire body for the bird's folded wing. The line should curve at the top, below the head. When you get the shape right, darken the line. The line for the bluebird's wing should cut across the middle of the body and end inside the arc for the tail. Darken a section of the top part of the guides for the top edge of the folded wing.
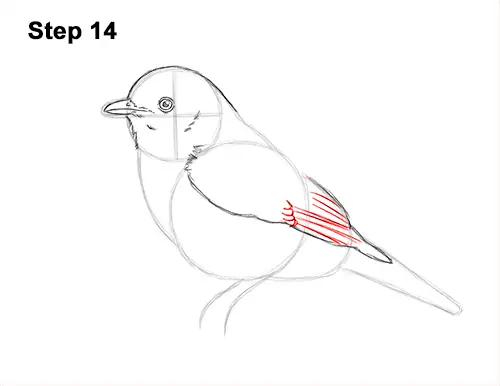
Step 14: Near the middle of the wing, draw a series of short, curved lines for some feathers. To the right, draw a series of sloping lines for more feathers on the bluebird's folded wing.


