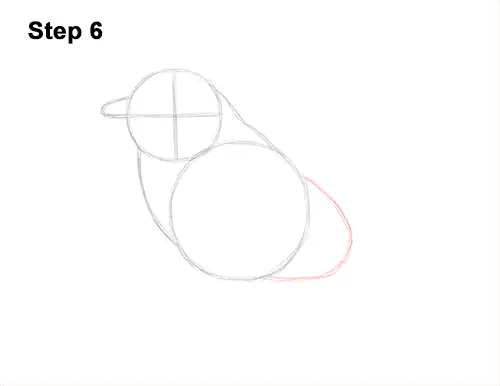
Step 6: Add the guide for the lower half of the bluebird's body by first making a small mark on the lower, right side of the first circle. Now connect the mark to the circle using curved lines to form a big arc.
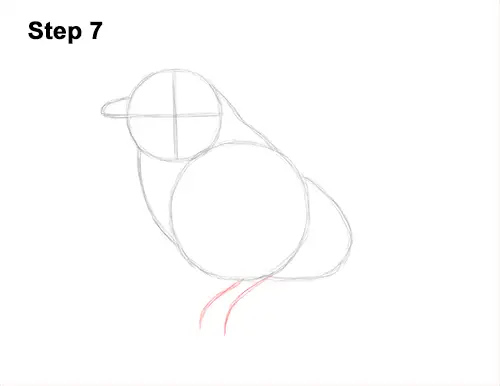
Step 7: Under the body, draw two long, sloping lines as guides for the bluebird's legs.
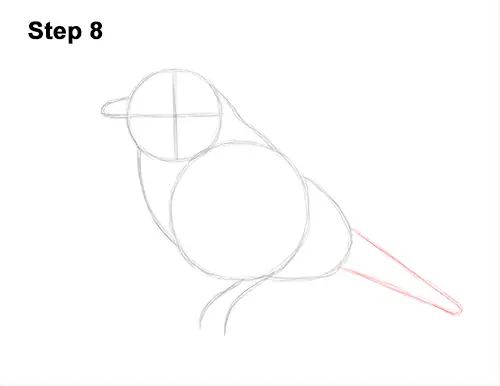
Step 8: Draw a thin, long arc on the lower, right side of the body as a guide for the bird's tail. Make the base wide and the tip thin. The whole shape should slope down toward the lower, right side.
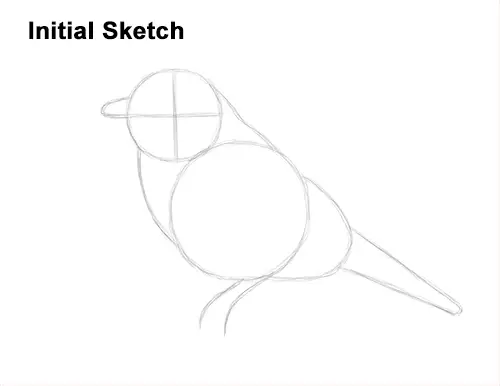
That's it for the guides! From this point on, press harder with your pencil for a more defined drawing.
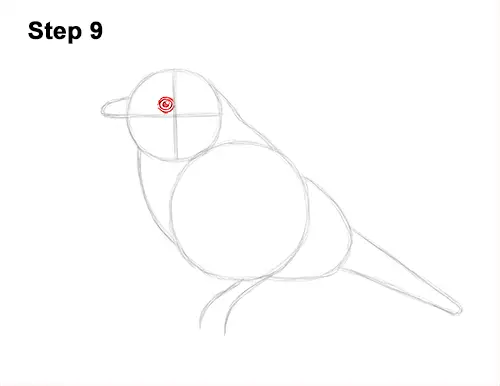
Step 9: Inside the head, lightly sketch a small circle for the bluebird's eye. Use the initial lines as guides for position. When you get the size and position of the eye right, darken the shape. Inside the eye, off to the side, draw a tiny circle to represent glare and a big dot in the middle for the pupil. Draw a couple of curved lines around the bird's eye for the eyelids.


