







How to Draw a Circle (Four Different Ways)
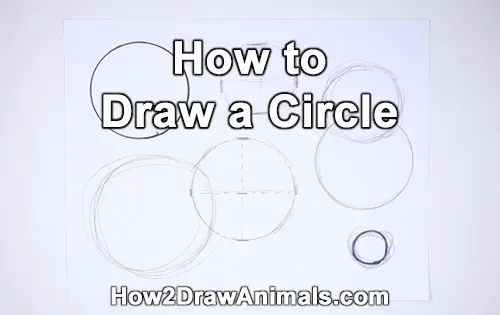
Use the video and tutorial below to learn how to draw a circle. There are four different methods to learn. Choose whichever suits you best and practice it! Please PAUSE the video after each step to draw at your own pace.
Method 1: The Four Marks (The How2DrawAnimals Way)
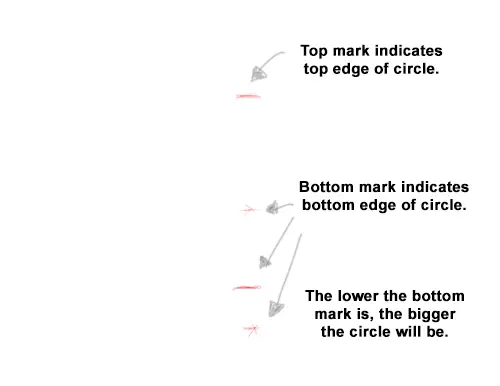
Step 1: First make a small mark to indicate the top edge of the circle you're going to draw. Now make another mark below where you want the bottom edge of the circle to be. Where you make this mark will determine the size of the circle. The farther down you go, the bigger it will be.
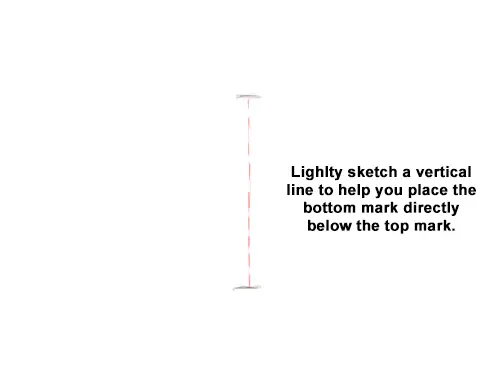
Step 2: Try to draw the second mark at the bottom directly below the one at the top. If it helps, lightly draw a vertical line to it.
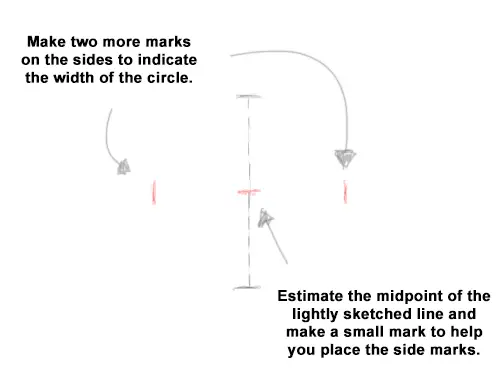
Step 3: Now make two more marks, one on either side, to determine the width of the circle. Don't make these marks too high up, or too far to the sides.
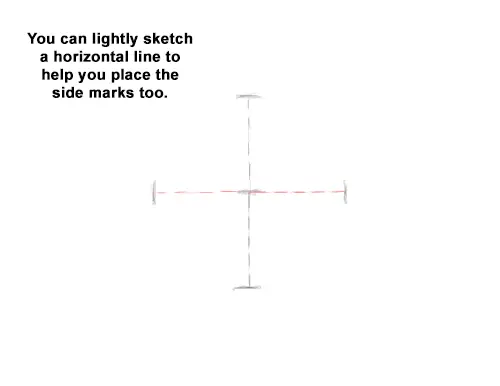
Step 4: If it helps, lightly sketch a horizontal line to determine where the side marks should be.
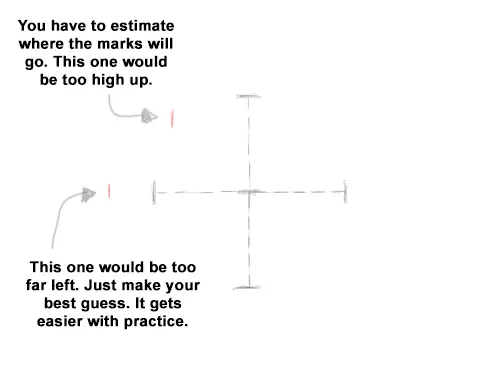
Step 5: It might be tricky, but you just have to estimate where the sides should be.
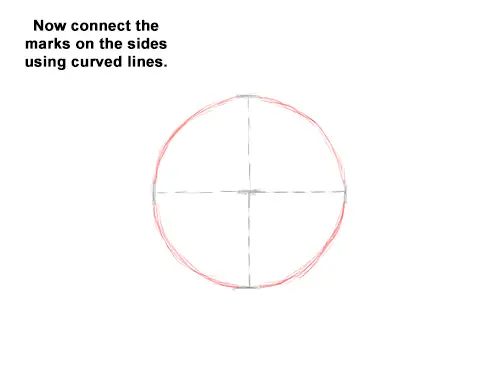
Step 6: Once you have the four marks about equally spaced apart, just connect them using curved lines to form the rest of the circle. Sketch lightly as you draw the curved lines to connect the marks.
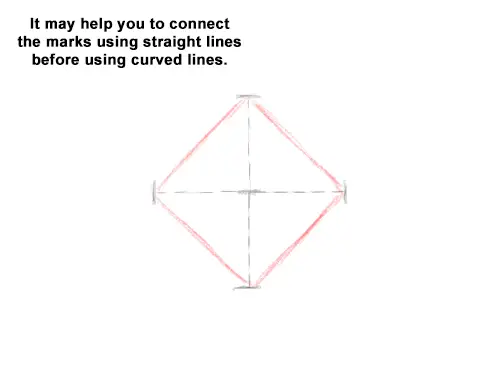
Step 7: It may help you visualize the circle if you first connect the marks using straight lines.
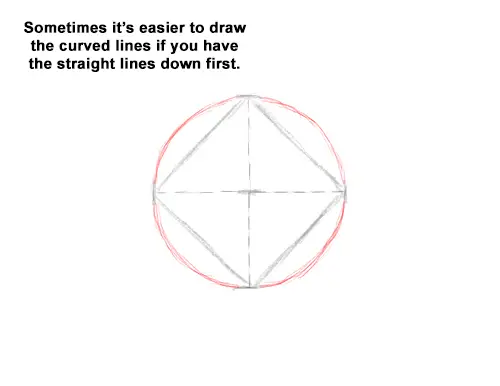
Step 8: Once you form a square using the marks and the connecting lines, it will be easier to draw the curved lines that form the circle.
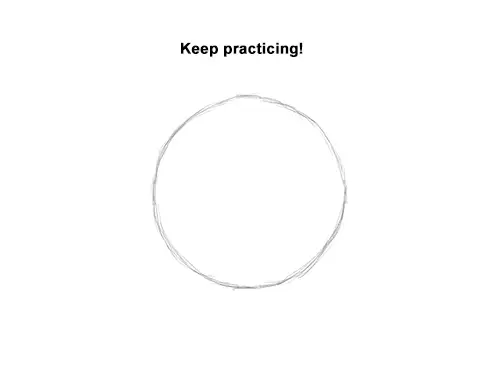
Step 9: You don't have to take these steps every time you draw a circle. This is just practice. The last few steps are to give you an understanding of the concept for drawing a circle using the four marks method. In time and with practice you'll only need the four marks and the curved lines to achieve awesome circles for sketching! And remember, if you're using these circles as initial guides, they don't have to be perfect. As long as they look circle-like, your finished drawing should be good.
Method 2: Tracing Objects
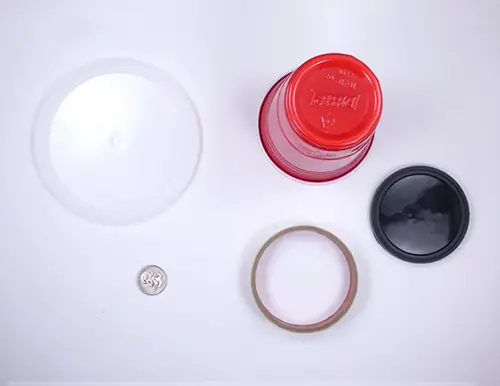
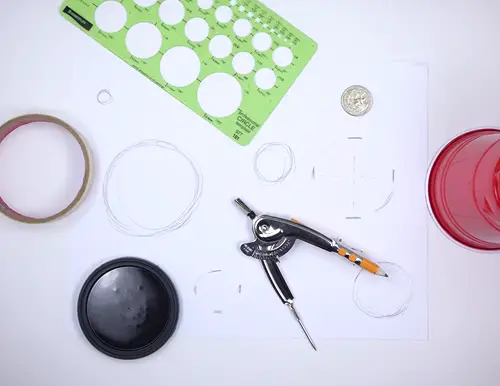
If you still have a hard time drawing circles, you can always trace the outline of round objects. You can use cups, coins, buttons, lids, etc. You'd be surprised how many household objects have round edges! After a while, you'll have a collection of items for any size circle you may need , and you'll get a perfect circle every time! The drawback to this method is that you have to amass a collection of round- edged items and use them every time you draw.
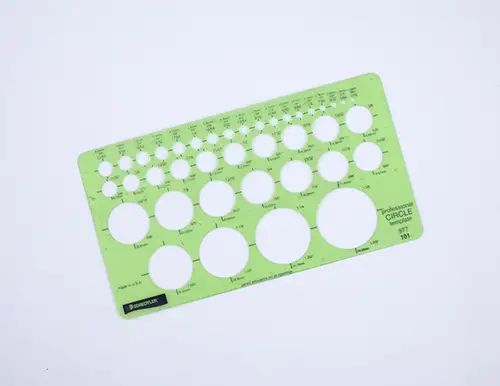
Another thing you can do is buy a circle template like this one. These templates have a variety of sizes and you'll get a perfect circle every time.
Here are a couple of options for circle templates that you can get from Amazon:
- For big circles - Westcott Circles Template, Jumbo
- For small circles - Westcott Circle Template, Small


Method 3: The Pro Artist's Way
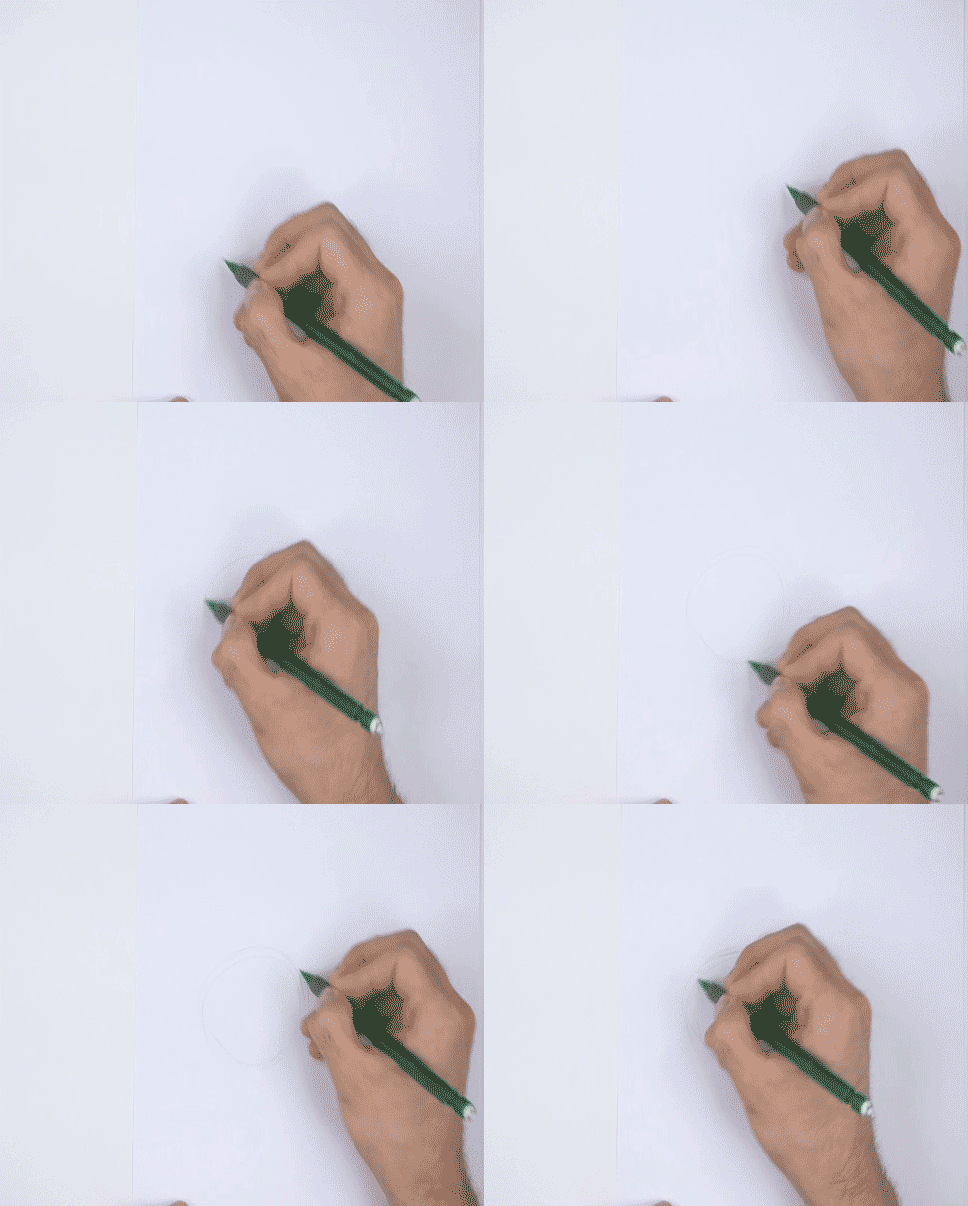
Use your entire arm to create a motion that simulates a circle as you hover over the paper. Grip your pencil in your fingers. When you get the motion right, set down the lead and sketch the circle. Then just go over the edge of the circle freehand to darken it a bit more. A lot of professional artists use this method, but it IS more difficult. That's why I use the first method in my tutorials.
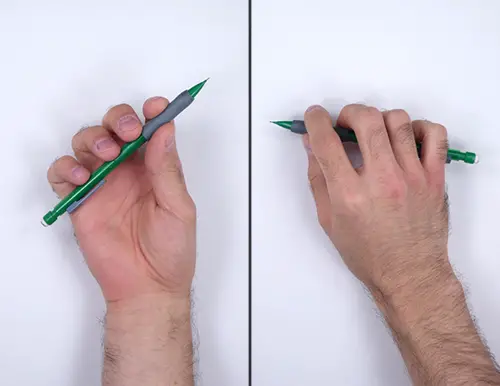
Some people find it easier to draw circles using this method if they hold the pencil like this. Give it a try! Hover over the paper as you make the motion of the circle, then set down the pencil's lead when you get it right. Remember, use your ENTIRE arm as you make the circular motion. It will give you better results. Using only your wrist or fingers for the motion may work for smaller circles, but for the most part, you want to use your whole arm.
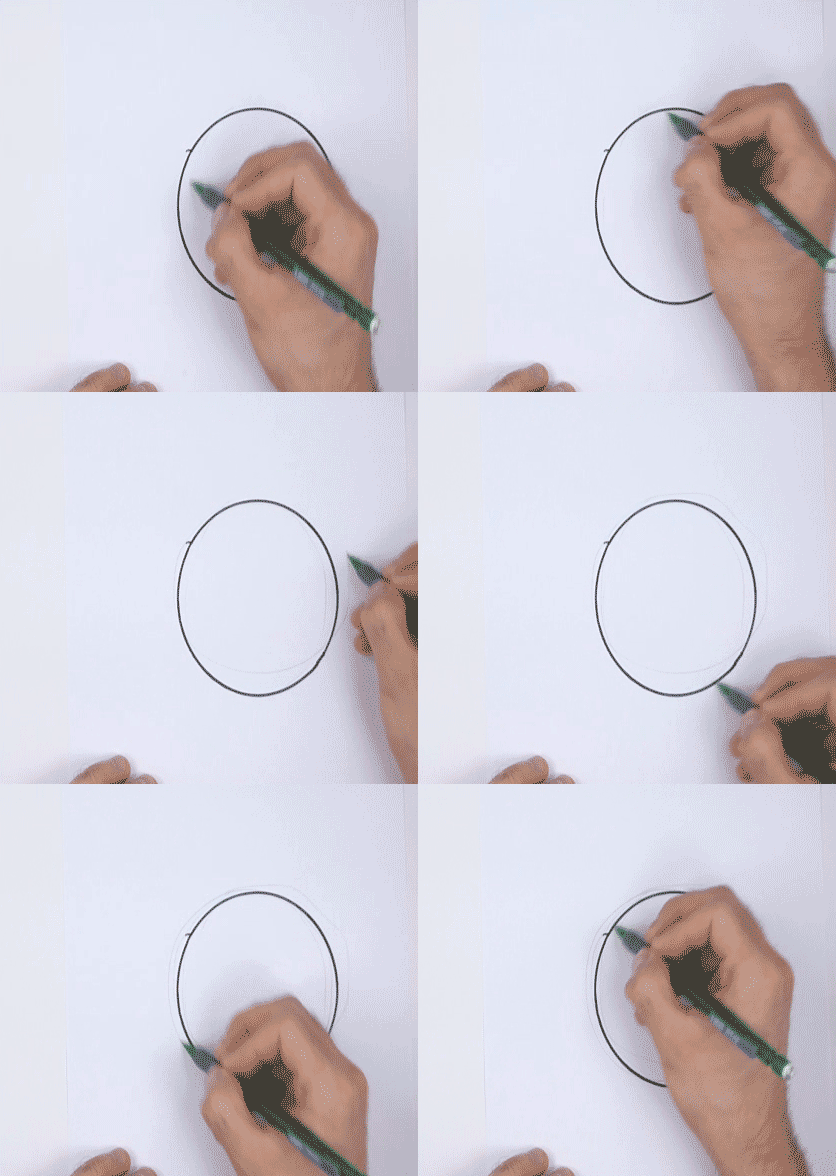
The following is a good exercise to practice the motion of your arm. Using a pen or marker, trace the edge of an object with a round edge like we did in the second method. Now with your pencil, trace over the ink again and again. This may be tedious , but it's a great way to practice the arm movement needed to perfect the third method.
Method 4: The Compass
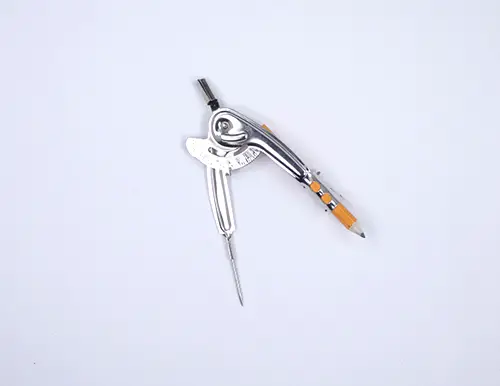
Of course, you can always use a compass! But this is used mainly for technical drawing and drafting. A downside to this is that the compass may create a hole in your paper, and that's not good for drawing. So why was this method included? Because you can actually use your pinky finger as a compass!
Grip your pencil and set the lead and your pinky down on the paper. Then just spin the paper around your pinky to create the circle. After enough practice, you can get very good circles. The tricky part is swiveling the paper. Grip your pencil, set the edge of your pinky down on the paper and swivel the paper a bit to test it out. Then just set the lead down and draw the circle! Turn the paper whichever direction is more comfortable for you. Push down with your pinky hard enough so that the paper doesn't move side to side too much but light enough so that it swivels around freely. This method is great, but it may be tricky if you have to draw multiple circles close to each other.
If you would still like to use a compass for your drawings here are some options you can get from amazon:
- For simple sketching, either one of these is fine - Charles Leonard Compass
or Staedtler Geometry Compass
- For more accurate drafting or technical drawings, this is a good option - Staedtler Masterbow Compass


Each method has advantages and drawbacks, so pick whichever suits you best. But above all, remember to practice!
Thanks for visiting! Subscribe to the How2DrawAnimals YouTube Channel for a new tutorial every Saturday.
To learn how to draw popular cartoon characters, visit EasyDrawingTutorials.com.
RELATED TUTORIAL
 |