







Up for a Drawing Challenge? Try These 10 Advanced Animals (VIDEOS & Step-by-Step Pictures)
Below are 10 step-by-step animal drawing tutorials for artists who are up for a more challenging drawing! You can watch the video tutorial and follow along, pausing after each step to follow at your own pace. Or you can click through to the article, which has each step broken down into an individual image, with new pencil lines shown in red, and an explanation of what to draw.
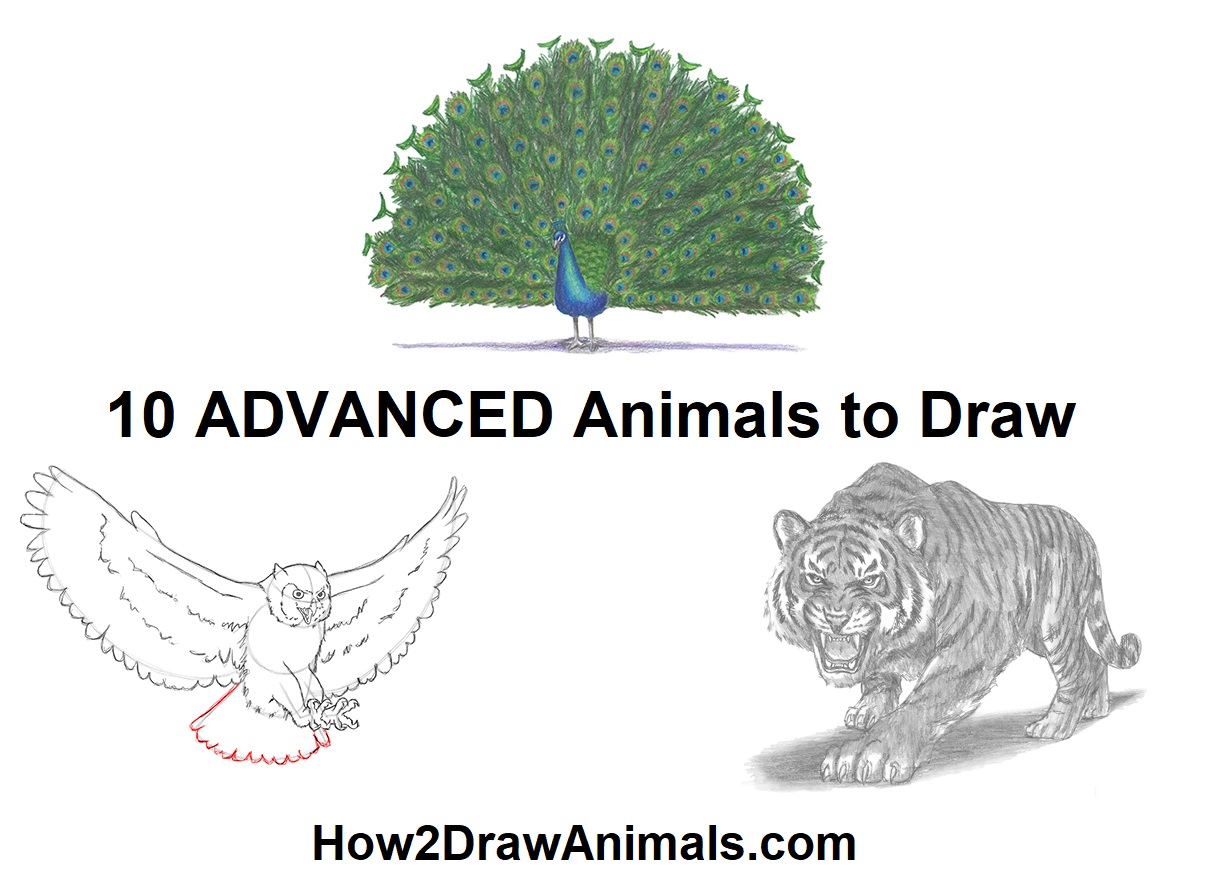
What makes these animal drawing tutorials a challenge? You will be using some more advanced drawing techniques, including:
- Perspective Creating an illusion of three-dimensions, making a your animal drawing seem to have form and distance.
- Shading Depicting levels of darkness by pressing harder on the pencil for darker areas, and lighter for lighter areas. Properly shaded areas on an animal creates the illusion of depth on paper.
- Detail Drawing the animal larger on the paper in order to add more detail. Detail is not always difficult, but it is time-consuming.
- Coloring Choosing the correct colored pencils to use, and applying the color and shading without muddying the colors.
There are a few things to note before you begin:
- If these drawing tutorials are too advanced for you, you can practice drawing easier animals or cartoon animals and try these again once you're more comfortable.
- Make sure you can draw circles well so you can create good guidelines. Here is an article showing four different techniques for drawing a perfect circle.
- Try out these shading exercises if you're not familiar with how to shade yet.
- Finally, HAVE FUN! Even if your drawing doesn't turn out perfect, you should still have fun drawing.
Grab your pencil and paper, and let's get drawing! If you're curious, check out what art supplies I use for drawing.
1. Pegasus
In this step-by-step drawing tutorial, the Pegasus is slightly higher than the viewer, so the perspective is a bit different than an animal shown from the side. This perspective makes the Pegasus seem like it's flying. The underside of the Pegasus should be prominent to emphasize the perspective. Horses are tricky to draw, but if you add wings it makes it even harder. The spread wings and feathers add another layer of difficulty to this drawing.
Find the Pegasus's written step-by-step drawing tutorial here.
There is also a unicorn drawing tutorial here.
2. Ankylosaurus Dinosaur
The detail on the ankylosaurus dinosaur's armor can be difficult because it's repetitive and time-consuming. You have to get the individual sizes right, with the top spikes being the biggest and gradually getting smaller on the sides. The spikes also change perspective as they curve around the side of the dinosaur.
Find this dinosaur's written step-by-step drawing tutorial here.
Check out all of the How2DrawAnimals dinosaur drawing tutorials here.
3. Jaguar
With many of the other animal drawings on this website, it's not really necessary to shade. Why? Because the drawing will still look like the animal without any shading. For example, a gorilla will still look like a gorilla regardless of whether or not you shaded it. But a jaguar must be shaded to read as a jaguar, and this big cat's coat pattern can be tricky and time-consuming to draw. Animals with similar coats, like the cheetah, can be difficult too, but not as much because the cheetah's coat just consists of spots, whereas the jaguar has rosettes with spots inside.
Find the jaguar's written step-by-step drawing tutorial here.
Or draw a cheetah instead!
4. Peacock
The peacock drawing tutorial is difficult and time-consuming. First, it is in color, and color drawings are generally tougher to begin with. Second, unlike, say, a cardinal bird or a blue jay, a peacock's feather pattern is much more intricate, and there are a lot of feathers, so it's very repetitive. And third, you have to do draw the peacock big enough on your paper. If it's too small, when you draw the head, it will be difficult to get the details such as the eyes and beak right if you don't have enough room or are working too small. So the fact that you have to make it big to be able to add those details makes the fanned tail big too, which means more coloring time!
Find the peacock's written step-by-step drawing tutorial here.
You can also try drawing the easier cardinal or blue jay.
5. Flying Great-Horned Owl
As you learned on the Pegasus drawing tutorial, spread wings can be difficult to draw. The spread wings on this great-horned owl are even more difficult to draw because these wings have an intricate feather pattern, whereas the Pegasus was just white. The owl's feet and claws can also be tricky because of their position and how they somewhat overlap each other. The owl's open beak is also more difficult to draw than a closed beak.
Find the great-horned owl's written step-by-step drawing tutorial here.
Or try an easier great-horned owl drawing tutorial here.
6. Wasp
This drawing tutorial of a wasp is more challenging not only because it's in color, but because it has a strong color next to a light color. It's very easy to smudge the black onto the yellow, so be very careful! You'll need to have great control of the grip on the pencil when conveying the bit of shine on the abdomen. Another area where the pressure applied on the colored pencils matters a lot is the base of the wings, where the torso can be seen through the transparent wings. You'll need to take care when drawing and coloring the wasp's thin appendages, especially where they overlap the body.
Find the wasp's written step-by-step drawing tutorial here.
Or try drawing a bee in graphite pencil.
7. Dilophosaurus Dinosaur
This dilophosaurus dinosaur requires a lot of detail on the open mouth. That means you'll need to draw it big on your paper, and although a bigger drawing is not necessarily harder, but it is more time-consuming. In real life, Dilophosaurus didn't have a fray, but because is the movie version of the dinosaur, you will draw one. On the fray, you will need to add the pattern and accurate shading. Lastly, there is perspective in this drawing. The dinosaur's head is closer to the viewer than the tail, so the proportions need to be just right.
Find this dinosaur's written step-by-step drawing tutorial here.
Check out all of the How2DrawAnimals dinosaur drawing tutorials here.
8. Werewolf
The human body is always more challenging draw because of the small details, such as fingers, toes and any visible muscle structure. With other animals, you can hide the muscles with fur and cheat a bit by only adding lines at the end of the foot to convey paws. When you draw a werewolf, you are adding claws to fingers and drawing fur while still trying to maintain muscle structure, which makes everything that much more of a challenge! Because of all the small details, such as the open mouth and the detail inside, you'll need to draw this werewolf big on your paper, and that means a more time-consuming piece. On the plus side, werewolves are mythical creatures, so you don't really have to follow the rules religiously. You can put your own spin on it, and it will be OK as long as your final drawing still reads as a werewolf.
Find the werewolf's written step-by-step drawing tutorial here.
And when you're done, draw a minotaur!
9. Growling Wolf
For this advanced wolf drawing, there are some of the same challenges as the werewolf drawing above. There is detail on the fur and the open mouth. Granted there aren't fingers or muscle structure to draw, but because a wolf is a real animal and not something mythical that you can put your own spin on, you can't cheat or change its body structure. The fur must be right, and the gums, the teeth, and the eyes must be drawn properly in order to read as a pacing, menacing wolf snarling.
Find the wolf's written step-by-step drawing tutorial here.
Or you can draw a simpler wolf or a howling wolf.
10. Roaring Tiger
This tiger drawing is possibly the most challenging How2DrawAnimals tutorial because it includes most of the features mentioned in the other tutorials, all in in one single drawing. You've got the small details on the open mouth and the eyes, so the drawing must be large. You've got the tiger coming forward toward the viewer, so you have to pay attention to the perspective and how the form recedes toward the back. You got different shades of fur, so you need good control of your pencil or get different grades of graphite. The stripes have to read as stripes as they recede farther toward the back. And you have the paw at the front with the claws extended. If you can draw this, you can draw anything!
Find the tiger's written step-by-step drawing tutorial here.
Or try this simpler tiger drawing tutorial.
Check out some easy animals to draw>>