







Use the step-by-step instructions below to learn how to draw the Mutadon from the Jurassic World Rebirth movie. Follow along with the video, or use the images in this article. By the end of this tutorial, even beginners will have a completed drawing of this fictional prehistoric creature!
Love drawing? Keep your artistic streak going and enjoy more free art lessons by:
- Bookmarking the How2DrawAnimals.com homepage for updates
- Subscribing to the How2DrawAnimals YouTube channel
- Visiting EasyDrawingTutorials.com for tons of free cartoon tutorials
This page contains Amazon affiliate links. If you choose to purchase through these links, I earn a small commission at no extra cost to you.
RELATED TUTORIALS
 |
 |
 |
To draw this creature step by step, follow along with the video tutorial below and pause the video after each step to go at your own pace. You may find it easier to follow the step-by-step images below the video. You may want to open the video in a new tab and use both drawing methods. Take your time and create art at your own pace.
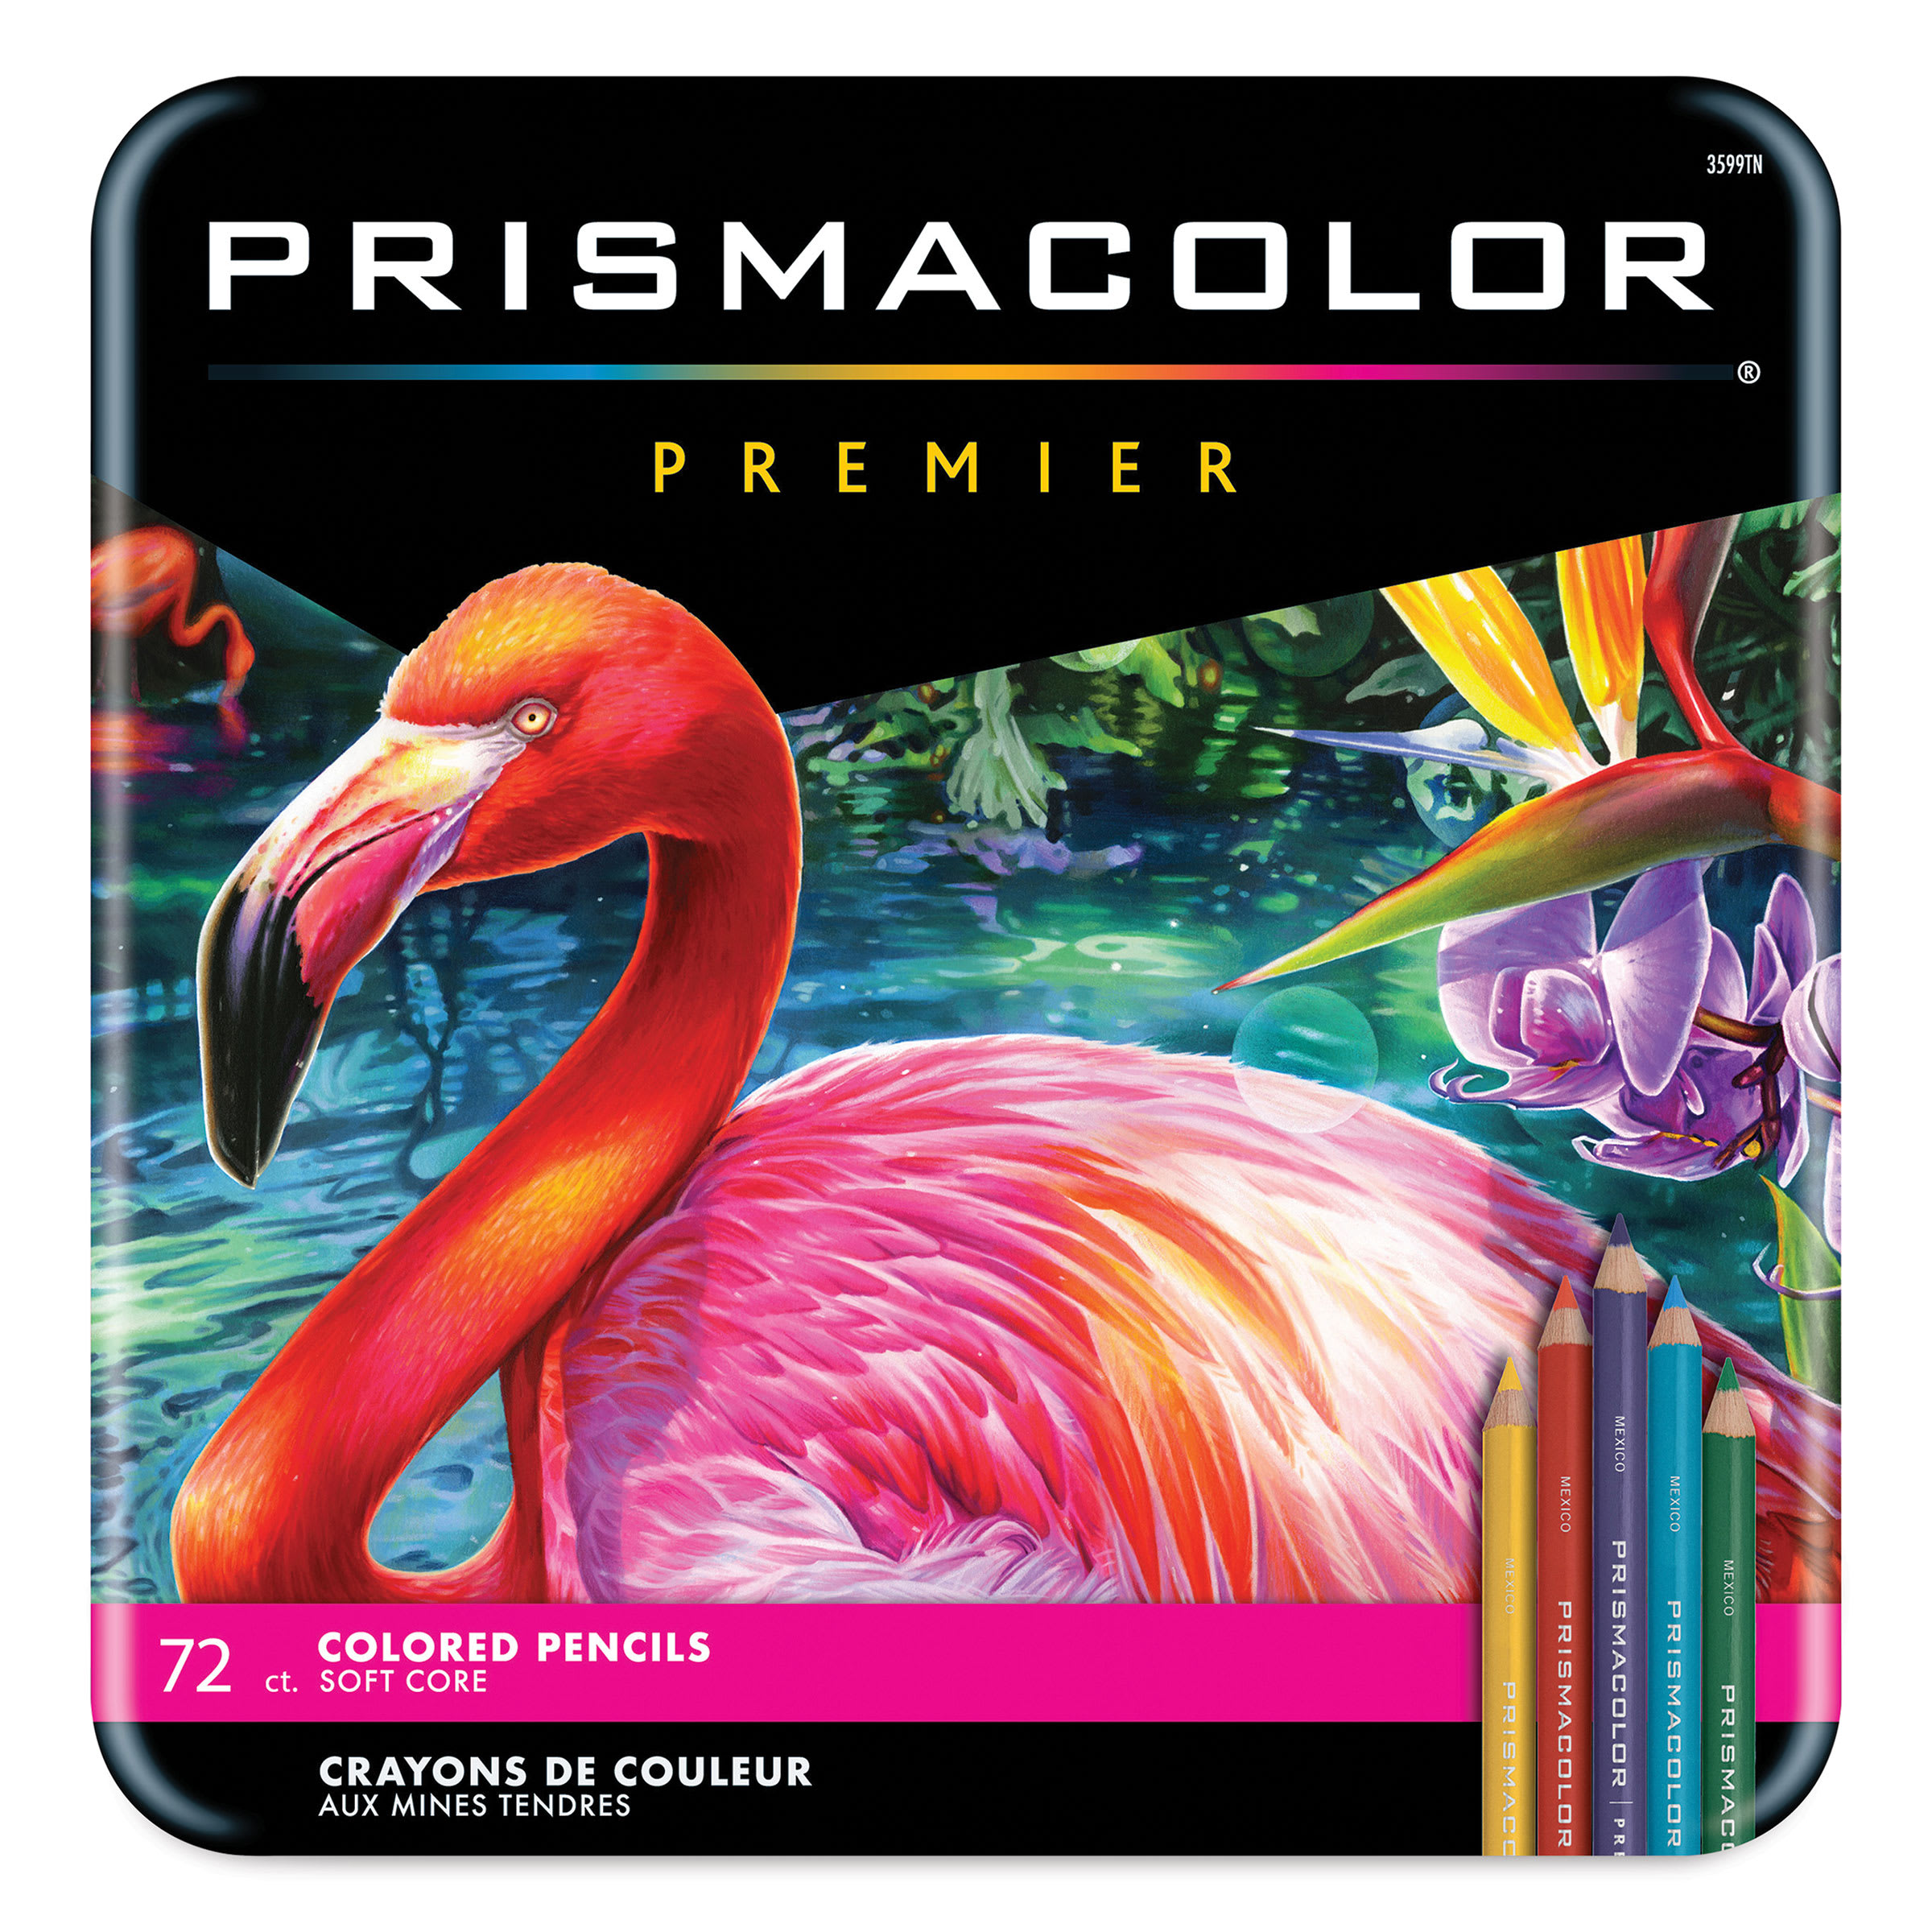
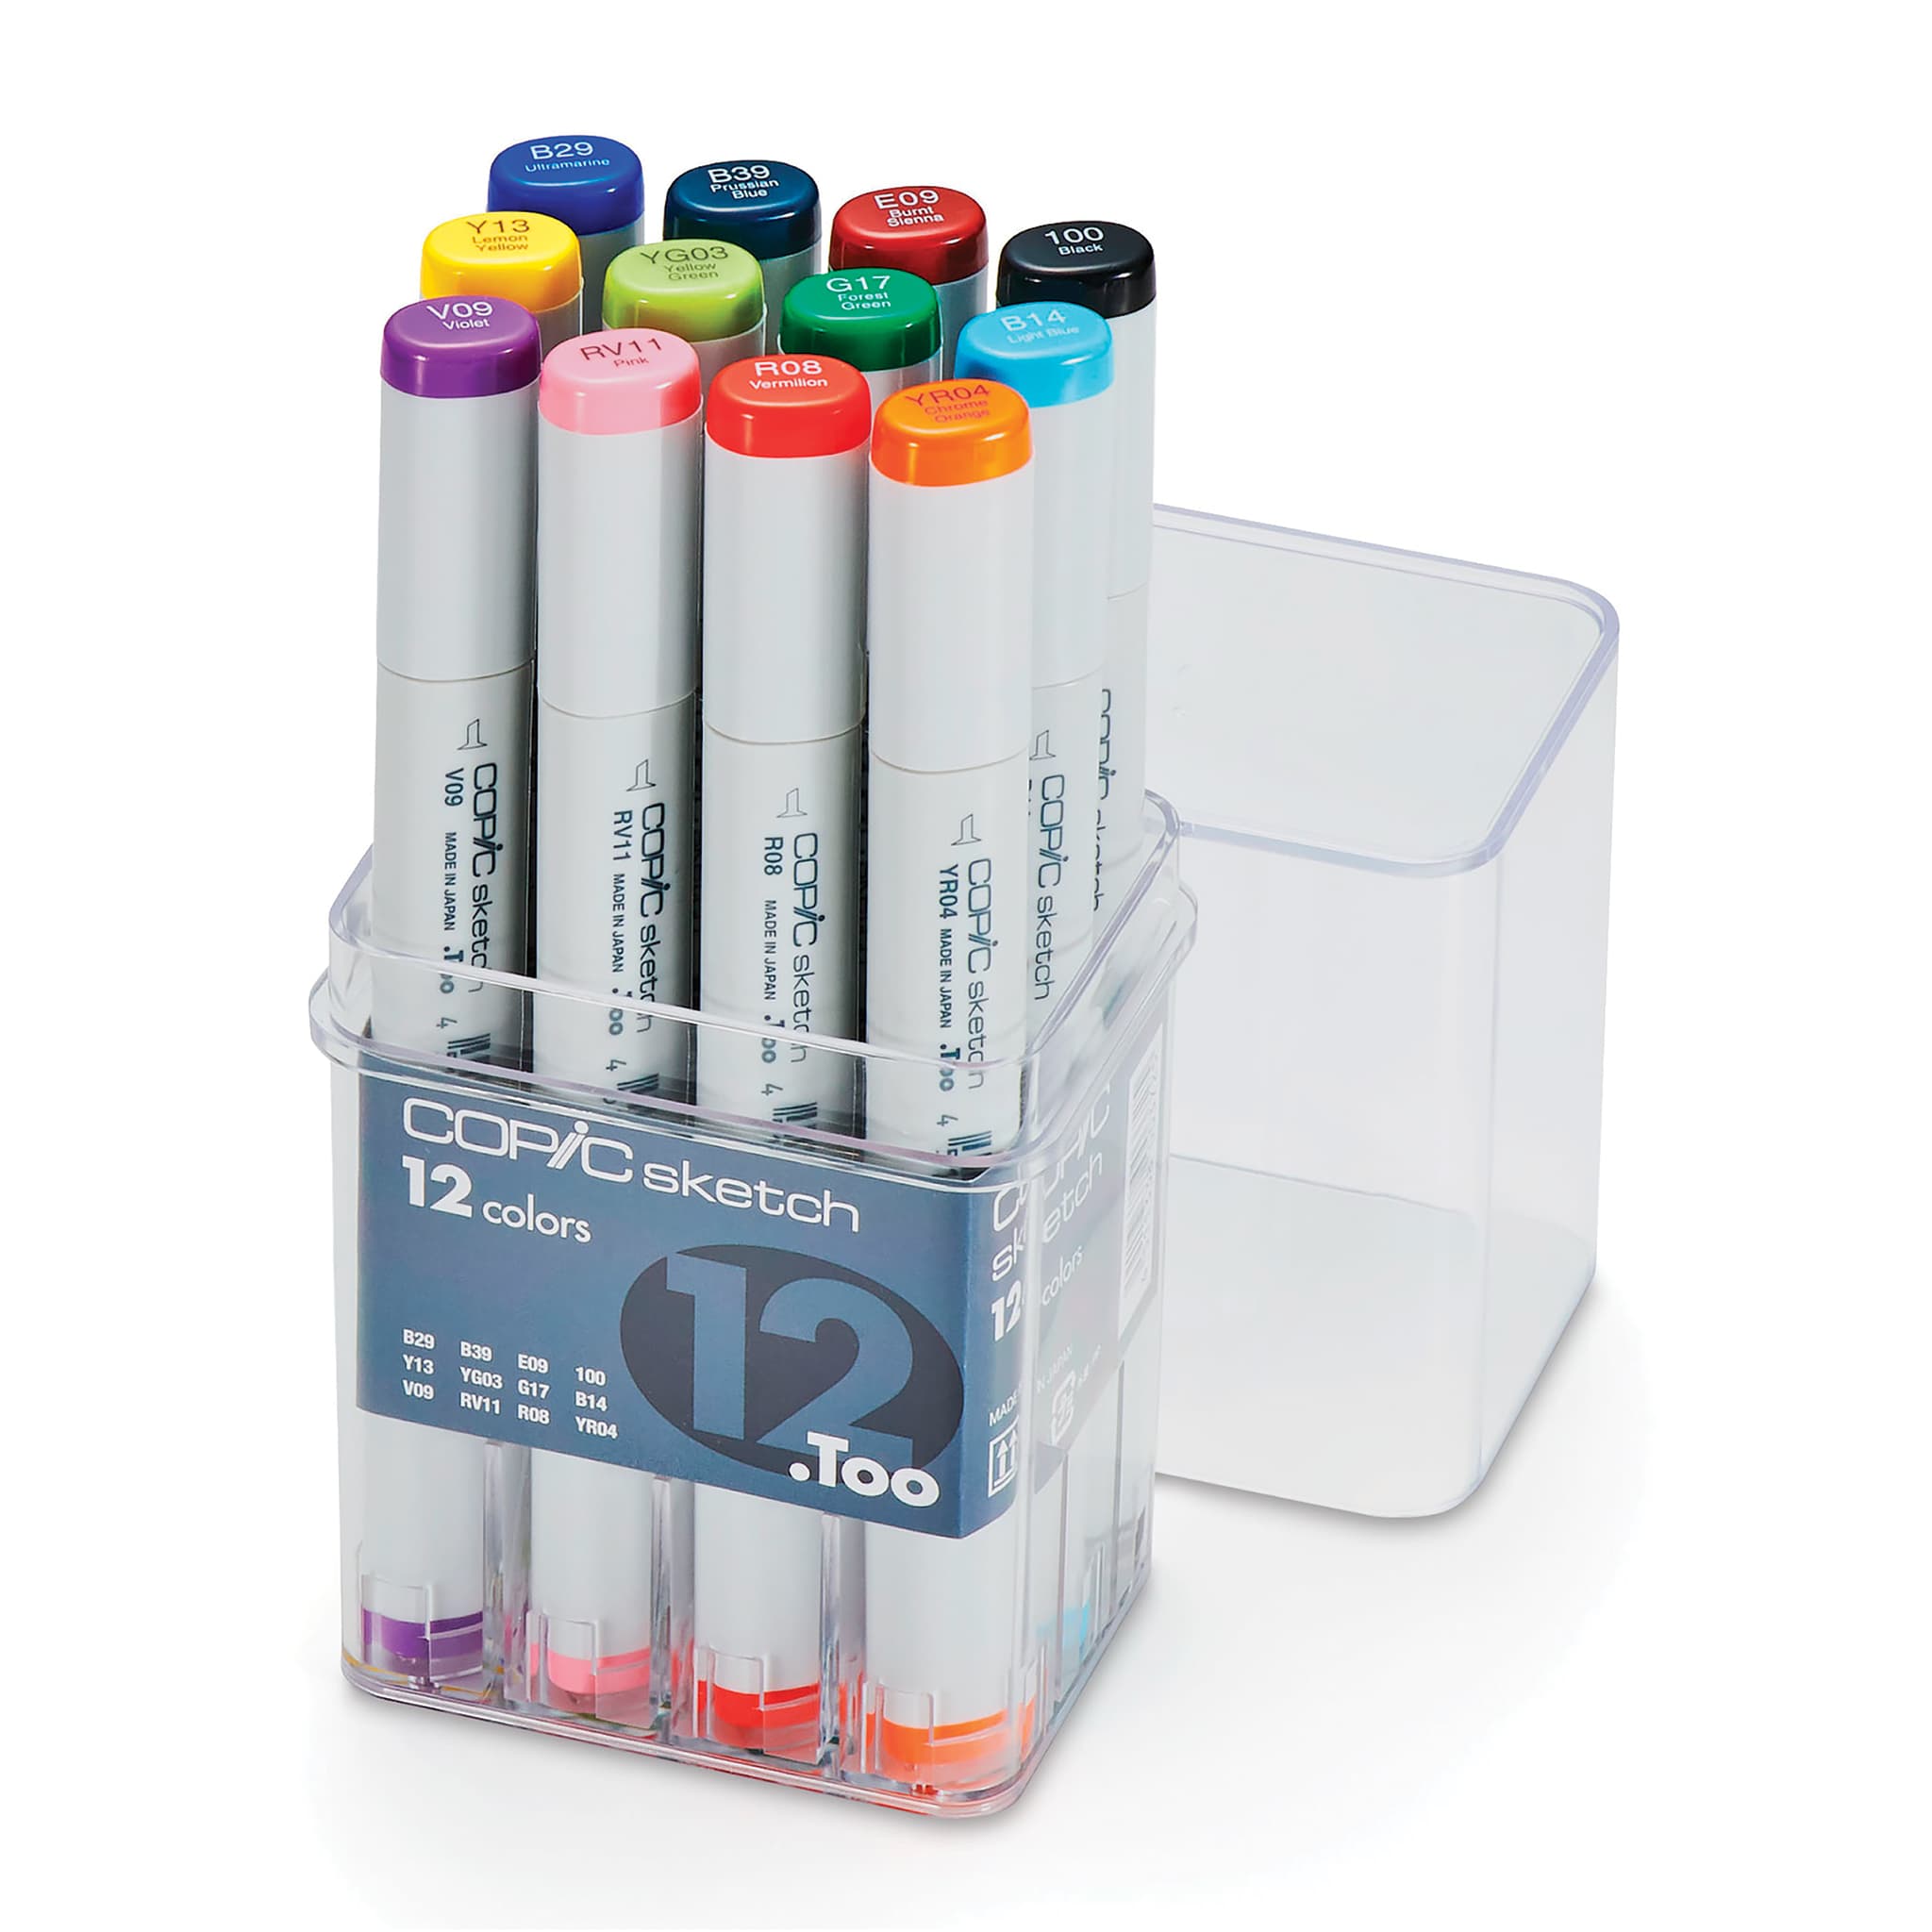
Materials You'll NeedBefore starting, gather these basic drawing supplies from Blick Art Materials. |
||
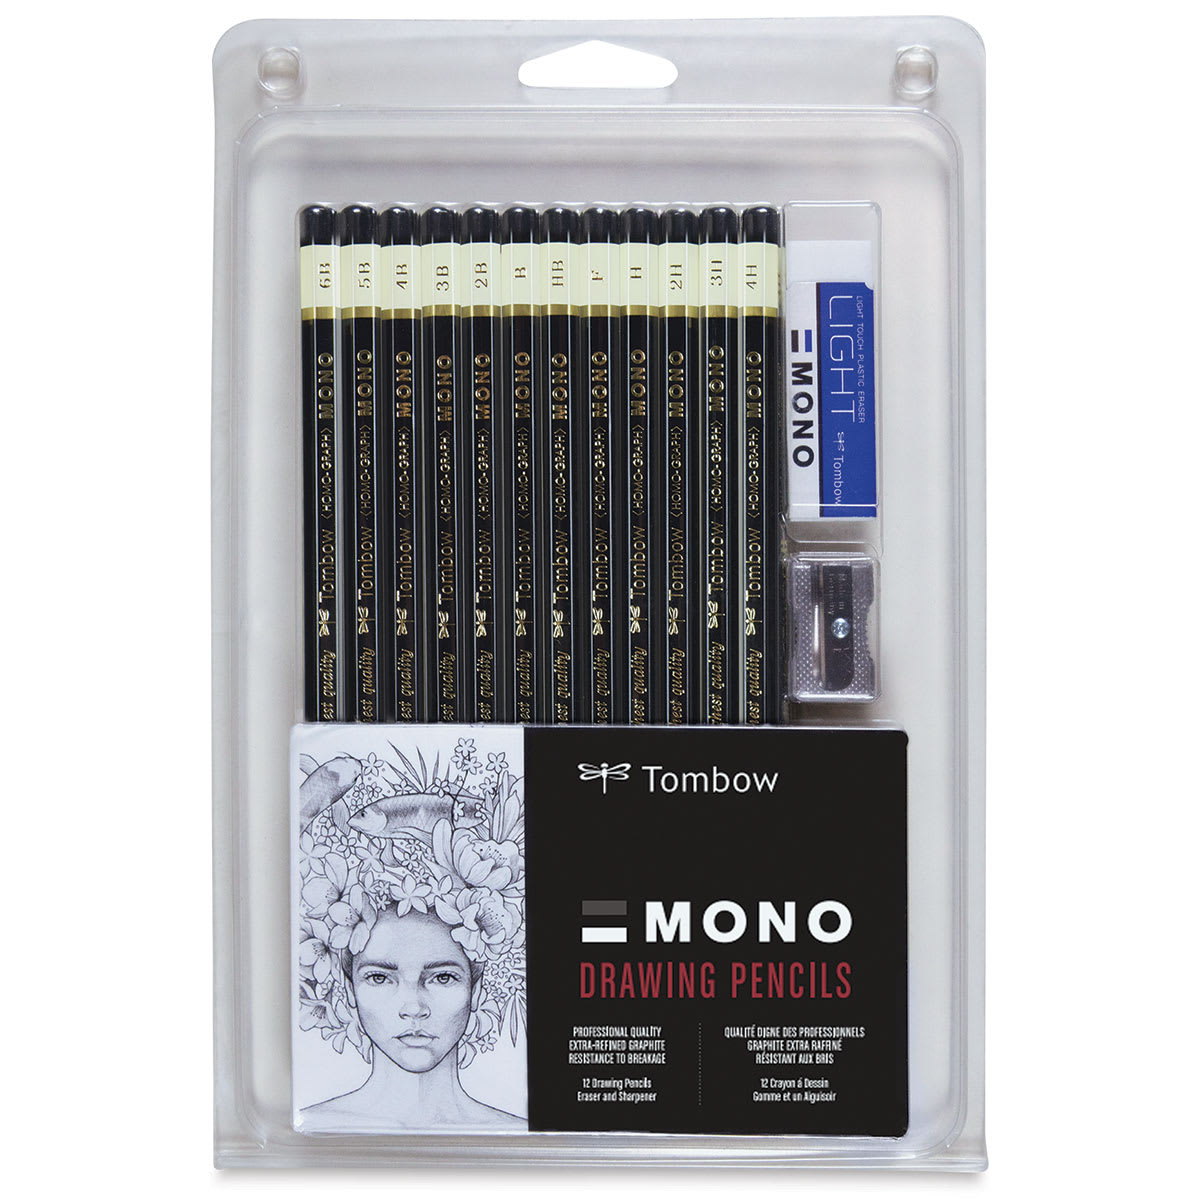 (an HB lead pencil is best for light sketches) |
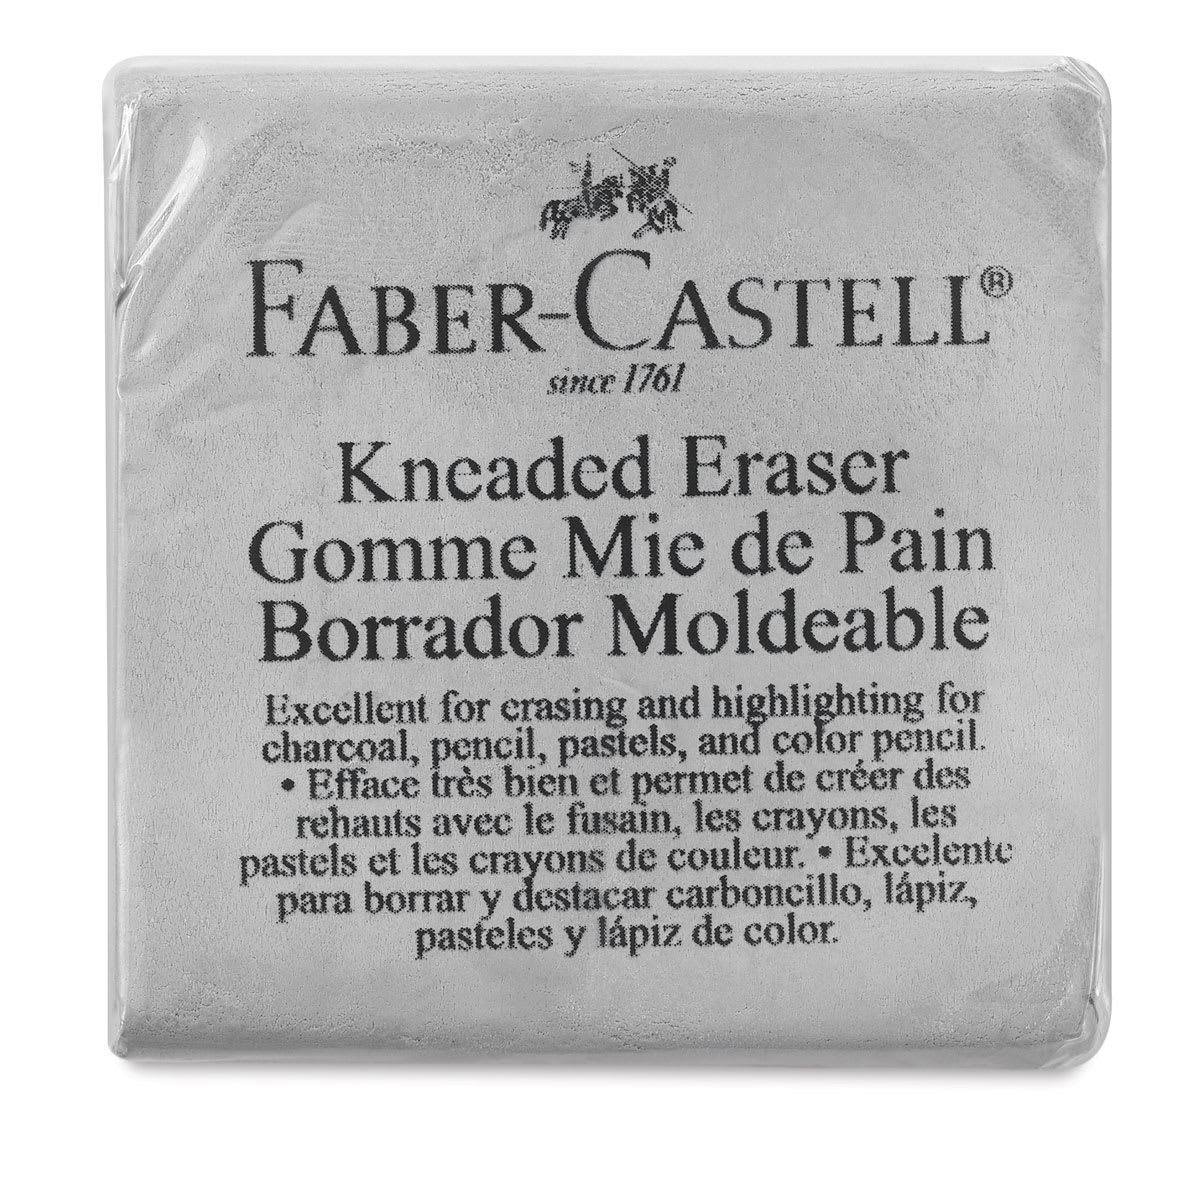 |
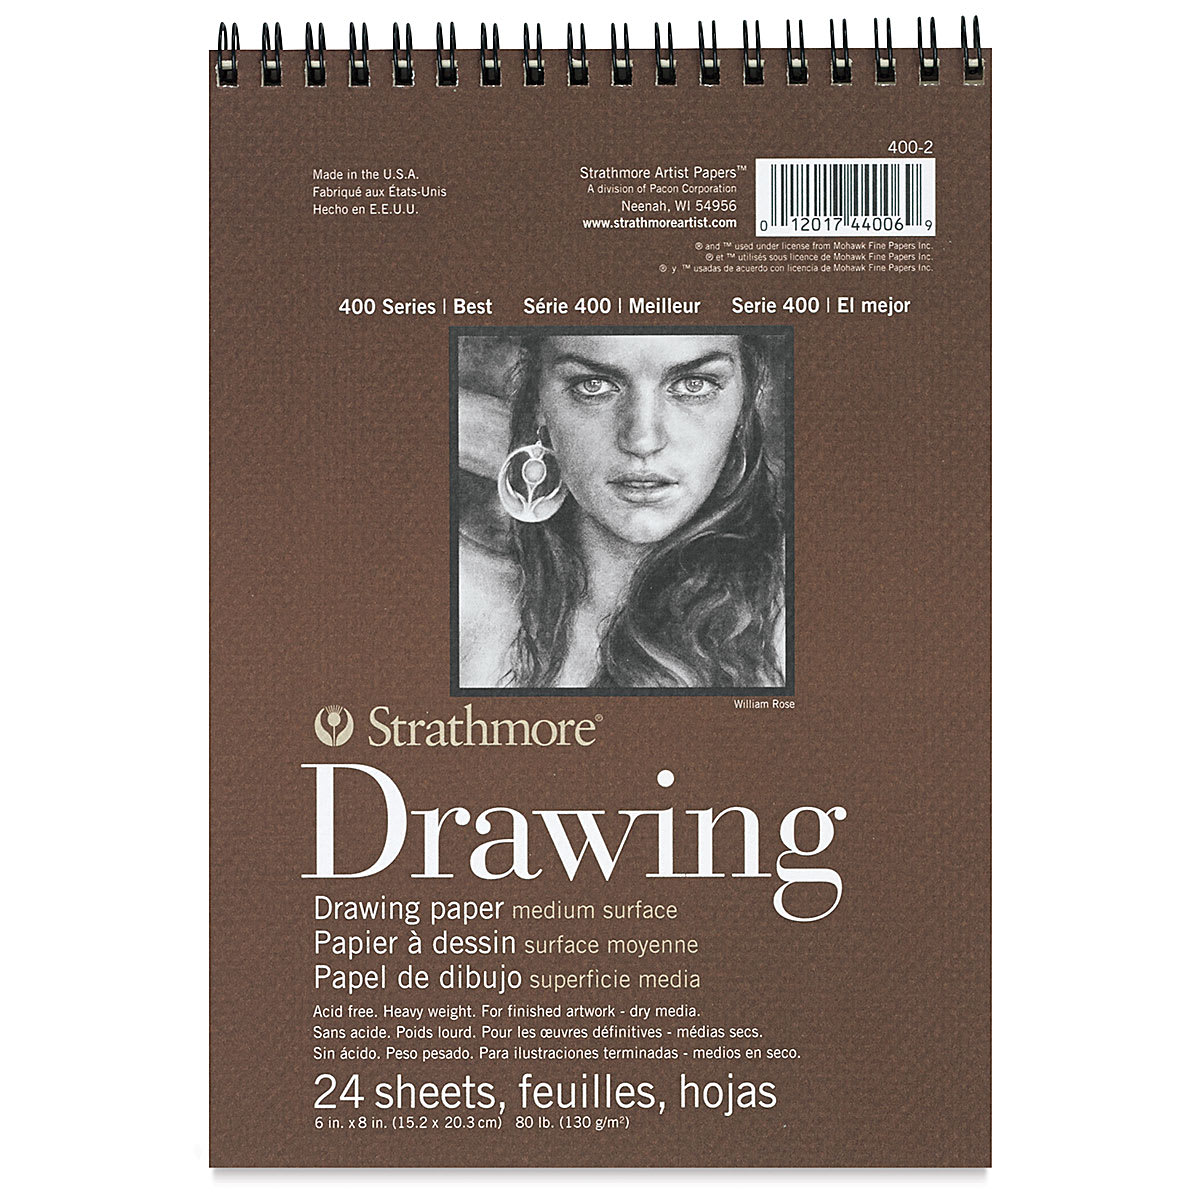 |
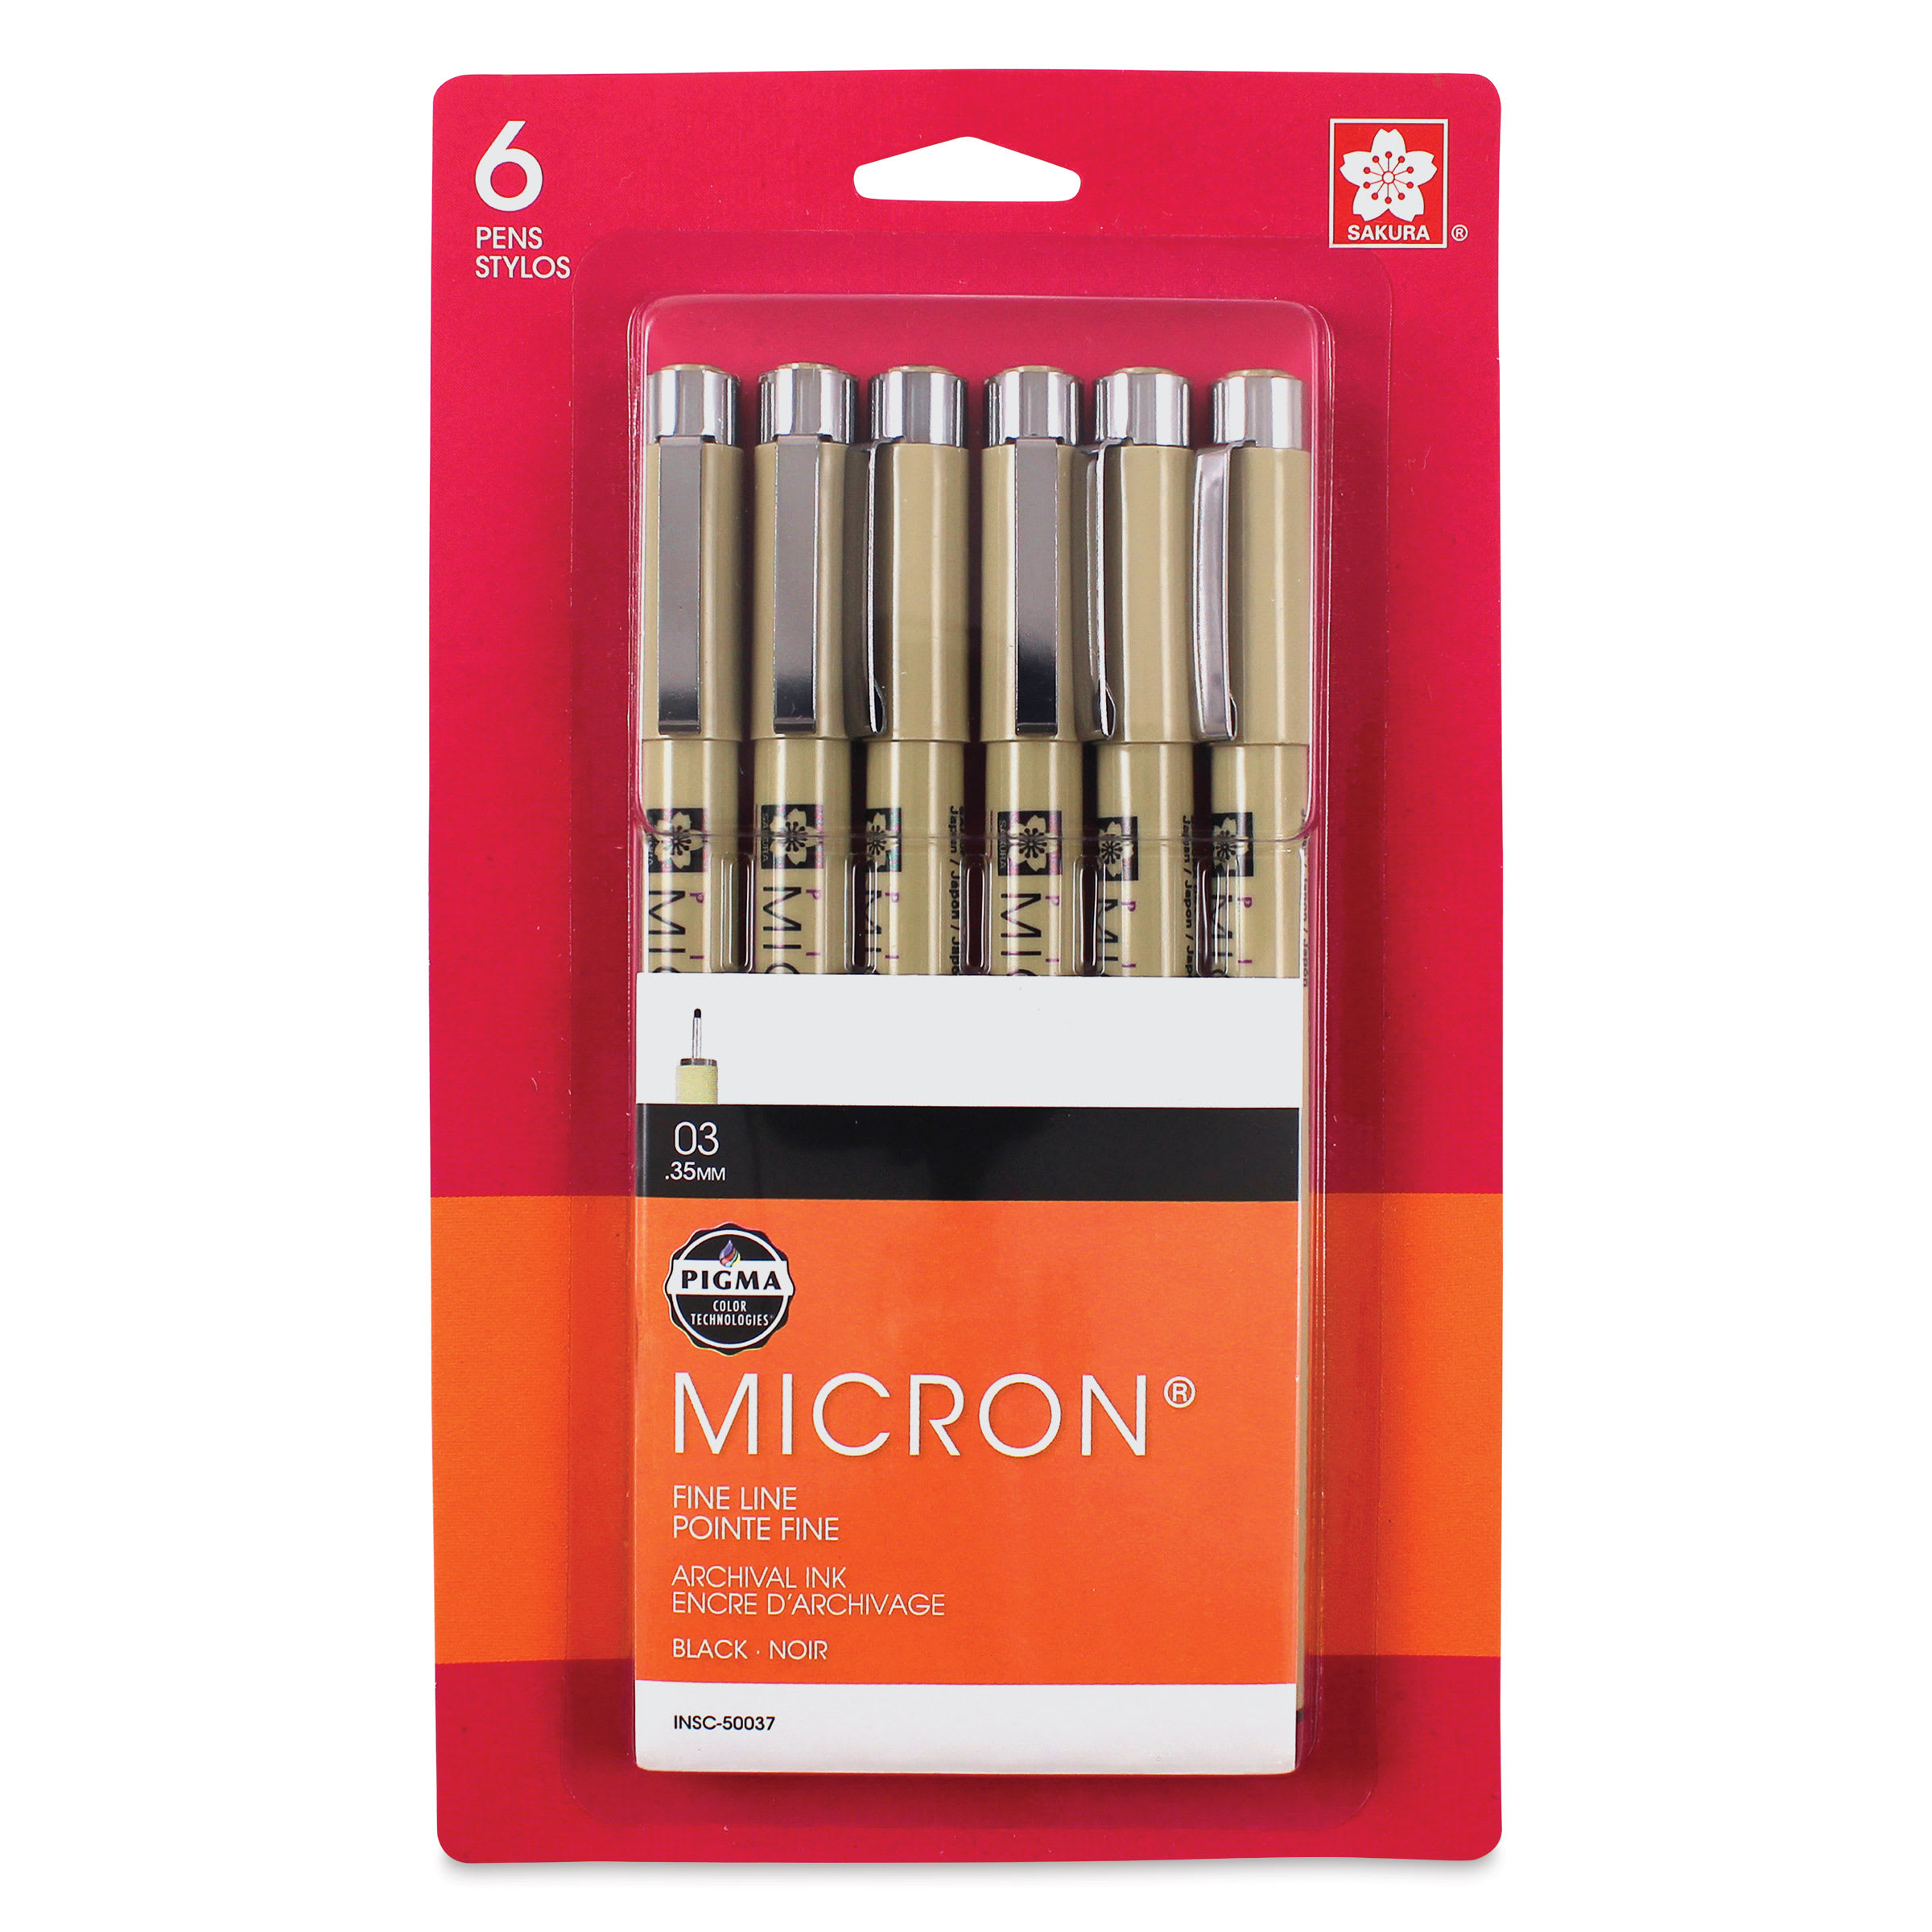 (or Fine-Line Marker) |
 (or Markers) |
 (or Colored Pencils) |
Step 1: Draw the Guidelines for the Body and Head
Establish the foundational structure of the creature using light pencil marks, basic shapes and lines.
Proportional Circles
- Front Body Guide: Sketch a circle for the front part of the body. Make height and width marks first, then connect them with light, curved lines. Trace a coin or bottle cap if you have trouble drawing circles freehand.
- Back Body Guide: Draw a second circle to the left for the back portion of the body. Make this circle slightly larger and position it a little higher since the back will slope upward.
- Head Guide: Draw a smaller circle on the right side for the head, keeping it about half the size of the front body circle. Leave enough space between the circles for the neck.
Facial Construction Lines
- Center Guide: Split the head circle in half with a horizontal construction line and extend the line outward to the right.
- Open Jaws: Add an arc above the extended line for the top jaw, making it wider on the left and narrower on the right. Mirror this shape below the line to create the guide for the wide-open mouth.

Step 2: Add Guides for the Limbs, Wings, and Tail
Sketch the guides for the dinosaur's limbs, wings, and tail.
Arm and Wing Framework
- Arm: Start in the center of the front body circle and draw a long angled line extending left, sloping down and right, and bending back and left at the bottom.
- Folded Wing: From the lower tip of the arm guide, draw a long curved line stretching high above the main body to establish the peak of the folded wing.
Legs and Tail
- Hind Legs: Under the back body circle, sketch a long angled line bending left, then down, and back right for the first foot. Add the second leg guide the same way.
- Neck and Torso: Connect the head to the body with two curved lines, making the bottom neck line longer. Connect the top of the body circles with a smooth line to finish the torso.
- Tail: From the top-left of the back body circle, extend a long, curved line out to the left that matches the overall length of the body.

Step 3: Sketch the Eye and Upper Facial Features
Focus on defining the sharp facial features and the top section of this predator's head.
The Eye
- Placement: Lightly sketch a small circle for the eye above the horizontal guide line. Darken it, making the corners pointy, and place a small dot in the middle for the pupil.
- Brow Ridges: Create the brow line above the eye. Accentuate the eye socket underneath with curved lines and add a ridge running along the top of the jaw.
Beak and Upper Jaw
- Beak Structure: Darken the front part of the top jaw guide, creating a sharp, beak-like shape. Extend the inner line back horizontally to form the top edge of the open mouth. Add a small slit near the front for the nostril and add accent lines to reinforce the beak structure.
- Upper Teeth: Draw small, sharp, triangular teeth along the upper jaw line, making sure to stop before reaching the beak. Add a short angled line on the back left of the upper jaw for added skull structure.

Step 4: Finish the Face and Lower Jaw
Complete the remaining anatomical structures of the head, including the open lower jaw and tongue.
Lower Jaw and Interior Mouth
- Jaw Outlining: Sketch a long curved line for the first part of the lower jaw, then darken the bottom edges of the initial guides. Curve the left side upward to meet the hinge of the top jaw and draw a short vertical line for the connecting segment.
- Lower Teeth: Draw a series of small triangular shapes along the lower jaw line. Include additional small teeth visible on the far side of the jaw, taking care not to overlap the lines.
- Mouth Details: Sketch a clean sloping line inside the mouth to represent the tongue, and add a short secondary line for the inner section of the open throat. Darken the outer head guidelines to finish the complete skull shape.

Step 5: Begin Drawing the Front Arm
Flesh out the powerful muscles and claws of the Mutadon's arm.
Forearm and Musculature
- Arm Outline: Sketch the muscular form of the forearm around the initial angled guide line. Keep the left side of the forearm slightly wider than the right. Add an angled muscle line right above the forearm, adding curved segments to build structural definition.
- Hand Joints and Claws: Follow the curvature of the guide at the wrist to form the hand joints. At the very bottom, draw a thin, pointy shape pointing left for the first digit and claw. Just to the right, add a secondary thin digit and claw pointing directly downward. Keep the lower arm area open where the wing connects.

Step 6: Add the Wing Structure
Construct the large, elongated wing finger and the folded flight membrane.
Wing Digits and Membrane
- Elongated Finger: Use the long upward-sloping guide line to build the main support bone of the wing. Add a couple of curved lines at its base, and then draw an accompanying line to make the shape wider, tapering it into a long, thin, backward-pointing digit tip.
- Folded Wing Shape: Draw a long line curving downward and inward from the wing tip toward the forearm. Add an outer boundary line to complete the main section, giving the entire folded wing a long, narrow, triangular appearance.

Step 7: Draw the Hind Legs
Sketch the defining raptor-like features and deadly claws onto the hind limbs.
The Raptor-Style Feet
- First Hind Leg: Outline muscular contours around the left leg guide, narrowing it toward the ankle. On the foot, add two standard triangular claws separated by toe creases. Just above these, sketch a large, curved, razor-sharp sickle claw.
- Second Hind Leg: Follow the same structural steps for the right leg guide. Replicate the prominent, thin sickle claw on this side, add a small rear claw higher up, and finish the final toe with a small triangular tip.

Step 8: Draw the Second Arm and the Spiky Back
Add the secondary arm components from the opposite side of the body and the dorsal features.
Dorsal Spikes and Far Arm
- Far Hand Digits: Below the neck area, draw a short angled line pointing left to represent the digit of the hand on the opposite side of the body. Add a secondary thin, pointy shape next to it for the second clawed digit.
- Spikes and Tail: Draw a row of relatively short, sharp, triangular spikes along the top ridge of the back. Trace over the long tail guideline, adding a parallel curved line underneath it to establish the full thickness of the tail without overlapping the wing.

Step 9: Add the Other Wing
Complete the structural layout of the dinosaur by drawing the background wing elements.
Far Wing Placement
- Background Wing Tip: Look at the top ridge of the back, just above the hind leg base. Draw a thin, sharp triangular shape pointing upward and backward to represent the visible tip of the second folded wing. Use your first wing as a baseline template to keep the proportions and angle consistent.

Step 10: Ink Your Sketch
Begin transitioning your pencil sketch into a clean, finalized ink presentation.
Finalizing Your Linework
- Tracing with Pen: Grab a fine permanent ink pen or marker and begin carefully tracing over your final pencil outlines. Take your time during this step to maintain clean lines and avoid mistakes. Do not trace any of the initial geometric guidelines or construction marks. Continue tracing until all necessary boundaries of the head, jaws, limbs, back spikes, wings, and tail are completely inked.

- Erasing Guidelines: Allow the ink to dry fully to prevent smudging. Then use an eraser to remove any remaining pencil marks.

Step 12: Begin Adding Color
Apply colors and add depth with shading.
Base Tone Application
- Body Layering: Use light-colored markers or colored pencils to fill in the primary surface areas of the entire body.
- Shading: Apply darker shades along the lower sections of the figure, such as under the neck, beneath the stomach, and across the recessed limb segments. This shading adds dimension, volume, and a three-dimensional weight to your illustration.

Step 13: Finish Coloring and Ink an Outline
Incorporate details, such as skin patterns and highlights.
Skin Camouflage and Accents
- Patterns: Use a dark tone to gradually build up realistic camouflage markings across the torso, limbs, and tail.
- Claws and Highlights: Fill in the claws using a black marker, leaving a tiny, thin strip of blank paper at the top curves to serve as sharp light highlights. Add a smooth gray cast shadow on the ground beneath. Re-trace your primary outer outlines with ink once more to make your Mutadon dinosaur stand out.

Step 14: Finish Up the Details with Pen
Go over your Mutadon once more to incorporate any final details you want to add to your drawing.
Leathery Skin Textures
- Fine Details: Use your fine-liner pen to add short, thin, varied lines across the muscle groups and skin folds. This creates a more realistic reptilian skin texture. Continue adding fine marks and adjusting the values until you are happy with the look of your drawing.

Buy My Step-by-Step Art Books on Amazon!
If you enjoyed drawing with me and want to expand your artistic skills, please consider checking out my step-by-step drawing books on Amazon! My books break down a wide variety of animals into simple geometric shapes, making it easy and fun for artists of any skill level to follow along. Every purchase directly helps support this site so I can keep creating high-quality, free tutorials for the art community.
Click Here to Order Your Copy Today!
This is an Amazon affiliate link. If you choose to purchase through this link, I earn a small commission at no extra cost to you.
Thanks for visiting! Subscribe to the How2DrawAnimals YouTube Channel for new tutorials every week.
And to learn how to draw cartoons, visit EasyDrawingTutorials.com.
RELATED TUTORIALS
|
|
|