


Use the step-by-step instructions below to learn how to draw Distortus Rex from the Jurassic World movie. Follow along with the video, or use the images in this article. By the end of this tutorial, even beginners will have a completed drawing of this fictional dinosaur!
Love drawing? Keep your artistic streak going and enjoy more free art lessons by:
- Bookmarking the How2DrawAnimals.com homepage for updates
- Subscribing to the How2DrawAnimals YouTube channel
- Visiting EasyDrawingTutorials.com for tons of free cartoon tutorials
This page contains affiliate links. If you choose to purchase through these links, I earn a small commission at no extra cost to you.
All the free art lessons on How2DrawAnimals.com are easy to follow; they teach you the basics while showing you how to render animals step by step. Each tutorial has a video tutorial option, as well as step-by-step photos and written text to follow. After you're done here, try another tutorial!
RELATED TUTORIALS
 |  |  |
To draw this dinosaur step by step, follow along with the video tutorial below and pause the video after each step to go at your own pace. You may find it easier to follow the step-by-step images below the video. You may want to open the video in a new tab and use both drawing methods. Take your time and create art at your own pace.
Materials You'll NeedBefore starting, gather these basic drawing supplies from Dick Blick. If you choose to purchase through these links, I earn a small commission at no extra cost to you. | ||
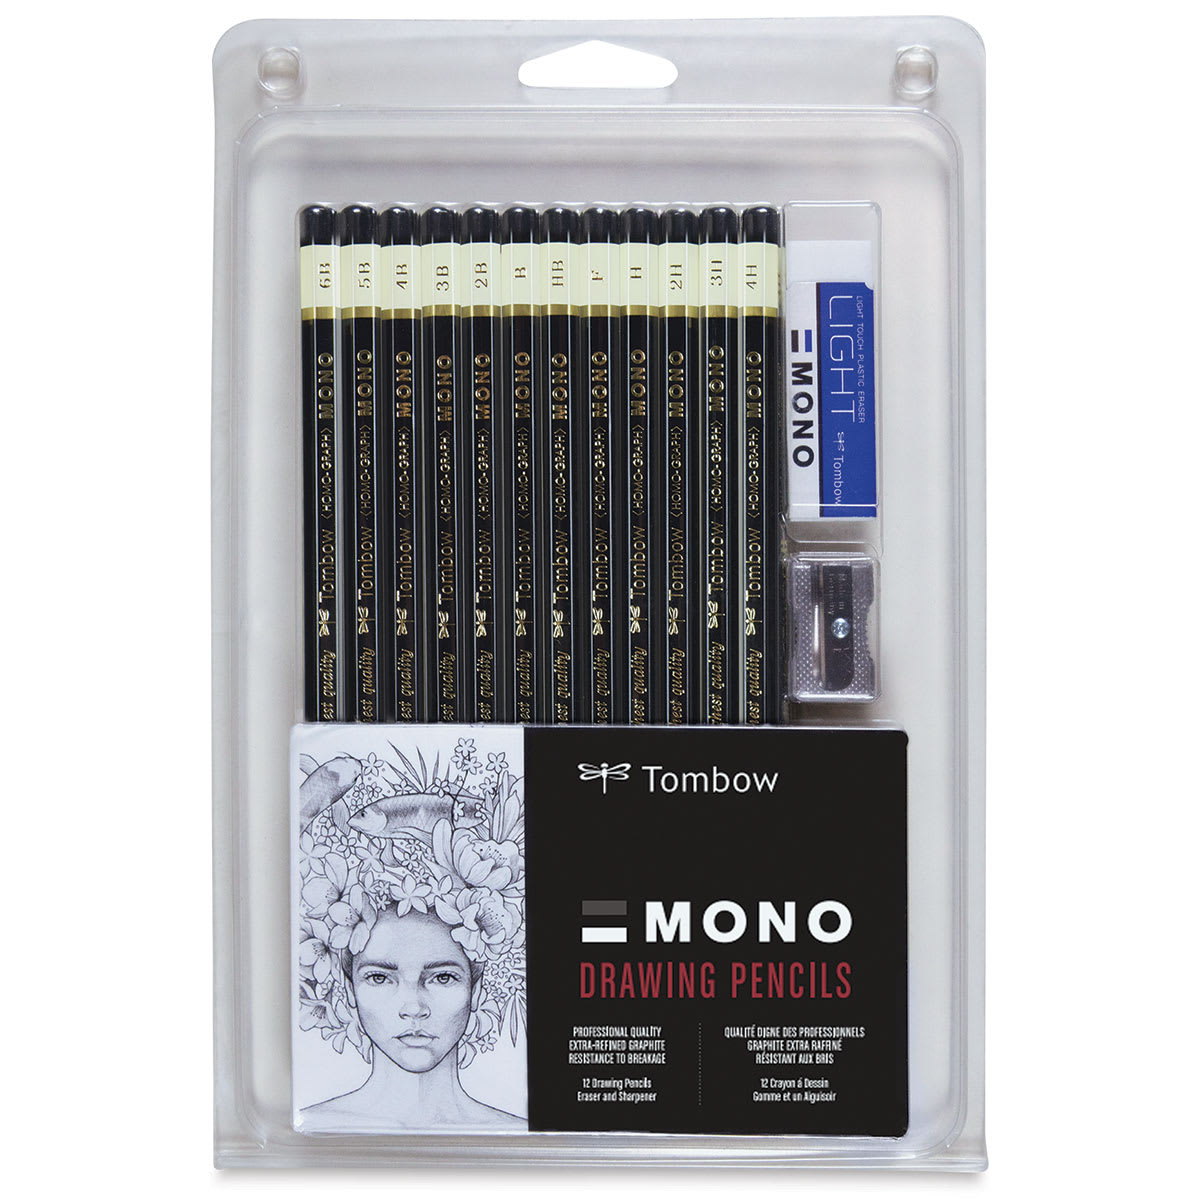 (an HB lead pencil is best for light sketches) | 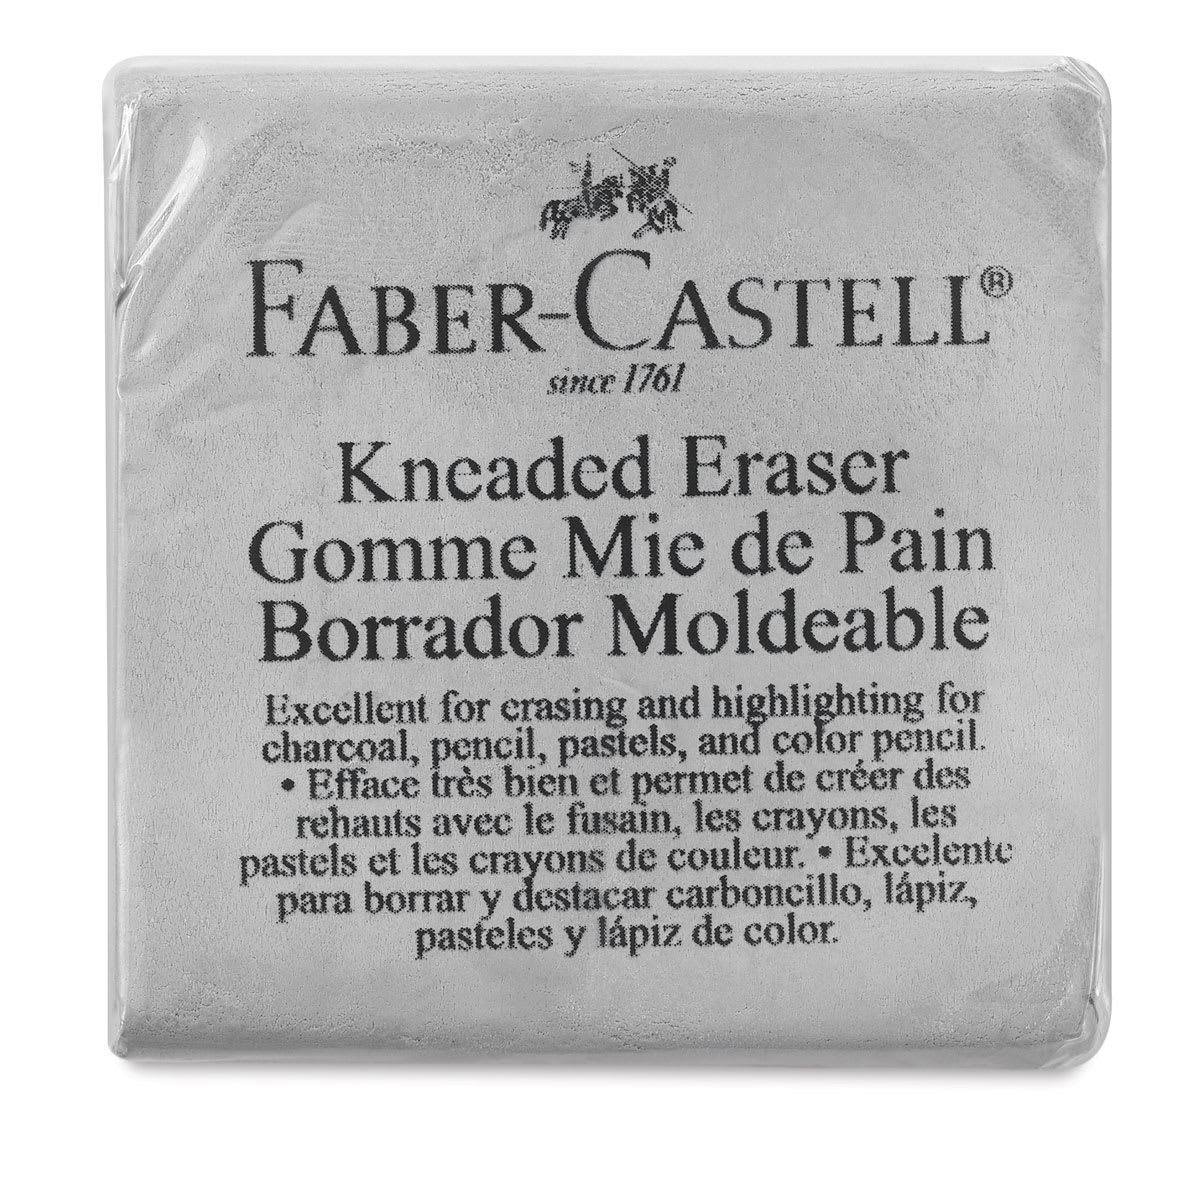 | 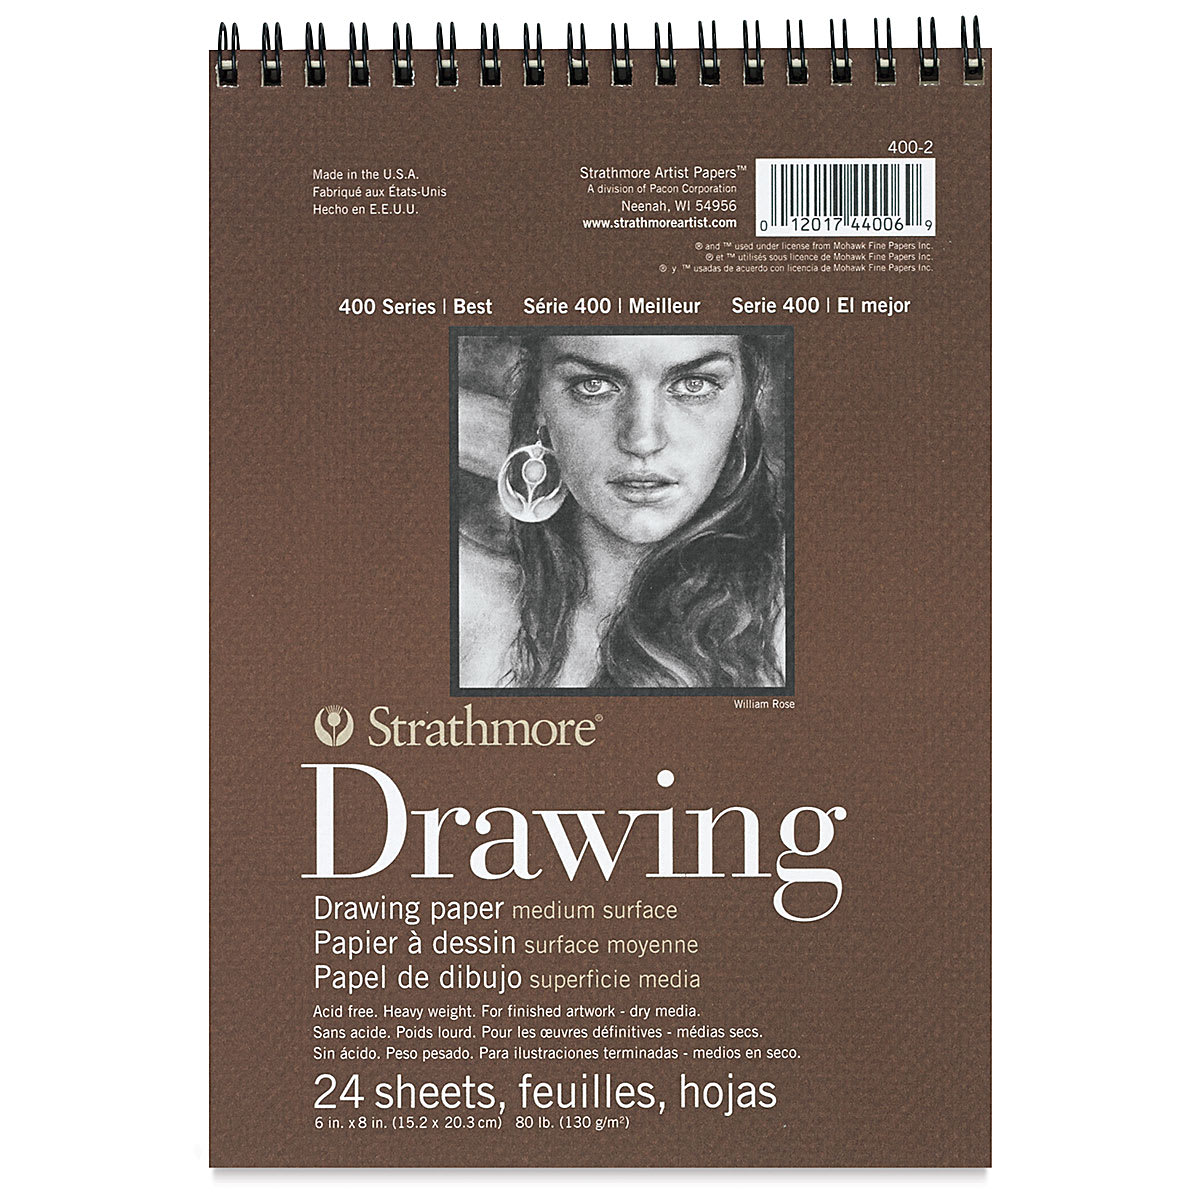 |
 (or Fine-Line Marker) |  (or Markers) |  (or Colored Pencils) |

Step 1: Lay the Foundation with Construction Guides
Before diving into the details, establish the scale and proportions of the dinosaur using a series of simple guidelines. Sketch these steps very lightly so they are easy to erase later.
Proportional Circles
- The Head: Draw a small circle near the top left of your page. Draw a horizontal line directly through the middle of this circle to serve as a guide for the facial features.
- The Front Body: To the bottom right of the head circle, sketch a second circle. This should be roughly 1.5 times the size of the head circle.
- The Rear Body: Further down and to the right, draw a third circle. Position it diagonally in relation to the middle circle, keeping it roughly the same size as the head.
Defining the Limbs, Neck, and Tail
- The Arms: Underneath the middle circle, sketch a long, angled line that bends near the midpoint to form an elbow joint, ending with a sharp turn to the right for the fingers. Mirror this on the left side with a second angled line.
- The Legs: Under the right-most circle, draw a long line that bends a few times to indicate the powerful joints of the leg, curving left at the bottom for the toes. Sketch a shorter, partial version to the left for the background leg.
- The Torso and Tail: Connect the head to the front body with wide, short lines to form a thick neck. Connect the top of the body circles with a sloping backline. Finally, extend two long, curved lines from the rear body to create a sweeping tail that is wide at the base and tapers to a sharp point.

Step 2: Drawing the Head & Facial Features
Now focus on the details of the face to capture the menacing air of the Jurassic World apex predator!
The Eye and Brow
- The Eye: Lightly sketch a small circle just above your horizontal construction line, close to the center of the head circle. Once you're satisfied with the placement, sharpen the corners to make them pointy and place a dark dot in the center for the pupil.
- The Creases: Add subtle, curved lines around the eye socket to imply leathery skin.
- The Brow: Draw a long, dramatic curved line extending to the left above the eye to create a prominent brow ridge. Use a series of wavy lines on top to give it a rugged, bony texture.
The Jaws and Razor-Sharp Teeth
- The Snout: Follow the horizontal guide forward to sketch the top of the mouth, ending it further right than the eye. Curve the front downward into a strong, vertical muzzle line. Add a short, thick slash near the front for the nostril.
- The Lower Jaw: Follow the bottom path of your original head circle, flattening out the baseline slightly to give the jaw a heavy, muscular look. Connect the back of the jaw to the upper mouth with a short vertical line.
- The Teeth: Along the jaw, draw a series of interlocking, irregular triangular shapes. Keep the roots rounded and the tips pointed, varying their sizes to mimic a natural, terrifying smile.
- Inside the Mouth: Add a couple of curved lines inside the open jaw to define the tongue, and use small structural lines at the back to give the throat depth.

Step 3: Shaping the Muscular Limbs & Body
The Distortus Rex has four powerful legs and two distinctively small forearms.
Forearms and Claws
Flesh out the shapes around the arm guidelines. Keep the upper arms wide near the shoulder and taper them down toward the wrists. Use curved strokes to outline distinct muscle groups. At the tips, draw long, thin, curved shapes ending in sharp, pointed claws.
Hind Legs and Feet
The hind legs require a heavy, powerful appearance.
- Outline the massive thigh and calf muscles around your leg guides.
- At the base of the foot, extend three thick toes pointing forward.
- Cap each digit with a sharp, triangular claw.
- Repeat this process for the visible portions of the leg in the background.
Finishing the Torso Outline
Connect your structural elements by darkening the outer bounds of the neck, back, belly, and tail. Use undulating, organic lines rather than perfectly straight ones to suggest real muscle definition and sagging skin along the underbelly. Do not cross your lines over the limbs closest to the viewer.

Step 4: Inking, Texturing & Cleanup
Once the graphite pencil drawing is complete, it's time to ink your drawing!
- Ink the Outlines: Using a permanent fine-liner or ink pen, carefully trace over your final pencil marks. Do not ink any of the initial circular construction lines.
- Erase Guidelines: Allow the ink to dry completely to prevent smudging, then use a soft eraser to clear away all background pencil sketches.
- Line Weight Variation: Go back over your inked lines, making the outer contours and shadow-facing edges thicker. This adds weight and visual dimension to the illustration.
- Skin Texture: Add short, wavy, broken lines across the snout, neck, and flanks to simulate the rough, reptilian scales characteristic of a dinosaur.

Step 5: Applying Dynamic Color & Highlights
The final step brings your Distortus Rex to life using a layered approach to color and shading. Don't apply a flat color; instead build up different tones to give your dinosaur a more realistic feel.
Establishing the Base and Skin Patterns
Begin by coloring the main upper portion of the body with a greenish yellow. Always apply these lighter tones first to maintain brightness. Once the base layer is down, use an earthy brown to draw distinct, wavy stripe patterns along the spine, neck, and the top part of the tail. For the underbelly and the undersides of the limbs, add a soft, pale yellow-green.
Building Depth with Shadows
To give the creature volume and mass, gradually introduce darker shades to create deep shadows. Add the darker greens and browns along the underside of the neck, beneath the belly, and where the muscular limbs meet the torso. Inside the mouth, use various deep shades of brown to create depth, while applying a muted pink for the tongue and the flexible tissues connecting the jaws.
Add a Cast Shadow
To prevent your dinosaur from looking like it is floating on the page, add a cast shadow beneath its feet and tail. Blend a mixture of blue and gray onto the ground surface, keeping the shadow darkest right where the claws make contact with the ground.

Buy My Step-by-Step Art Books on Amazon!
If you enjoyed drawing with me and want to expand your artistic skills, please consider checking out my step-by-step drawing books on Amazon! My books break down a wide variety of animals into simple geometric shapes, making it easy and fun for artists of any skill level to follow along. Every purchase directly helps support this site so I can keep creating high-quality, free tutorials for the art community.
Click Here to Order Your Copy Today!
This is an Amazon affiliate link. If you choose to purchase through this link, I earn a small commission at no extra cost to you.
Thanks for visiting! Subscribe to the How2DrawAnimals YouTube Channel for new tutorials every week.
And to learn how to draw cartoons, visit EasyDrawingTutorials.com.
RELATED TUTORIALS
| | |