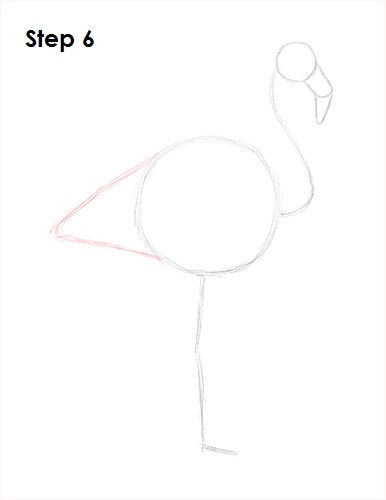
Step 6: Draw a line on the left side as a guide for the rest of the flamingo's body. The line should angle at the middle similar to a less-than sign (<).
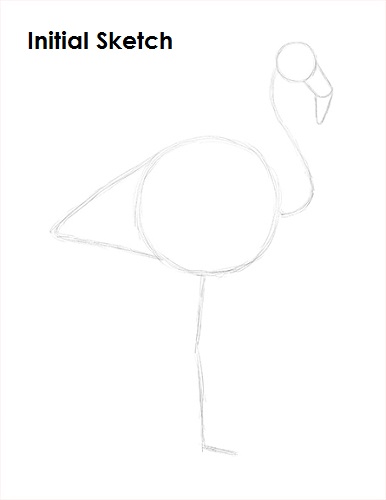
That's it for the initial sketch! From this point on, press harder with your pencil to get a more defined sketch.
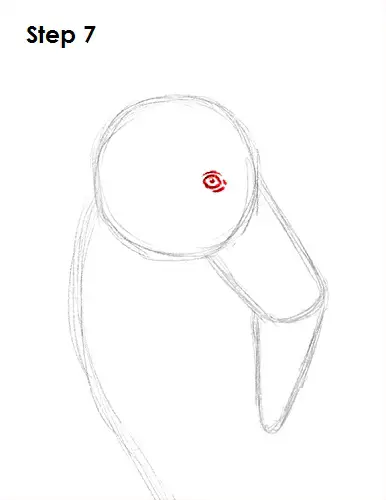
Step 7: Draw the flamingo's eye inside the circle on the right side. The eye is basically a small circle with a dot inside of it for the pupil. Draw a few lines around it for extra detail.
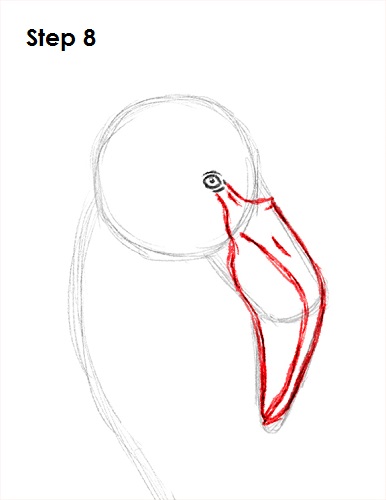
Step 8: Use the initial arcs as guides to draw the flamingo's curved beak. Draw the base of the beak that extends from the eye to the upper edges of the first arc. Follow the outer path of the arcs to create the main part of the flamingo's beak and make the tip pointier. Draw a line in the middle to create the mouth opening. The line should follow the curvature of the beak and should be a bit closer to the top part.
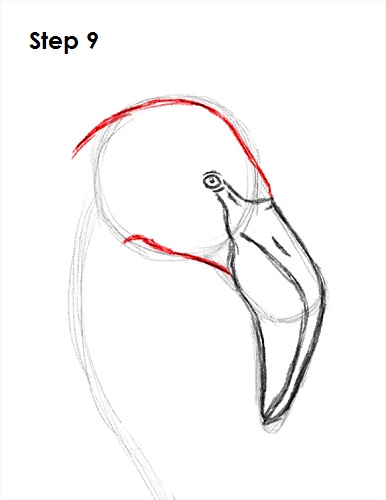
Step 9: Use the circle as a guide to draw the flamingo's head. Darken the lines as you follow the basic path of the circle and make the head thinner.


