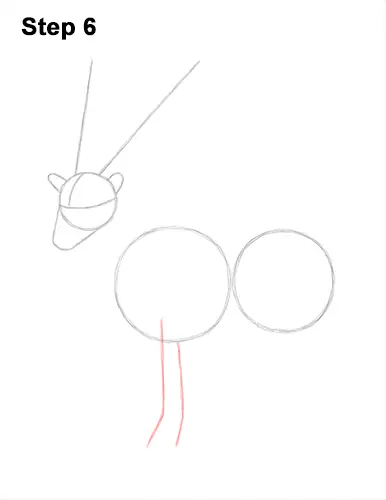
Step 6: Under the first circle, draw two long, vertical lines as guides for the markhor's front legs. Pay attention to how long these lines are in relation to the body. Bend the lines at the bottom slightly to the left for the feet.
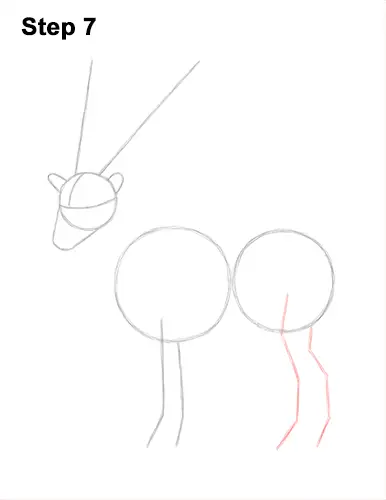
Step 7: Under the circle on the right, draw two long, angled lines as guides for the markhor's hind legs. These line should bend at the top, the middle and the botom to indicate the joints. Don't place these lines too far apart.
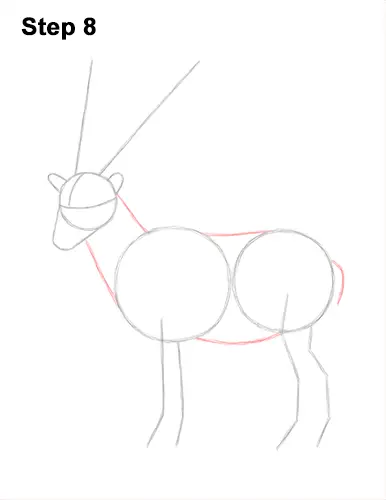
Step 8: Draw two short lines that connect the circles on the left as a guide for the markhor's neck. Connect the circles in the middle using two long lines to complete the guide for the torso. On the right side, draw a short, curved line as a guide for the tail.
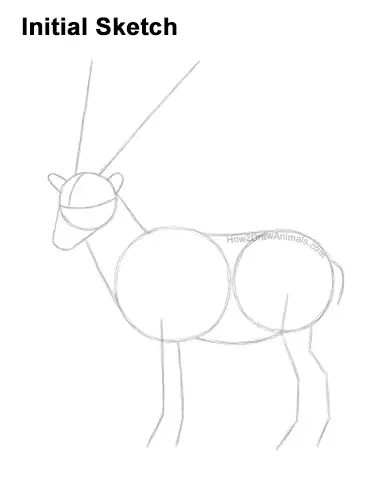
That's it for the guides! From this point on, press down harder with your pencil for a more defined drawing.
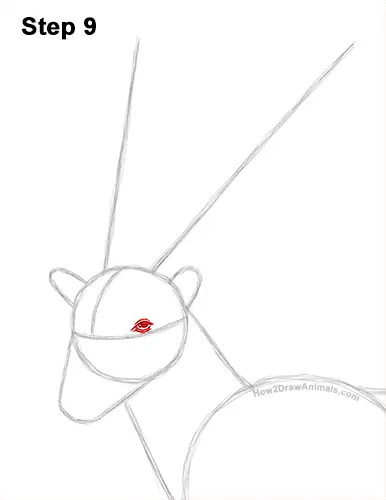
Step 9: Inside the head, on top of the horizontal guide, lightly sketch a small oval for the markhor's eye. When you get the size and position of the eye right, darken the shape. Make the sides pointier as you darken the shape for the corners of the eye. Add a curved line at the top for the eyelashes. Inside the eye, off to the side, draw a tiny circe for a highlight. In the middle of the eye, draw a tiny oval and shade it in for the pupil. Draw a short, curved line above and below the eye for some wrinkles.


