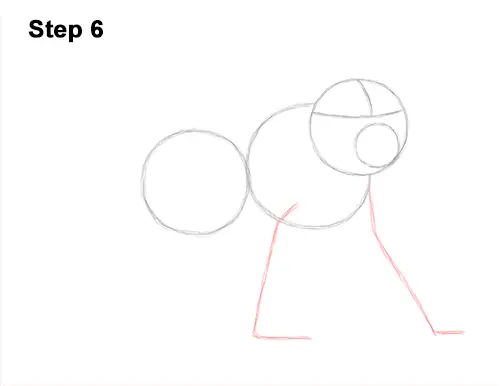
Step 6: Draw two vertical lines under the first circle as guides for the arms. Bend the lines near the top and bottom to indicate where the monkey's joints and feet will be. The line on the right should slope more as the baboon is stepping forward.
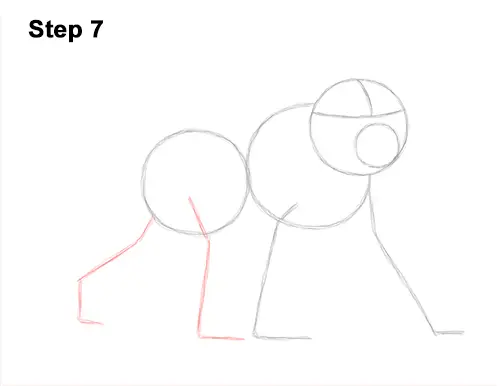
Step 7: Draw two more long, angled lines under the circle on the left as guides for the legs. The first line should be vertical in the middle, and it should bend at the top and bottom for the baboon's joint and foot. The second line should slope to the bottom left, and at the bottom it should bend twice for the foot.
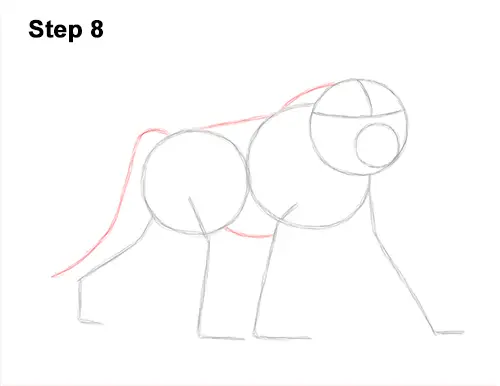
Step 8: Draw two lines that connect the body circles to finish the guide for the torso. Draw a curved line at the top from the monkey's head to the body for the neck. On the top, left side of the body, draw a long line that curves down as the guide for the baboon's tail.
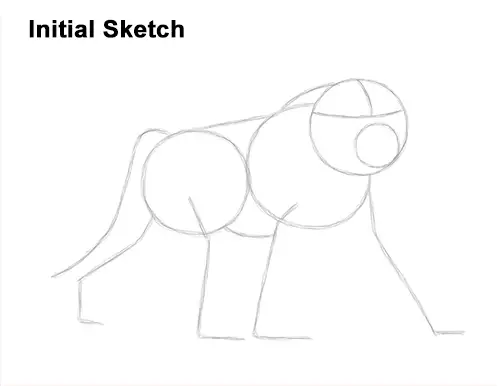
That's it for the guides! From this point on, press harder with your pencil for a more defined drawing.
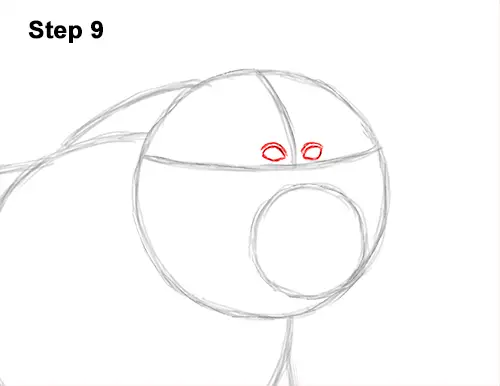
Step 9: Lightly sketch the baboon's eyes inside the head as two small ovals. Use the initial lines as guides for size and placement. Place the eyes close together. When you get the size and position right, darken the lines. Make the sides of the eyes pointier so they look like little footballs. Add a curved line above each eye for the eyelids.


