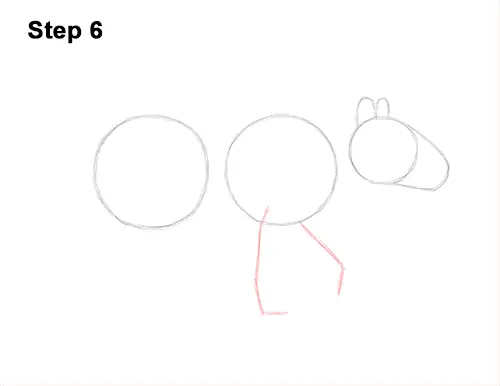
Step 6: Under the first circle, draw a long vertical line as a guide for the tapir's first front leg. Bend the lines near the top and bottom to indicate where the tapir's joints and feet will be. To the right, draw a line that slopes and then bends at the bottom as a guide for the other front leg.
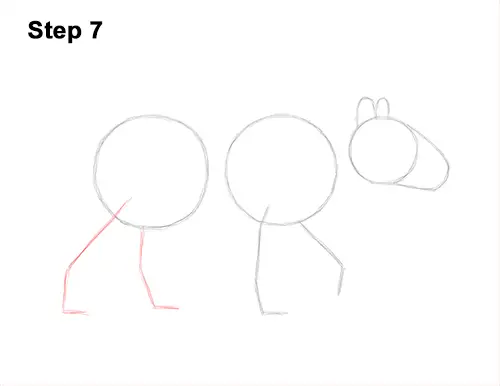
Step 7: Under the circle on the left, draw a line that slopes to the left and then bends at the bottom as a guide for the tapir's first hind leg. To the right, draw a line that bends in the middle and at the bottom as a guide for the other hind leg.
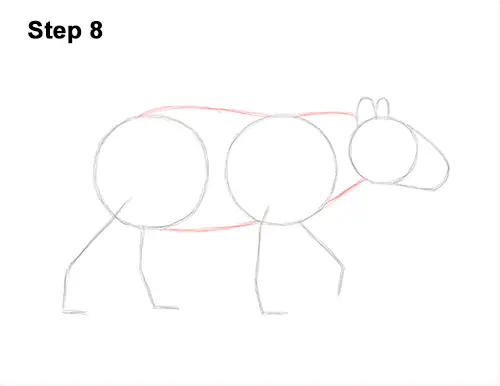
Step 8: Draw two short, curved lines that connect the head to the body as a guide for the neck. Draw two longer curved lines that connect the first two circles to complete the guide for the tapir's body.
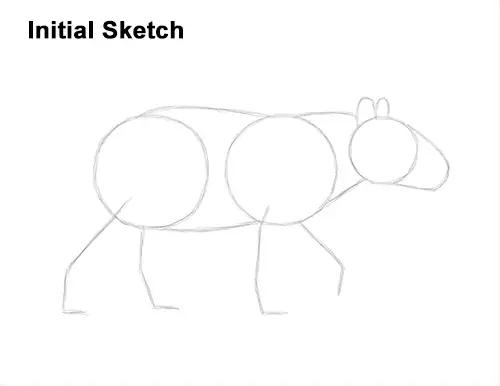
That's it for the guides! From this point on, press harder with your pencil for a more defined drawing.
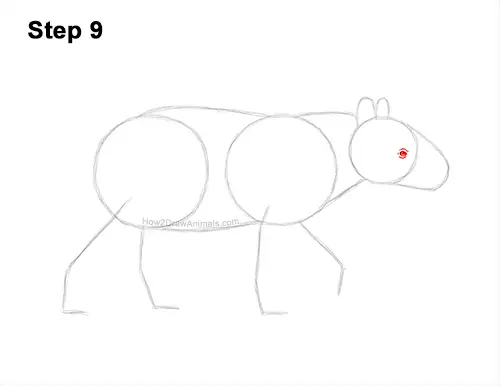
Step 9: Inside the head, near the right edge, lightly sketch a small oval for the eye. When you get the size and position of the eye right, darken the lines but make the sides pointier like a tiny football. Shade the inside of the eye. If you can, leave a tiny circle blank for highlight. Draw a short, curved line above and below the eye to give the tapir's face more structure.


