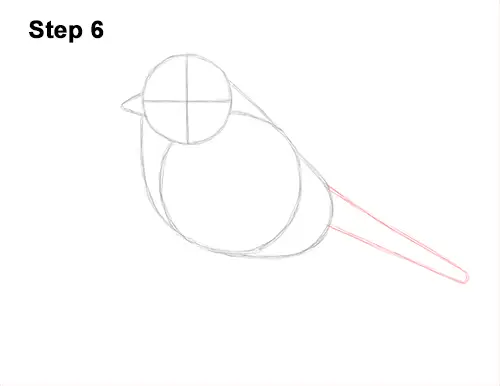
Step 6: On the lower, right side of the body, draw two long lines as a guide for the blue tit's tail. The lines should slope down to the right. Close off the shape at the end using a smaller line.
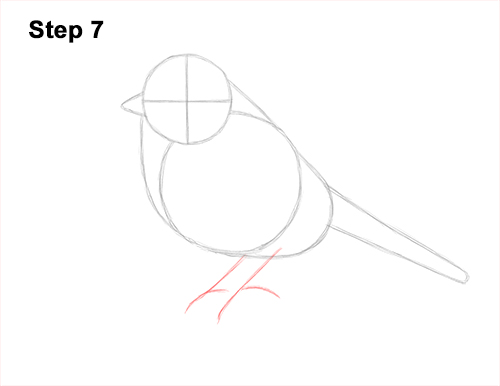
Step 7: Under the blue tit's body, draw a long line that slopes to the left as a guide for the first foot. On the right side, near the middle, draw a shorter line that curves the opposite way as a guide for the toe. To the left, draw a similar but smaller line as a guide for the bird's other foot.
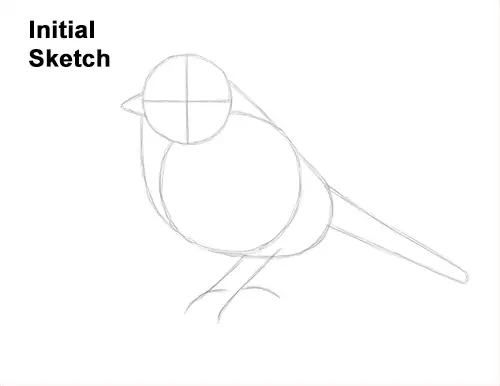
That's it for the guides! From this point on, press harder with your pencil for a more defined drawing.
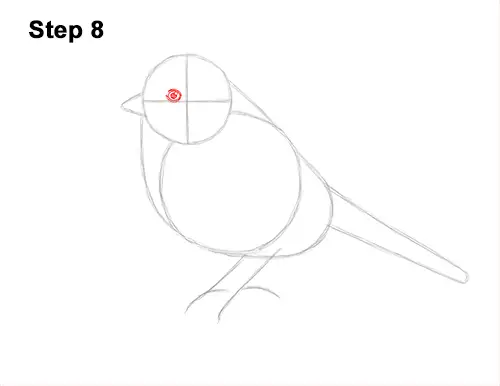
Step 8: Inside the Eurasian blue tit's head, lightly sketch a small circle for the eye. Use the initial lines as guides for placement. When you get the size and position of the eye right, darken the lines. Draw a curved line above and below the eye for the bird's eyelids. Inside the eye, off to the side, draw a tiny circle for a highlight. In the middle, draw a big dot for the pupil.
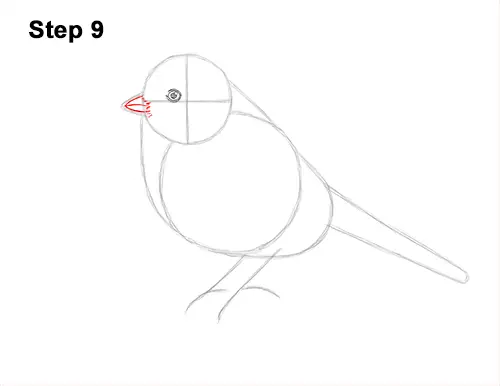
Step 9: Darken the small, angled line on the left edge of the head for the blue tit's beak. Draw a wavy line across the shape for the beak opening. Draw a series of short strokes along the right side of the shape for the beak's feathery base.


