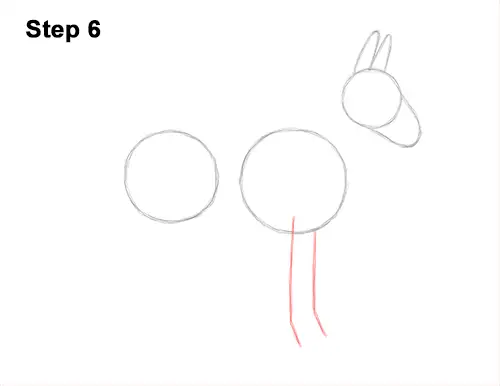
Step 6: Under the first circle, draw two long, vertical lines as guides for the mule's front legs. Bend the bottom tips of the lines a bit to indicate where the joints will be.
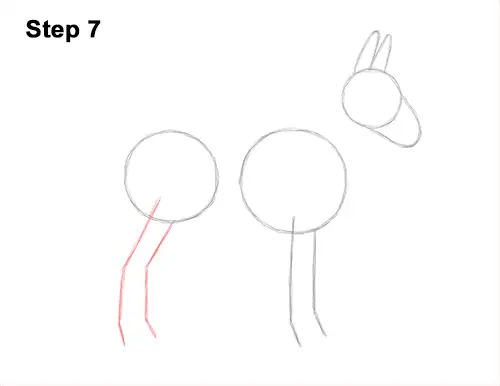
Step 7: Under the circle on the left, draw two lines that bend in the middle and near the bottom as guides for the mule's hind legs. The lines should slope to the left at the top. The line on the right should be a bit shorter.
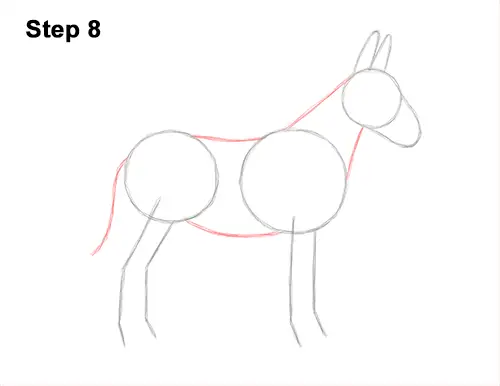
Step 8: Draw a series of lines that connect the circles together to form the rest of the mule's body. Connect the head to the body using two lines to create the neck. The lines should be farther apart at the bottom. Connect the first two circles together using a couple of lines to complete the guide for the torso. On the left side, draw a long, vertical line as a guide for the mule's tail.
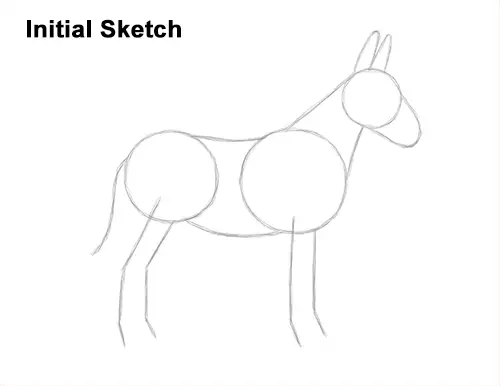
That's it for the guides! From this point on, press harder with your pencil for a more defined drawing.
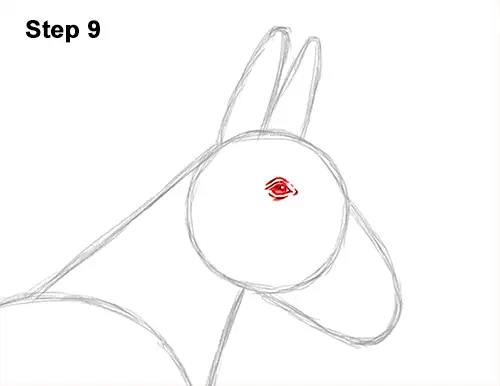
Step 9: Inside the head, above and to the right of the center, draw a small circle for the eye. Draw small, angled lines on the sides of the circle to create the corners of the mule's eyes. Shade the inside of the eye except for a tiny circle to represent glare or highlight. Make the top part of the eye darker than the bottom for a rounder look. Draw a couple of curved lines around the eye to indicate the eyelid and wrinkles.


