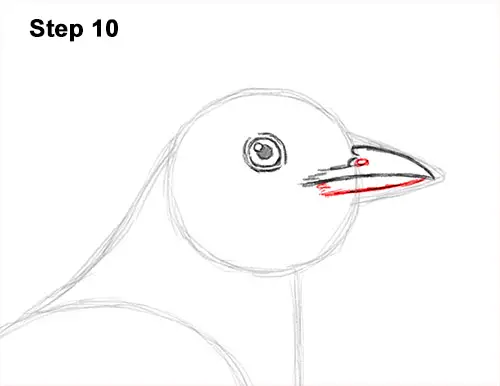
Step 10: Follow the path of the guide and draw a curved line that goes into the bird's head for the lower half of the beak. Draw some short lines on the left side for the feathery base and a tiny circle on the top beak for the robin's nostril.
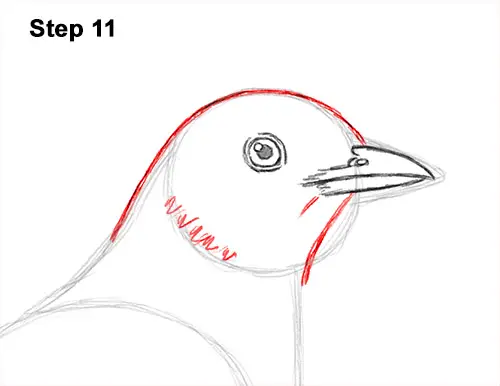
Step 11: Use the initial shapes as guides to draw the rest of the head. Darken the outer edges of the initial guides to create the shape of the head. Make the section under the robin's beak a bit thinner than the initial circle. Add a series of short strokes inside the head for extra detail on the feathers.
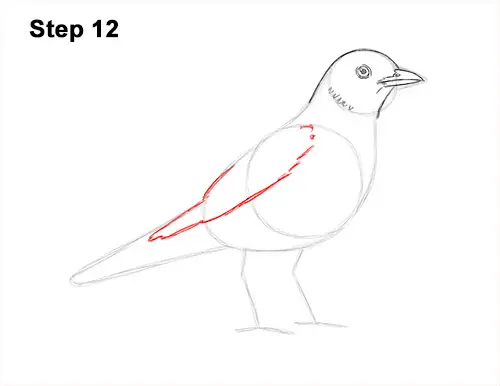
Step 12: Inside the body, lightly sketch a long, sloping, curved line for the robin's folded wing. The edge of the folded wing should follow the slope of the body. Add short strokes at the top for feathers. The tip of the bird's wing should stretch to the left inside the guide for the tail.
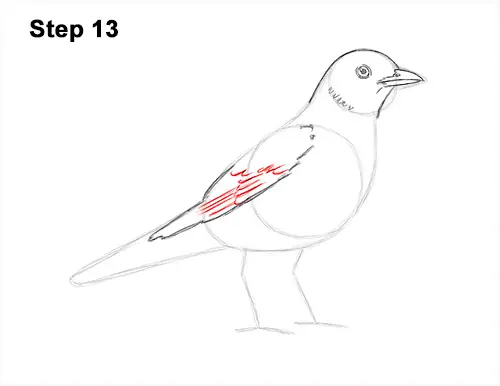
Step 13: Inside the robin's wing, draw a series of short, curved strokes as detail for the feathers. Don't cover the whole wing in feathers. Just draw a few short lines to indicate the texture.
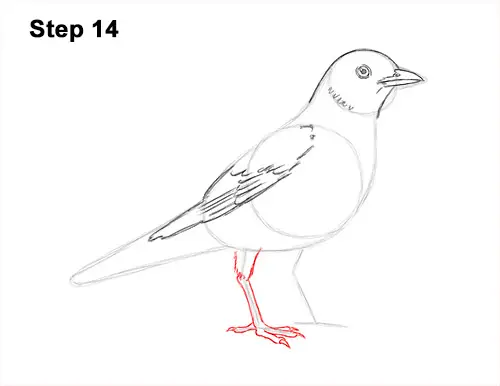
Step 14: Follow the path of the angled line on the left and lightly sketch the shape of the bird's first leg around it. The top section should be thick. Add some jagged lines at the angle for the feathery base. Draw the toe around the short line on the bottom and make the tip pointy for the nail. Draw a similar thin, pointy shape above and below for the robin's other two toes. Use the short line on the left as a guide to draw the toe pointing backward the same way.


