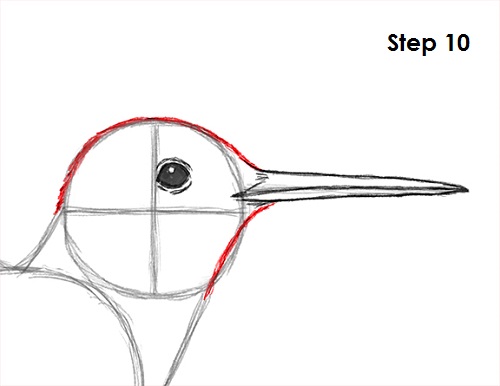
Step 10: Use the initial circle as a guide to draw the rest of the hummingbird's head. Use quick, short strokes to represent feathers near the back of the head.
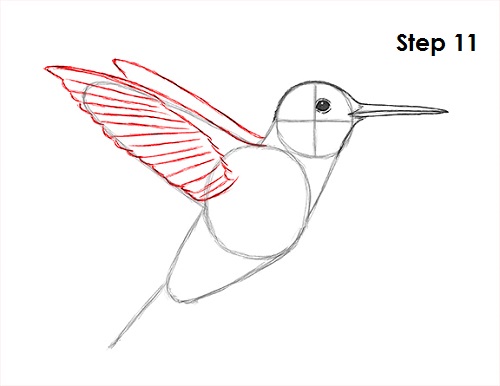
Step 11: Use the arc as a guide to draw the wings. Make the wing more pointy at the end. Use tiny arcs or bumps as you follow the guide for the lower part of the wing. Use a few lines on the top side to form the base of the wing. Use a series of diagonal lines inside the wing to represent hummingbird feathers. Use a similar shape to draw the other wing. Because it's on the other side, you don't have to add detail.
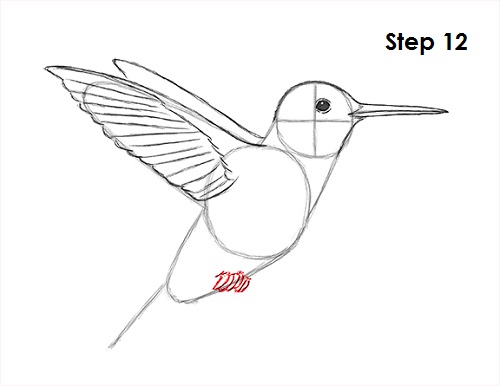
Step 12: Draw the feet on the bottom part of the body near the main oval. The feet are tucked within the hummingbird's feathers, so just draw a few quick, short strokes to represent this and some curved lines for the actual toes.
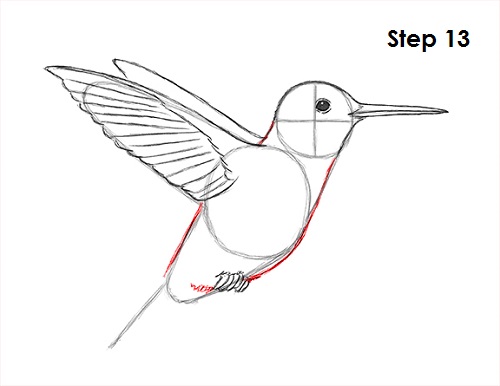
Step 13: Darken the outer lines to form the body.
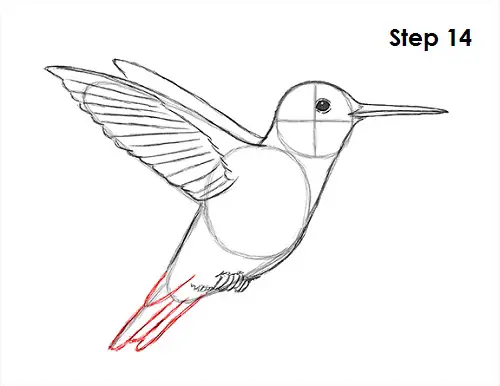
Step 14: Use the line at the bottom to draw the hummingbird's tail. Use long, narrow arcs that connect to the hummingbird's body for the tail feathers.


