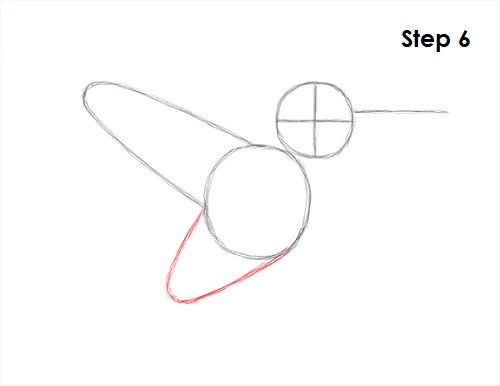
Step 6: Draw a smaller, shorter arc on the lower left side as a guide for the rest of the hummingbird's torso.
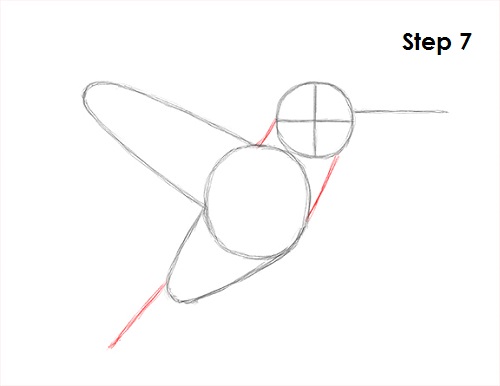
Step 7: Draw a couple of lines that connect the main oval to the head to form the neck. Draw a line on the lower part of the body as a guide for the tail.
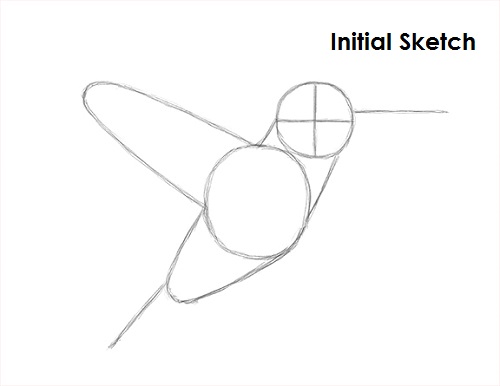
That's it for the initial sketch! From this point on, press harder with your pencil to get a more defined sketch.
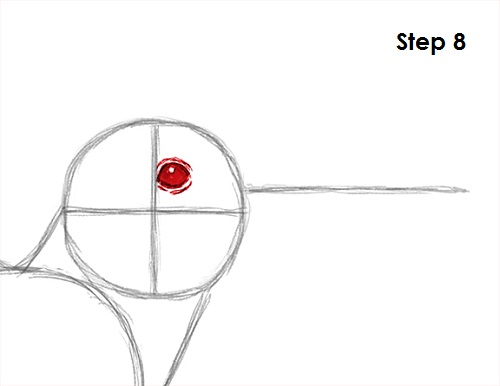
Step 8: Draw the hummingbird's eye inside the head. Use the intersecting lines as guides for placement. The shape of the eye is similar to an oval with pointed ends. Shade it in except for a small circle to represent glare. Draw a few lines surrounding the hummingbird's eye for extra detail.
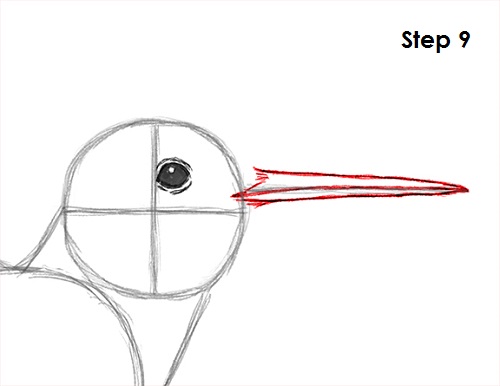
Step 9: Use the line as a guide to draw the hummingbird's beak. Darken the line and then draw another line above that one for the top portion of the beak. Draw yet another line below those for the bottom part of the hummingbird's beak. Also draw a few quick, short strokes to represent feathers at the base of the beak.


