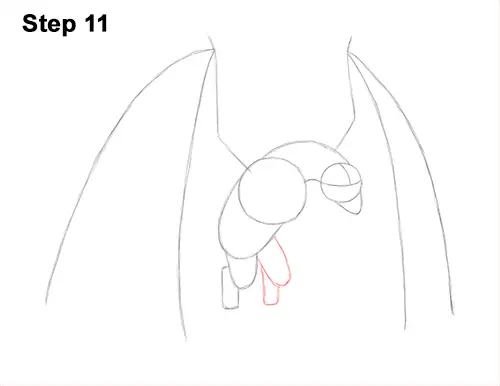
Step 11: On the right side, draw a couple of similar shapes for the wyvern's second leg. Draw a U-shaped line for the leg and then a rectangular shape underneath for the foot.
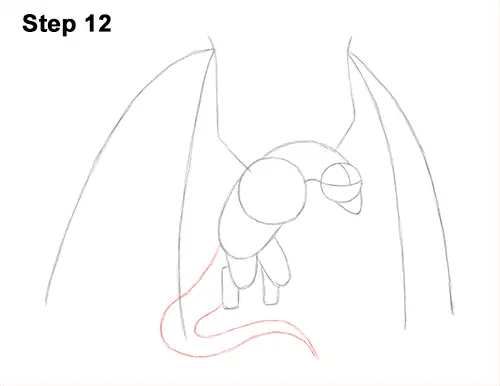
Step 12: Under the body, draw a couple of long, curved lines as guides for the wyvern's tail. Curve the line under the legs. It's okay if this line overlaps the wings a bit. You can also curve the line to the left or draw it straight down if you'd like. Add another line that's somewhat parallel to make the shape of the tail thicker. The two lines should meet on the right and form a pointy tip.
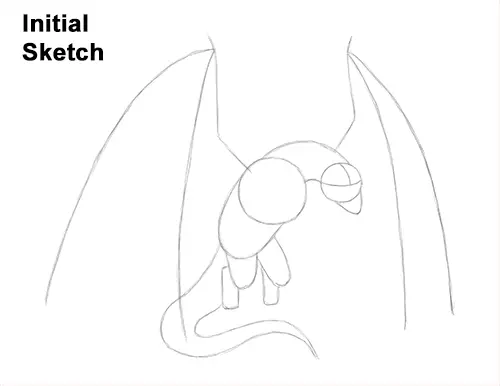
That's it for the guides! From this point on, press harder with your pencil for a more defined drawing.
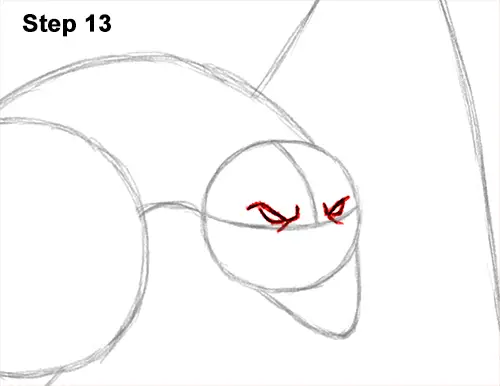
Step 13: Inside the head, draw two short, sloping lines for the top part of the eyes. Place the eyes on top of the horizontal guide and on either side of the vertical guide. Curve the lines on the ends to emphasize the furrowed brow. Under each line, draw a shorter curved line for the bottom part of the eyes. The overall shape of the eyes should be similar to small triangles. For a more menacing look, don't draw pupils inside the wyvern's eyes. Draw a line under each eye for wrinkles.
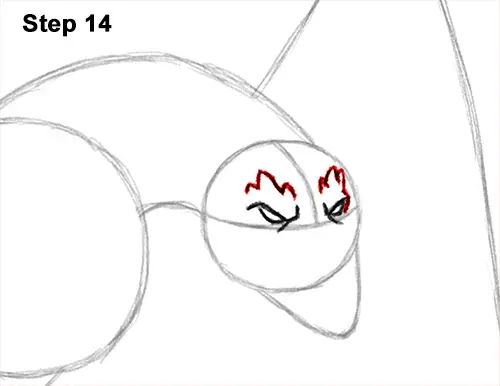
Step 14: Above each eye, draw a few short spikes for the bony brow. Don't make the spikes too big. Add the side of the brow to the eye on the right. The spikes on the right should be narrower because the wyvern's head is turned.


