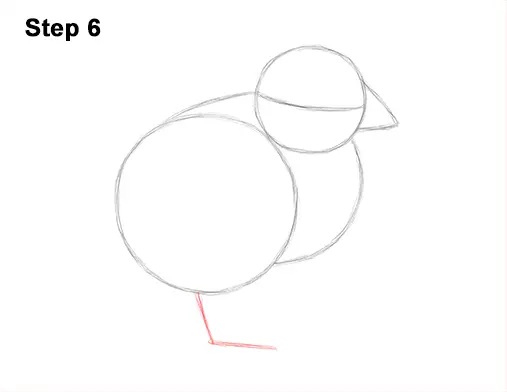
Step 6: Under the body, draw a line similar in shape to the letter L as a guide for the chick's leg.
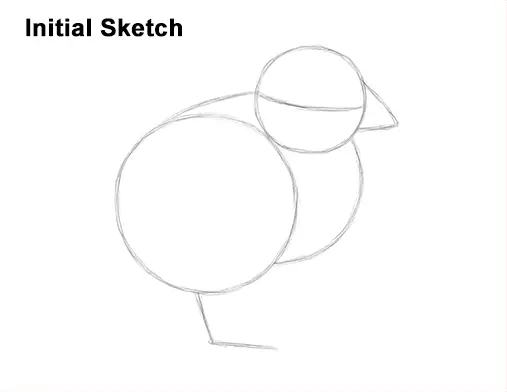
That's it for the guides! From this point on, press harder with your pencil for a more defined drawing.
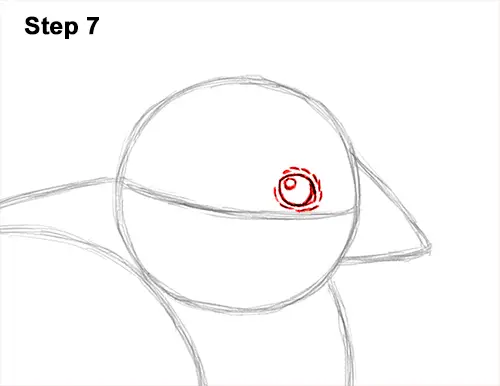
Step 7: Inside the head, lightly sketch a small circle for the eye. Place the eye above the construction line, close the right edge of the head. When you get the size and position right, darken the lines but make the sides a bit pointier. Inside the chick's eye, draw a line for the edge of the eyeball and a tiny circle to represent glare. Draw a series of short strokes around the eye for the fluffy feathers.
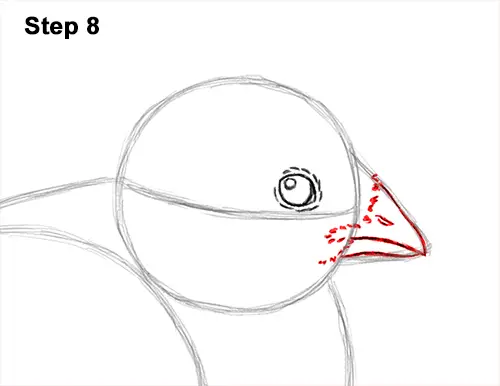
Step 8: Use the angled line on the right as a guide to draw the beak. Darken the top part of the angled line to create the top of the beak. Draw a line across the middle of the shape to create the mouth. Follow the basic path of the guide to create the bottom of the beak but make the shape thinner and wavier. On the left side of the beak, draw a series of short strokes for the feathery base. Curve the short strokes so that they wrap around the mouth. Near the top of the beak, draw a small slit for the chick's nostril.
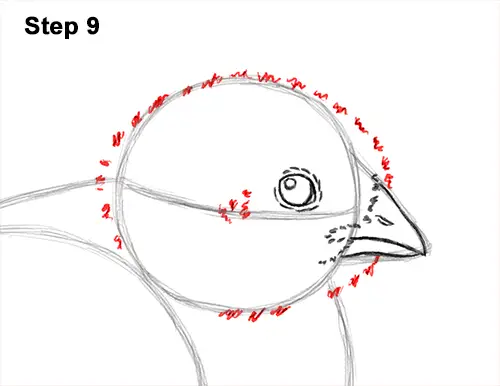
Step 9: Use the main circle as a guide to draw the rest of the head. Draw a series of short strokes along the basic path of the circle to create the chick's fluffy head. As you draw the strokes, make the sides of the head a little wider than the initial circle. Keep these strokes short for a fluffy texture. Longer strokes will create a shaggier coat. Leave a few gaps between the strokes along the bottom to indicate where the head meets the body. Add a few more short strokes inside the head, to the left of the eye, for the chick's small ear opening.


