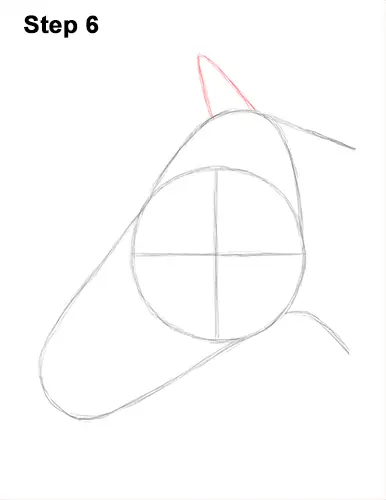
Step 6: At the top of the head, draw an angled line that's similar to an upside- down letter V as a guide for the horse's ear.
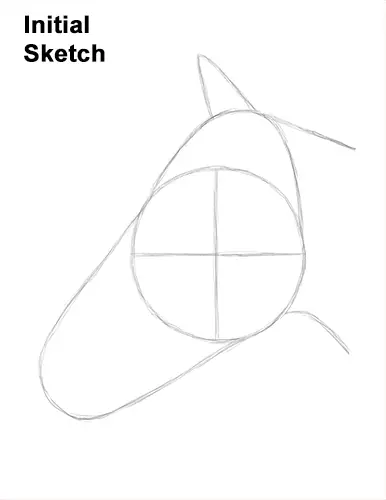
That's it for the guides! From this point on, press harder with your pencil for a more defined drawing.
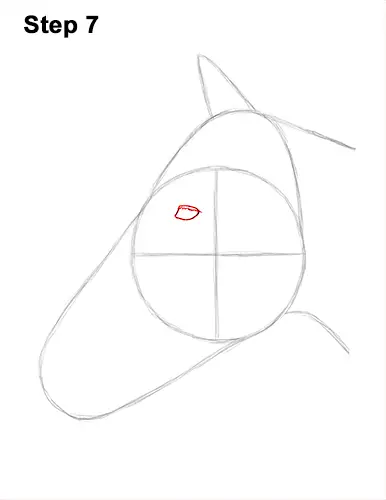
Step 7: Lightly sketch the eye inside the head as a small oval. Place the eye on the upper, left side of the head. Use the initial lines as guides for placement. When you get the size and position right, darken the shape of the eye. As you darken the eye, make the sides a bit pointier. Add a small line at the top for the horse's eyelashes.
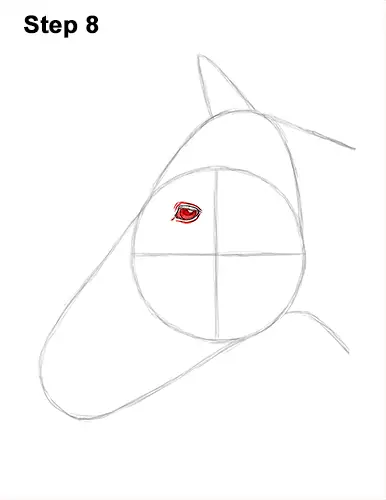
Step 8: Add a couple of curved lines inside the eye for the actual eyeball. Inside the eyeball, draw a tiny circle to represent glare. Add a small oval and shade it in for the pupil. Shade the rest of the eyeball but use a value that's slightly lighter than the pupil. Add some value to the rest of the horse's eye as well. Don't overlap the tiny glare circle or the eyelashes as you shade. Draw a few lines around the eye for the eyelids and wrinkles.
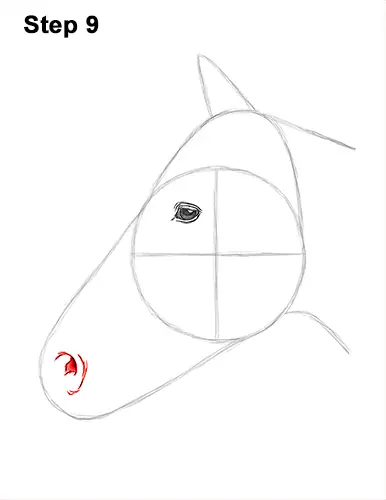
Step 9: Near the tip of the muzzle, draw a small, curved line for the first part of the horse's nose. To the left of the curved line, draw a few shorter curved lines to create the opening of the nostril. Shade in the opening of the nostril using a dark value. Draw a few more curved lines on the right side to emphasize the thickness of the nostril.


