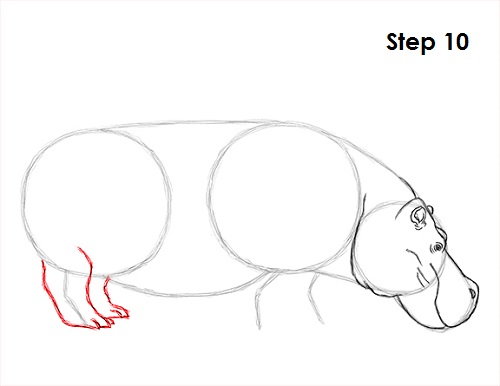
Step 10: Using the lines as guides, draw the hippopotamus' hind legs. Sketch them in lightly at first. When you like what you have, darken the lines more. Draw the hippo's other leg peeking on the other side of the body.
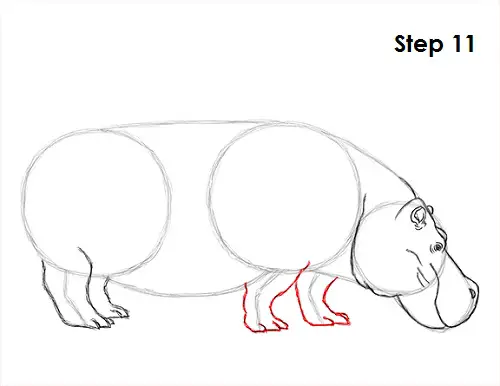
Step 11: Draw the hippo's front legs using the same technique. Lightly at first, then darken once you like what you have. Draw the hippopotamus' leg on the other side too.
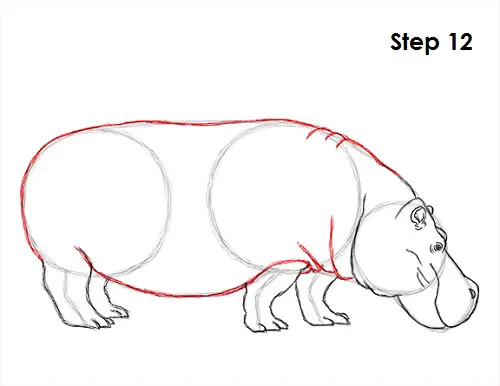
Step 12: Using the initial lines as guides, draw the rest of the hippo's body. Draw curved lines near the neck area to represent folds of skin.
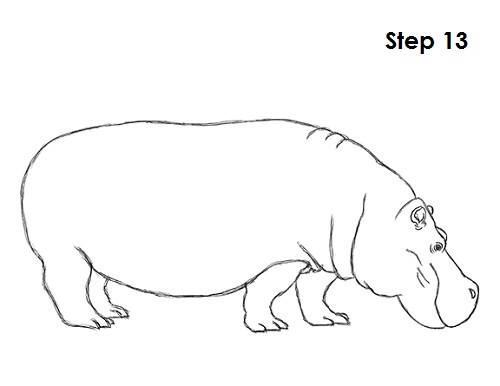
Step 13 (optional): For a cleaner look, erase as much as you can of the initial guide lines. Don't worry about erasing all of them. It's okay to leave some behind. Re-draw any final lines you may have accidentally erased.
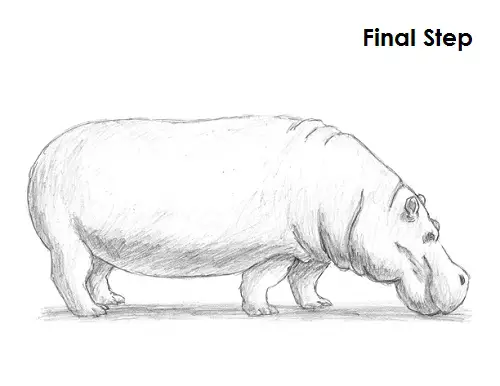
Final Step (optional): You can add shading throughout your hippopotamus drawing to give it more dimension and volume. Pick the direction of the light source when shading so that the shadows are consistent with it. Vary the pressure on your pencil to get different degrees of tonal value. Add a cast shadow underneath. This helps ground the hippo so it doesn't appear to be floating.
You can add more value to your drawing for extra detail. It's a good idea to use reference to be as accurate as possible.
Thanks for visiting! Subscribe to the How2DrawAnimals YouTube Channel for a new tutorial every week.
To learn how to draw popular cartoon characters, visit EasyDrawingTutorials.com.
To learn how to draw Manga, visit How2DrawManga.com.
RELATED TUTORIALS
 |
 |
 |


