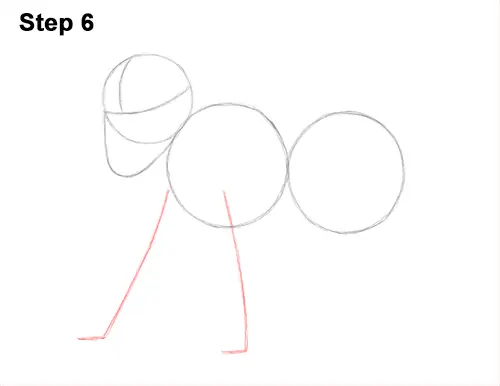
Step 6: Under the big circle on the left, draw two long lines as guides for the mandrill's arms. Bend the tips of the lines a bit. Pay attention to the spacing between the arms.
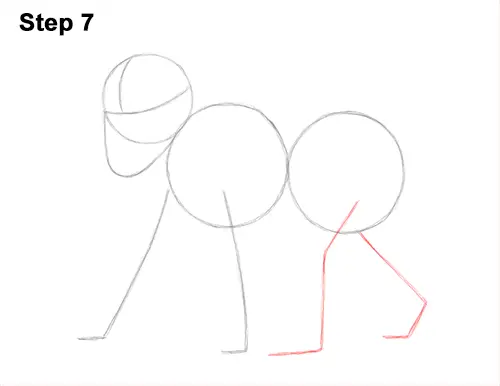
Step 7: Under the circle on the right, draw two angled lines as guides for the legs. Bend the lines to indicate where the mandrill's joints and feet will be later on. The rightmost line should slope to the right because the mandrill will be stepping forward.
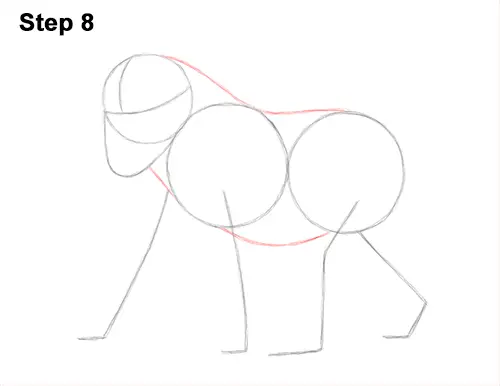
Step 8: Draw two lines that connect the head to the body to create the guide for the neck. Draw two more lines that connect the bigger circles to complete the guide for the body. The guide line at the bottom should dip low for the mandrill's belly.
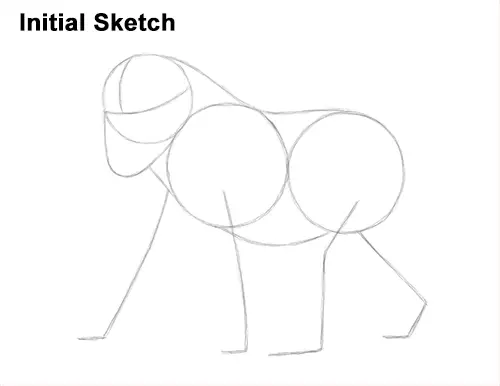
That's it for the guides! From this point on, press harder with your pencil for a more defined drawing.
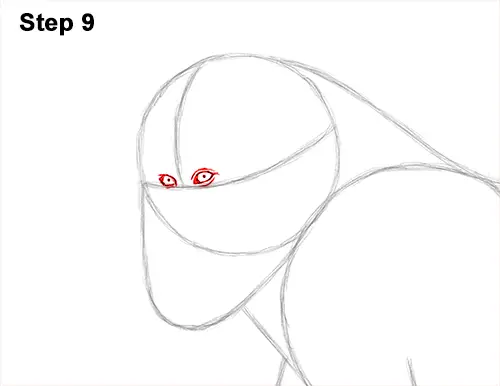
Step 9: Lightly sketch the eyes inside the head as two small ovals. When you get the size and position of the eyes right, darken the lines. Use the initial lines as guides for size and placement of the mandrill's eyes. As you darken the ovals, make the sides pointier. Add some short lines inside for the eyeballs. Add a curved line above the eyes for the folds of skin. Add a line at the bottom of the eyes too for more detail on the skin. Draw a small dot inside each eye for the pupils.


