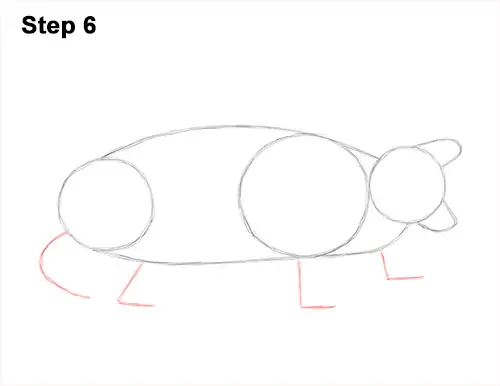
Step 6: Under the body, draw four L-shaped lines as guides for the legs. Alligator snapping turtles have short legs, so don't draw these guides too long. Pay attention to their placement. On the lower, left side of the body, draw a curved line for the tail.
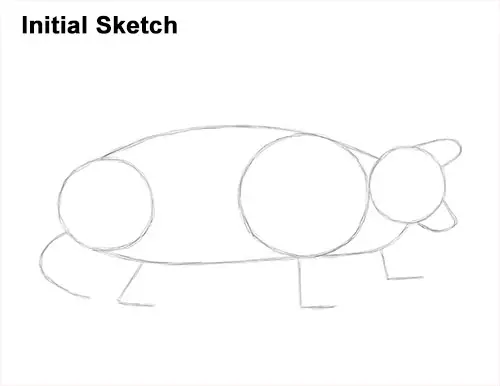
That's it for the guides! From this point on, press harder with your pencil for a more defined drawing.
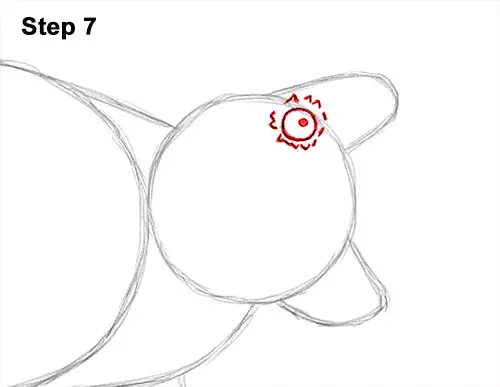
Step 7: Lightly sketch a small circle on the top, right side of the first circle for the snapper's eye. When you get the size and placement right, darken the circle. Inside the eye, on the top, right side, draw a big dot for the pupil. Draw a series of triangle-like lines around the circle for the fleshy spikes that surround the eye.
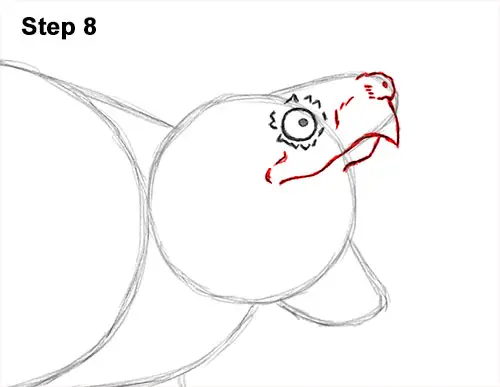
Step 8: Use the small arc at the top of the head as a guide to draw the turtle's top jaw. First draw the nose using a series of short lines at the tip of the arc. Add a small dot for the nostril. Follow the path of the arc as you darken the lines but give the shape a spike at the tip. Extend the line at the bottom toward the inside of the head and make it wavy.
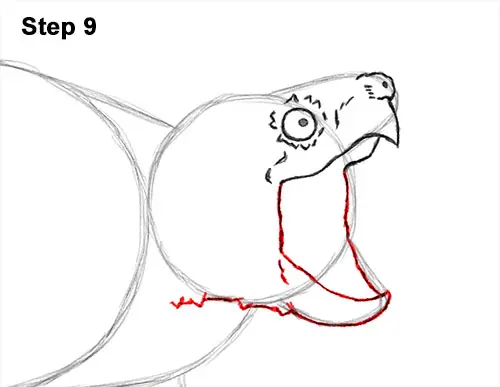
Step 9: Darken the lower edge of the other arc to define the shape of the bottom jaw. Add a curved line within the arc and stretch it upward so that it connects with the upper jaw. Follow the basic path of the initial guides to draw the right edge of the open mouth. As you darken the basic path of the guides, make the line wavier for a more organic feel. Use a series of spike-like shapes as you darken the lower edge of the initial circle for the turtle's rough skin.


