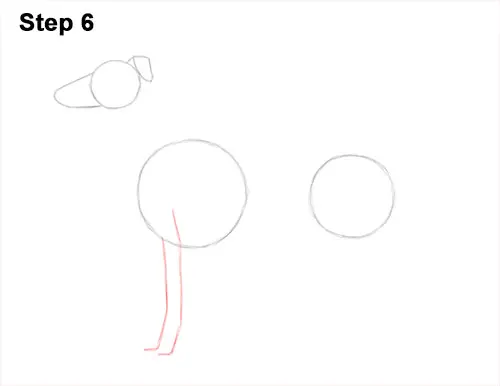
Step 6: Under the circle on the left, draw two long, vertical lines as guides for the front legs. Bend the lines slightly in the middle to indicate the greyhound's joints and again at the tip for the feet.
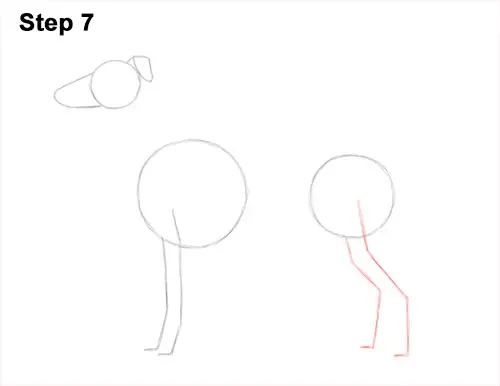
Step 7: On the right, add the guides for the greyhound's hind legs by first drawing an angled line that slopes to the right. Then bend the line downward again and bend the tip to indicate where the foot will be. On the left, add the dog's other hind leg the same way but make it shorter.
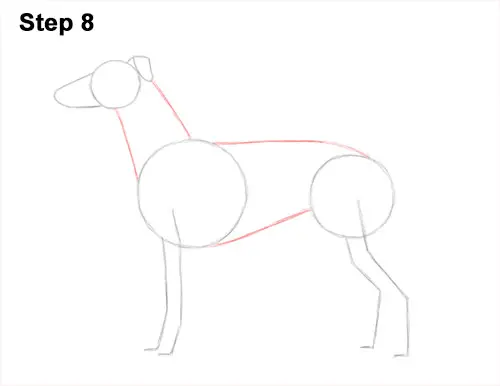
Step 8: Draw two lines that connect the head to the body to create the guide for the neck. Draw two longer lines that connect the bigger circles to complete the guide for the body. Curve the line at the bottom to create the greyhound's big chest and small waist.
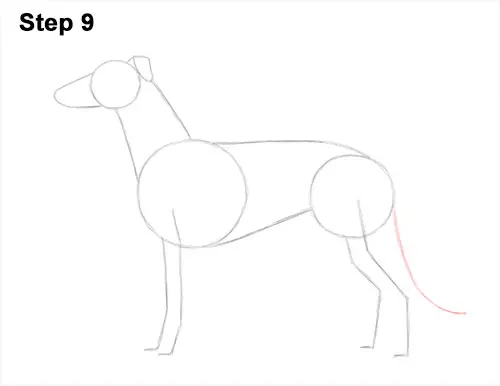
Step 9: Draw a long, curved line on the right side as a guide for the greyhound's tail.
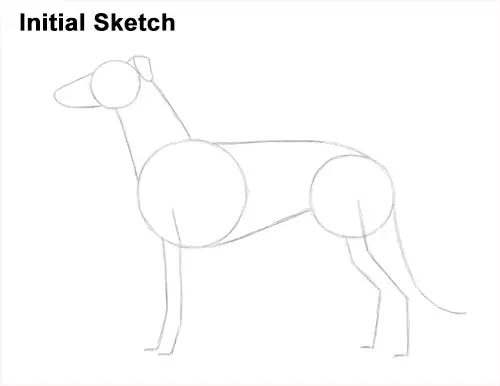
That's it for the guides! From this point on, press harder with your pencil for a more defined drawing.


